DIY Screen Printing, Blog
By A Mystery Man Writer
Last updated 12 May 2024

I recently embarked on a mini-adventure I hadn't been on since the 7th grade. The adventure: screen printing t-shirts. Required: some time, some patience, and a trusty instructor to take me through it step-by-step (thanks, Clayton!).The background: My siblings and their kids join my family in Maine to soak up the last
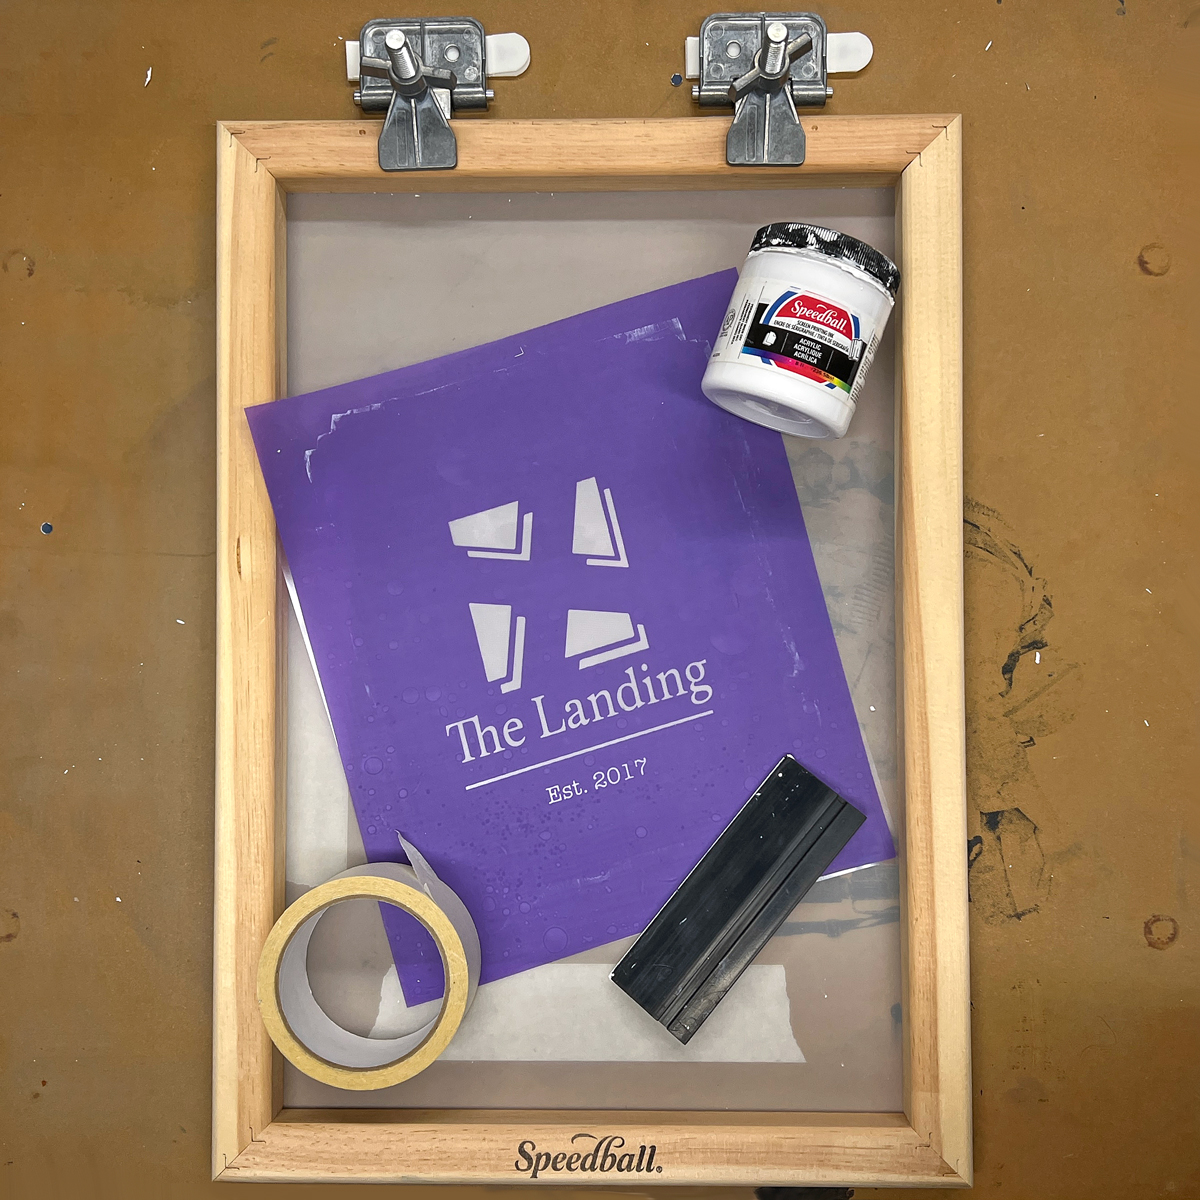
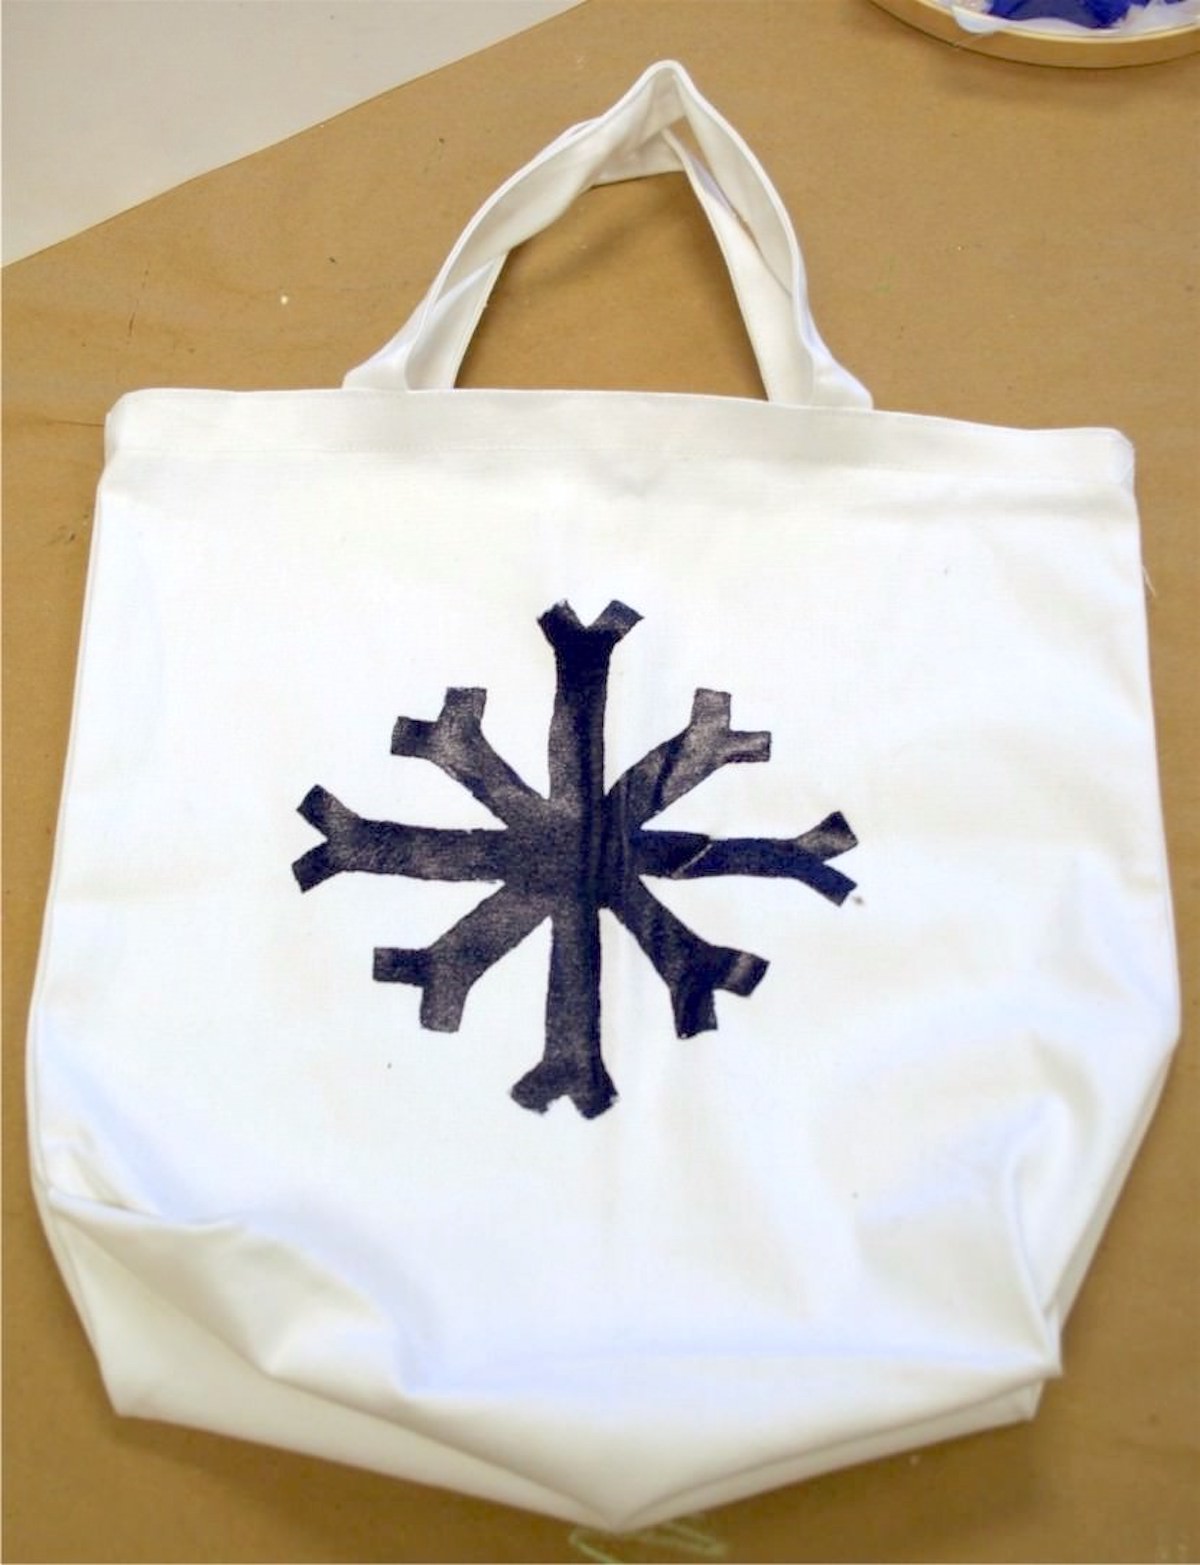
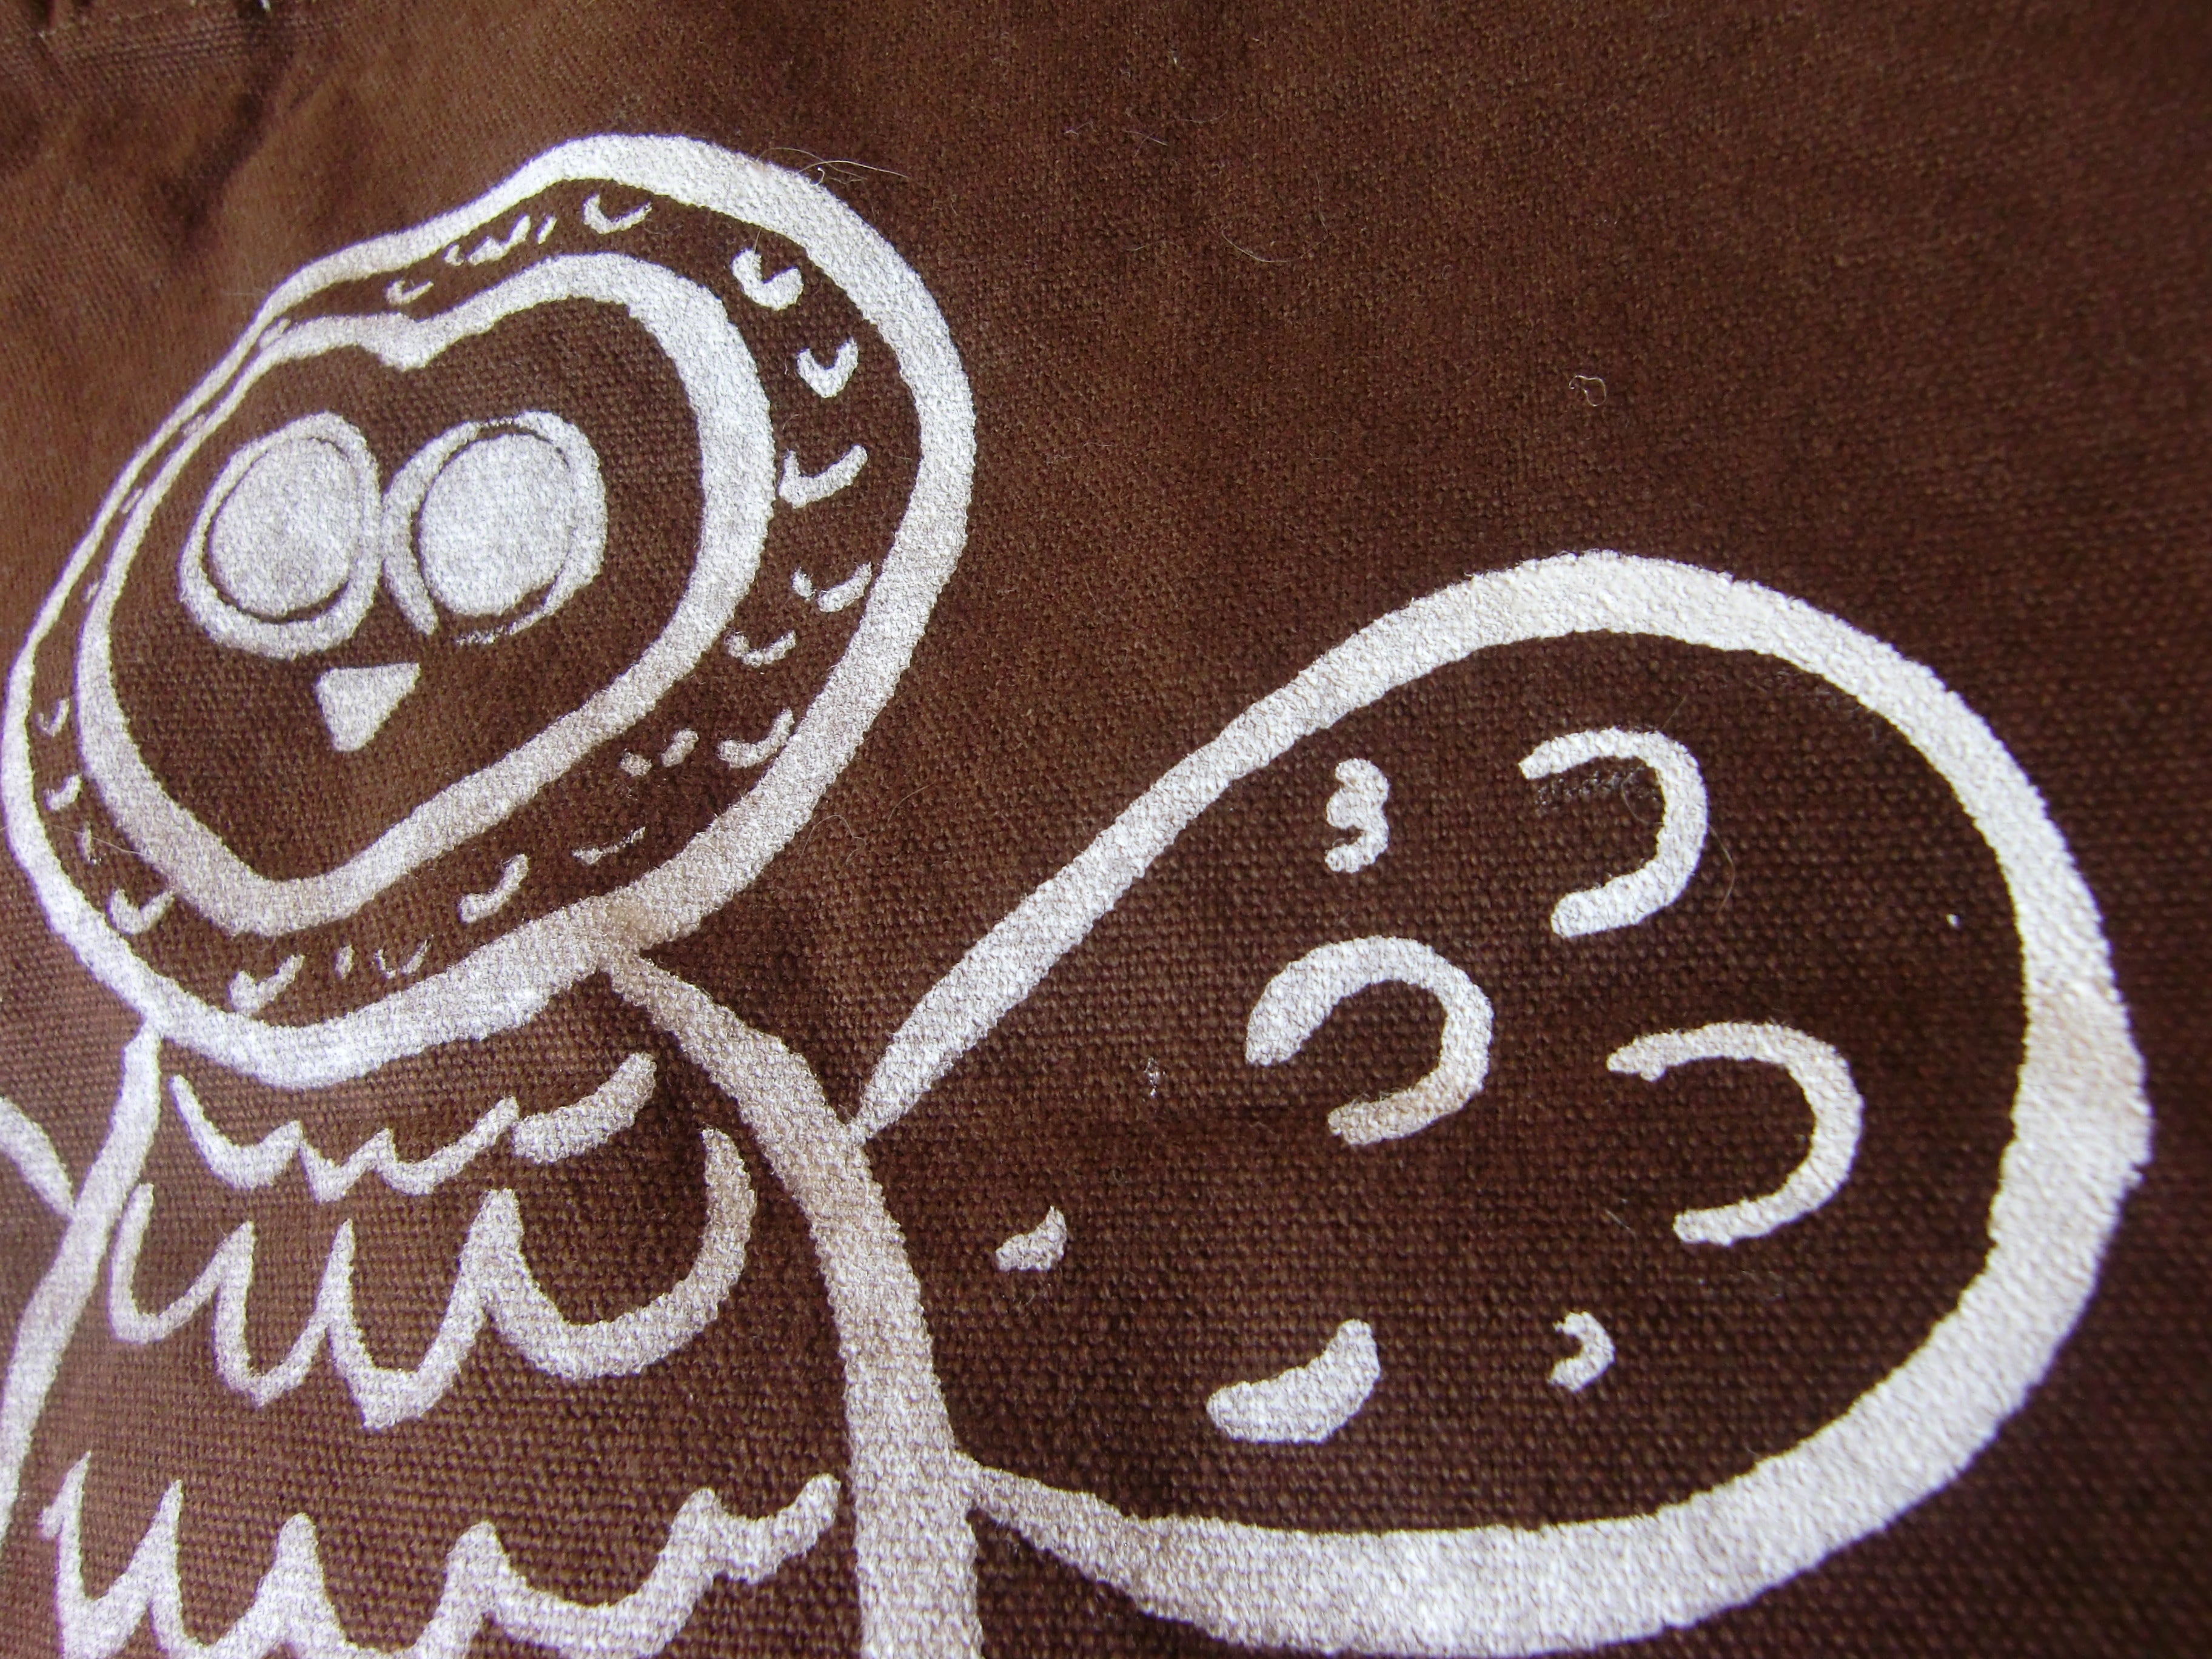
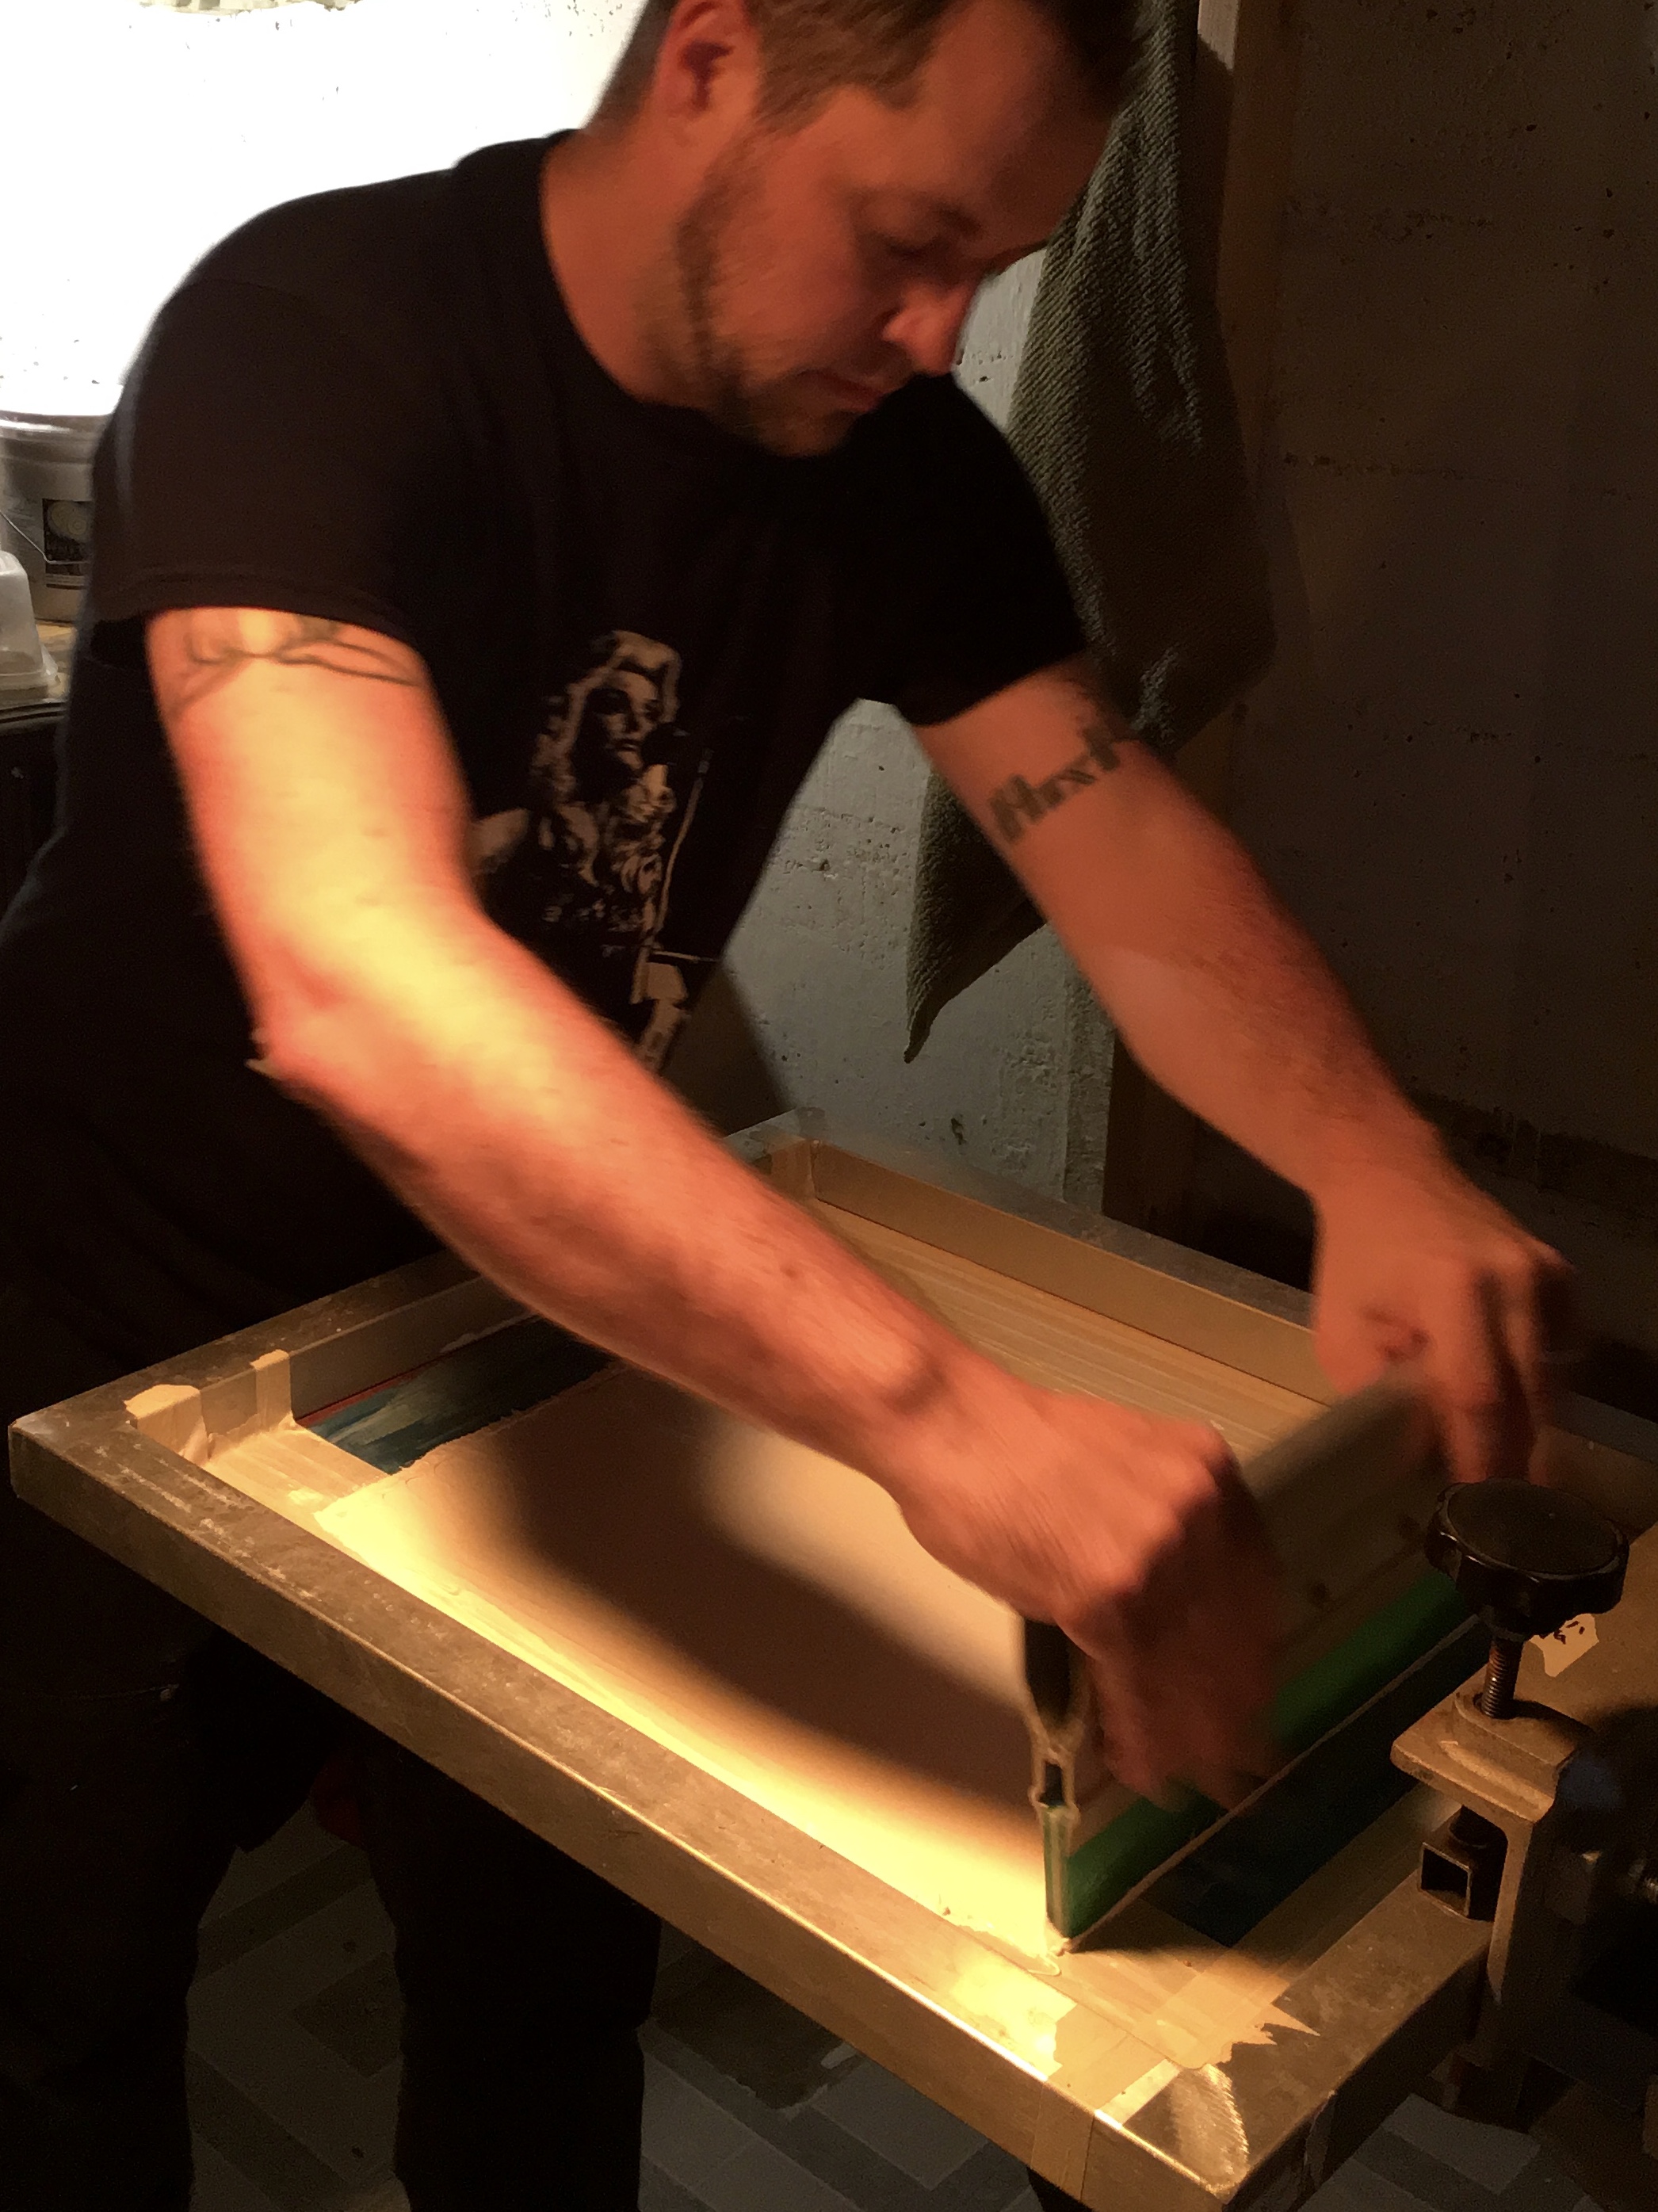
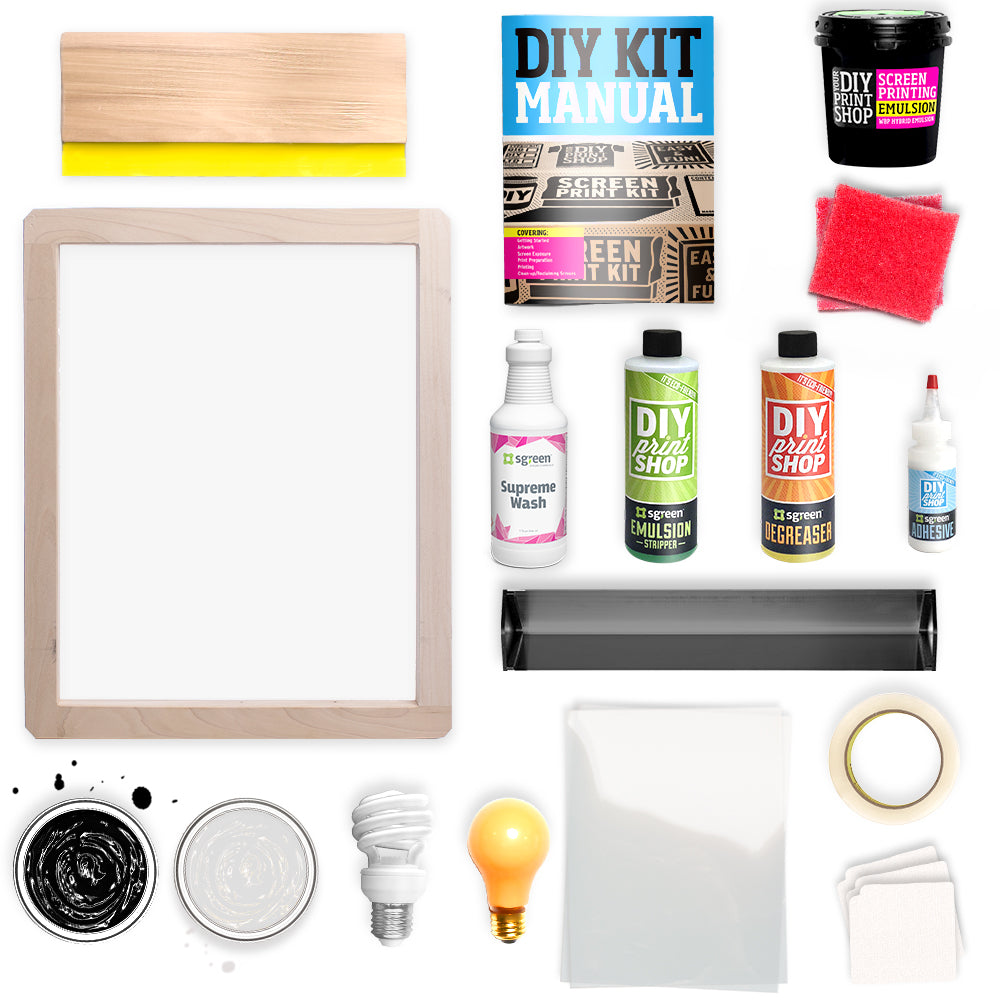
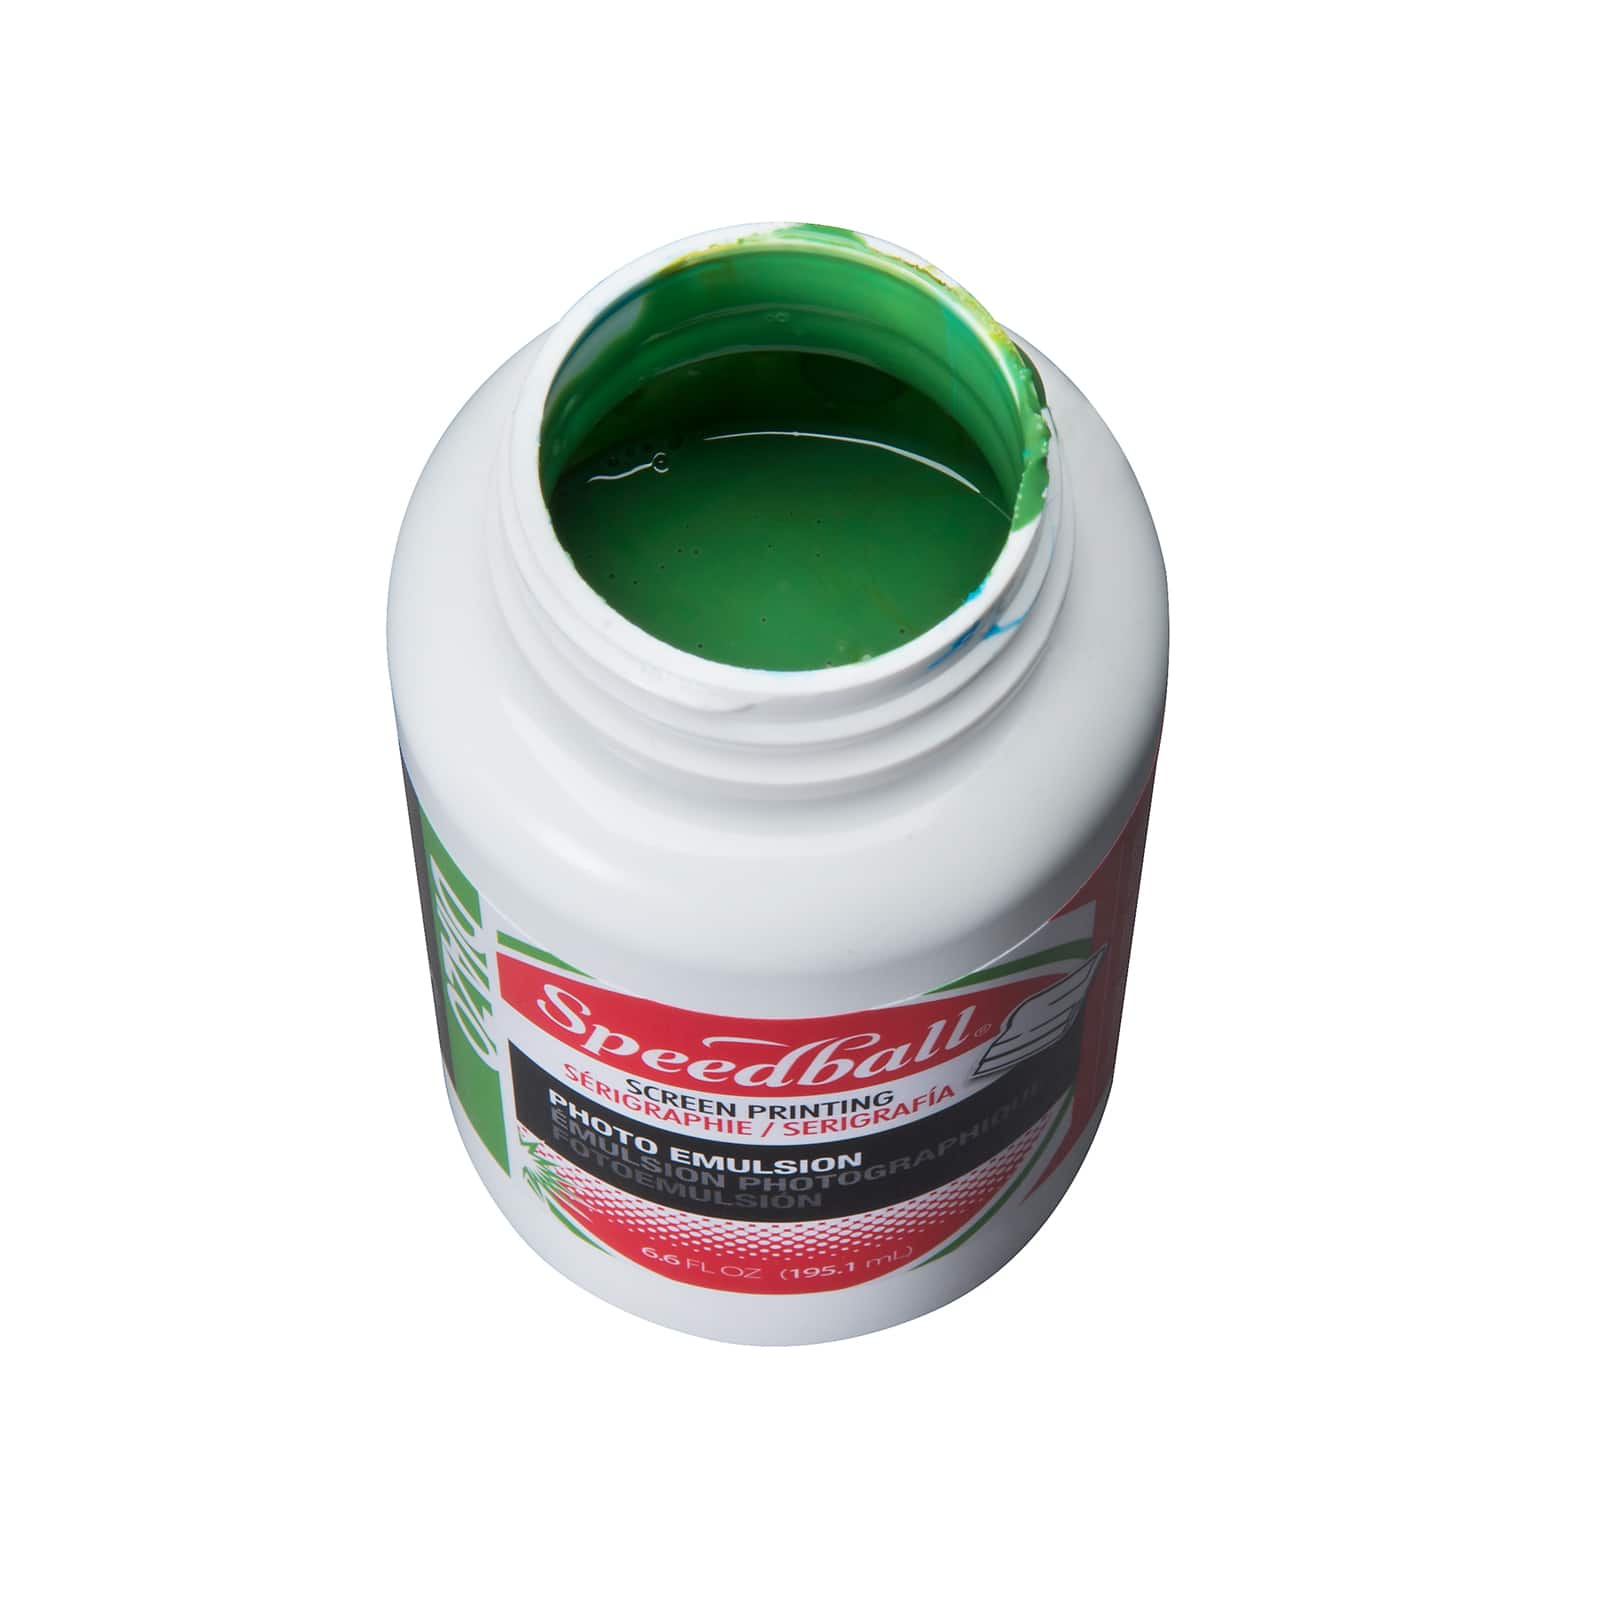
I recently embarked on a mini-adventure I hadn't been on since the 7th grade. The adventure: screen printing t-shirts. Required: some time, some patience, and a trusty instructor to take me through it step-by-step (thanks, Clayton!).The background: My siblings and their kids join my family in Maine to soak up the last weekend of summer. It's essentially end-of-summer cousin camp for the kids. This year, I decided to commemorate the gathering with screen printed t-shirts for all. Like usual, the project took place extremely last minute but luckily, Clayton was game to stay after work to help me out. The end result: Success! The screen printing was fun (with additional help from my husband and my girls), and the process took about 3 hours for 25 t-shirts (not counting the time Clayton put in ahead to prepare the screen). But the true test? The kids loved them! Even all the adults wore their shirts at some point.Here are the things you will need:Photo emulsion solutionPhoto emulsion activatorTransparency250 watt light bulbScreen printing screenSqueegeeScreen printing inkMasking tapePush pinsDark roomA container that the screen can fit inside ofT-shirtBoard that can be slid inside of t-shirt PHASE 1: PREPARING THE SCREEN (by Clayton)Mix the photo emulsion according to its instructions. It usually consists of mixing a tiny 2 fluid ounce activation bottle with 3/4 water. Shake well. Add this tiny bottle to the 24 fluid ounce photo emulsion container to activate the components. Stir well with a disposable stick until the mixture turns green. Let sit until bubbles disperse.Meanwhile, prepare the screen for photo emulsion application. Make sure the screen is free of dust. Mask off the sides of the screen to fit the dimensions of your transparency sheet on the concave part of the screen. Place a push pin on each corner of the flat side of the screen to keep it elevated off the table during photo emulsion application process.Place a linear dollop of photo emulsion on one side of the screen. Squeegee from one end to the other to coat the screen. Make multiple passes if necessary to cover the screen. Flip screen over and squeegee the other side. Basically, try and achieve a smooth layer of emulsion on either side of the screen.Place horizontal with push pin side down in a dark box or location that will not be exposed to light. We found a UPS box was the perfect size. Let dry. Try overnight or 24 hours for best results.Your screen is now ready to be burned. PHASE 2: BURNING THE SCREEN Rig a 250 watt bulb so that it is level and 15 inches from the surface where you will place the screen. I used a portable work light (found at Home Depot for $10), a chair set on its side, a couple of pieces of wood and some string to tie the wood to the chair and the light to the wood. These were all materials I found around our studio. Be creative, you can set up your light using any materials you can find that will work. As you can see from the photo, it doesn’t need to look pretty! The important thing is to keep the light level and 15 inches from the table.Print your design in black on a transparency. Remember whatever is printed in black should be the image you want to print.Create a dark room. If your room has a window, block out any light with dark paper or cardboard and tape. Before turning out the lights, you might want to orient yourself. For instance, I had to figure out where the screen needed to sit underneath the bulb and where the transparency needed to sit on the screen. It's helpful if you can match the corner of your image with the corner of the screen, that way your image will be square on the screen. If you happen to have a darkroom safe light or want to purchase one, you'll have a much easier time finding your way around! Once you're fully oriented, now you are ready to expose your image. Turn off the lights. Pull the screen out of the dark box, place on the table under the 250 watt bulb (which is NOT yet on), and place your transparency on the screen. Cover the transparency with a piece of glass. Turn on the bulb and set your timer for 15 minutes. Note: if you have a bulb with more or less wattage, look online for how long to expose the image. When the timer dings, turn off the bulb, wrap your screen in paper and head to the sink. PHASE 3: CLEANING THE SCREEN The emulsion will wash away where your screen was masked by your image. Run water over the screen until the image is exposed. You might need to use a toothbrush to help this process along. Let the screen dry completely.PHASE 4: PRINTINGSlide the board inside your t-shirt. I found a piece of veneered plywood laying around.Place your screen on top of the shirt. Then add a linear dollop of screen printing ink at the top of the screen and squeegee from one end to the other. Redo a couple of times until you achieve a desired ink saturation. This took a little practice, and the t-shirts I printed towards the end looked much better than the first ones. I would recommend printing on a few old t-shirts to start (which I didn't do).Let t-shirts dry for a while (about an hour or so), and then set the ink by ironing the image with a warm iron. Disclaimer: The point of this blog post was to demonstrate that you shouldn't be scared to take on a screen printing project of your own! On the other hand, I hope I did not offend any true screen printing expert who will likely catch any novice mistakes I made.
I recently embarked on a mini-adventure I hadn't been on since the 7th grade. The adventure: screen printing t-shirts. Required: some time, some patience, and a trusty instructor to take me through it step-by-step (thanks, Clayton!).The background: My siblings and their kids join my family in Maine to soak up the last weekend of summer. It's essentially end-of-summer cousin camp for the kids. This year, I decided to commemorate the gathering with screen printed t-shirts for all. Like usual, the project took place extremely last minute but luckily, Clayton was game to stay after work to help me out. The end result: Success! The screen printing was fun (with additional help from my husband and my girls), and the process took about 3 hours for 25 t-shirts (not counting the time Clayton put in ahead to prepare the screen). But the true test? The kids loved them! Even all the adults wore their shirts at some point.Here are the things you will need:Photo emulsion solutionPhoto emulsion activatorTransparency250 watt light bulbScreen printing screenSqueegeeScreen printing inkMasking tapePush pinsDark roomA container that the screen can fit inside ofT-shirtBoard that can be slid inside of t-shirt PHASE 1: PREPARING THE SCREEN (by Clayton)Mix the photo emulsion according to its instructions. It usually consists of mixing a tiny 2 fluid ounce activation bottle with 3/4 water. Shake well. Add this tiny bottle to the 24 fluid ounce photo emulsion container to activate the components. Stir well with a disposable stick until the mixture turns green. Let sit until bubbles disperse.Meanwhile, prepare the screen for photo emulsion application. Make sure the screen is free of dust. Mask off the sides of the screen to fit the dimensions of your transparency sheet on the concave part of the screen. Place a push pin on each corner of the flat side of the screen to keep it elevated off the table during photo emulsion application process.Place a linear dollop of photo emulsion on one side of the screen. Squeegee from one end to the other to coat the screen. Make multiple passes if necessary to cover the screen. Flip screen over and squeegee the other side. Basically, try and achieve a smooth layer of emulsion on either side of the screen.Place horizontal with push pin side down in a dark box or location that will not be exposed to light. We found a UPS box was the perfect size. Let dry. Try overnight or 24 hours for best results.Your screen is now ready to be burned. PHASE 2: BURNING THE SCREEN Rig a 250 watt bulb so that it is level and 15 inches from the surface where you will place the screen. I used a portable work light (found at Home Depot for $10), a chair set on its side, a couple of pieces of wood and some string to tie the wood to the chair and the light to the wood. These were all materials I found around our studio. Be creative, you can set up your light using any materials you can find that will work. As you can see from the photo, it doesn’t need to look pretty! The important thing is to keep the light level and 15 inches from the table.Print your design in black on a transparency. Remember whatever is printed in black should be the image you want to print.Create a dark room. If your room has a window, block out any light with dark paper or cardboard and tape. Before turning out the lights, you might want to orient yourself. For instance, I had to figure out where the screen needed to sit underneath the bulb and where the transparency needed to sit on the screen. It's helpful if you can match the corner of your image with the corner of the screen, that way your image will be square on the screen. If you happen to have a darkroom safe light or want to purchase one, you'll have a much easier time finding your way around! Once you're fully oriented, now you are ready to expose your image. Turn off the lights. Pull the screen out of the dark box, place on the table under the 250 watt bulb (which is NOT yet on), and place your transparency on the screen. Cover the transparency with a piece of glass. Turn on the bulb and set your timer for 15 minutes. Note: if you have a bulb with more or less wattage, look online for how long to expose the image. When the timer dings, turn off the bulb, wrap your screen in paper and head to the sink. PHASE 3: CLEANING THE SCREEN The emulsion will wash away where your screen was masked by your image. Run water over the screen until the image is exposed. You might need to use a toothbrush to help this process along. Let the screen dry completely.PHASE 4: PRINTINGSlide the board inside your t-shirt. I found a piece of veneered plywood laying around.Place your screen on top of the shirt. Then add a linear dollop of screen printing ink at the top of the screen and squeegee from one end to the other. Redo a couple of times until you achieve a desired ink saturation. This took a little practice, and the t-shirts I printed towards the end looked much better than the first ones. I would recommend printing on a few old t-shirts to start (which I didn't do).Let t-shirts dry for a while (about an hour or so), and then set the ink by ironing the image with a warm iron. Disclaimer: The point of this blog post was to demonstrate that you shouldn't be scared to take on a screen printing project of your own! On the other hand, I hope I did not offend any true screen printing expert who will likely catch any novice mistakes I made.
Screen Print Multiples with Hinged Frame and Ikonart Stencil
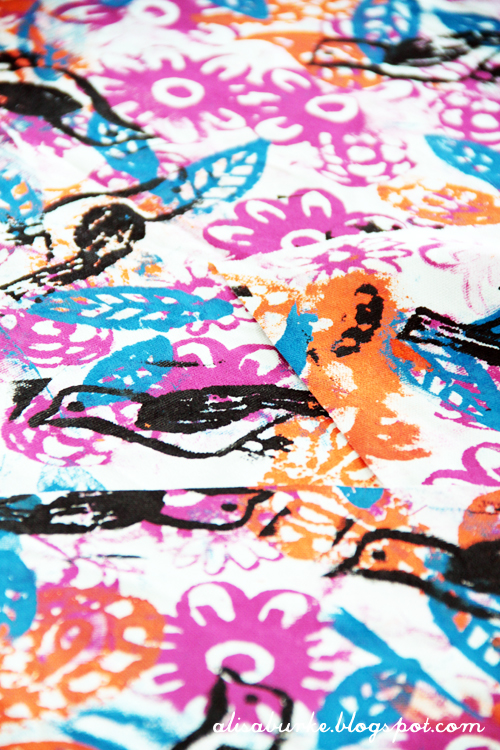
iLoveToCreate Blog: screen printed fabric
DIY Screen Printing with Mod Podge (Easy!) - Mod Podge Rocks

BLOG Squeegee & Ink
Illustrator] - - Help with setting the image to 200 PPI
DIY Screen Printed T-Shirts Tutorial - Jennifer Maker
My First Time Using a Silk Screen on Clay – Yolandie Horak
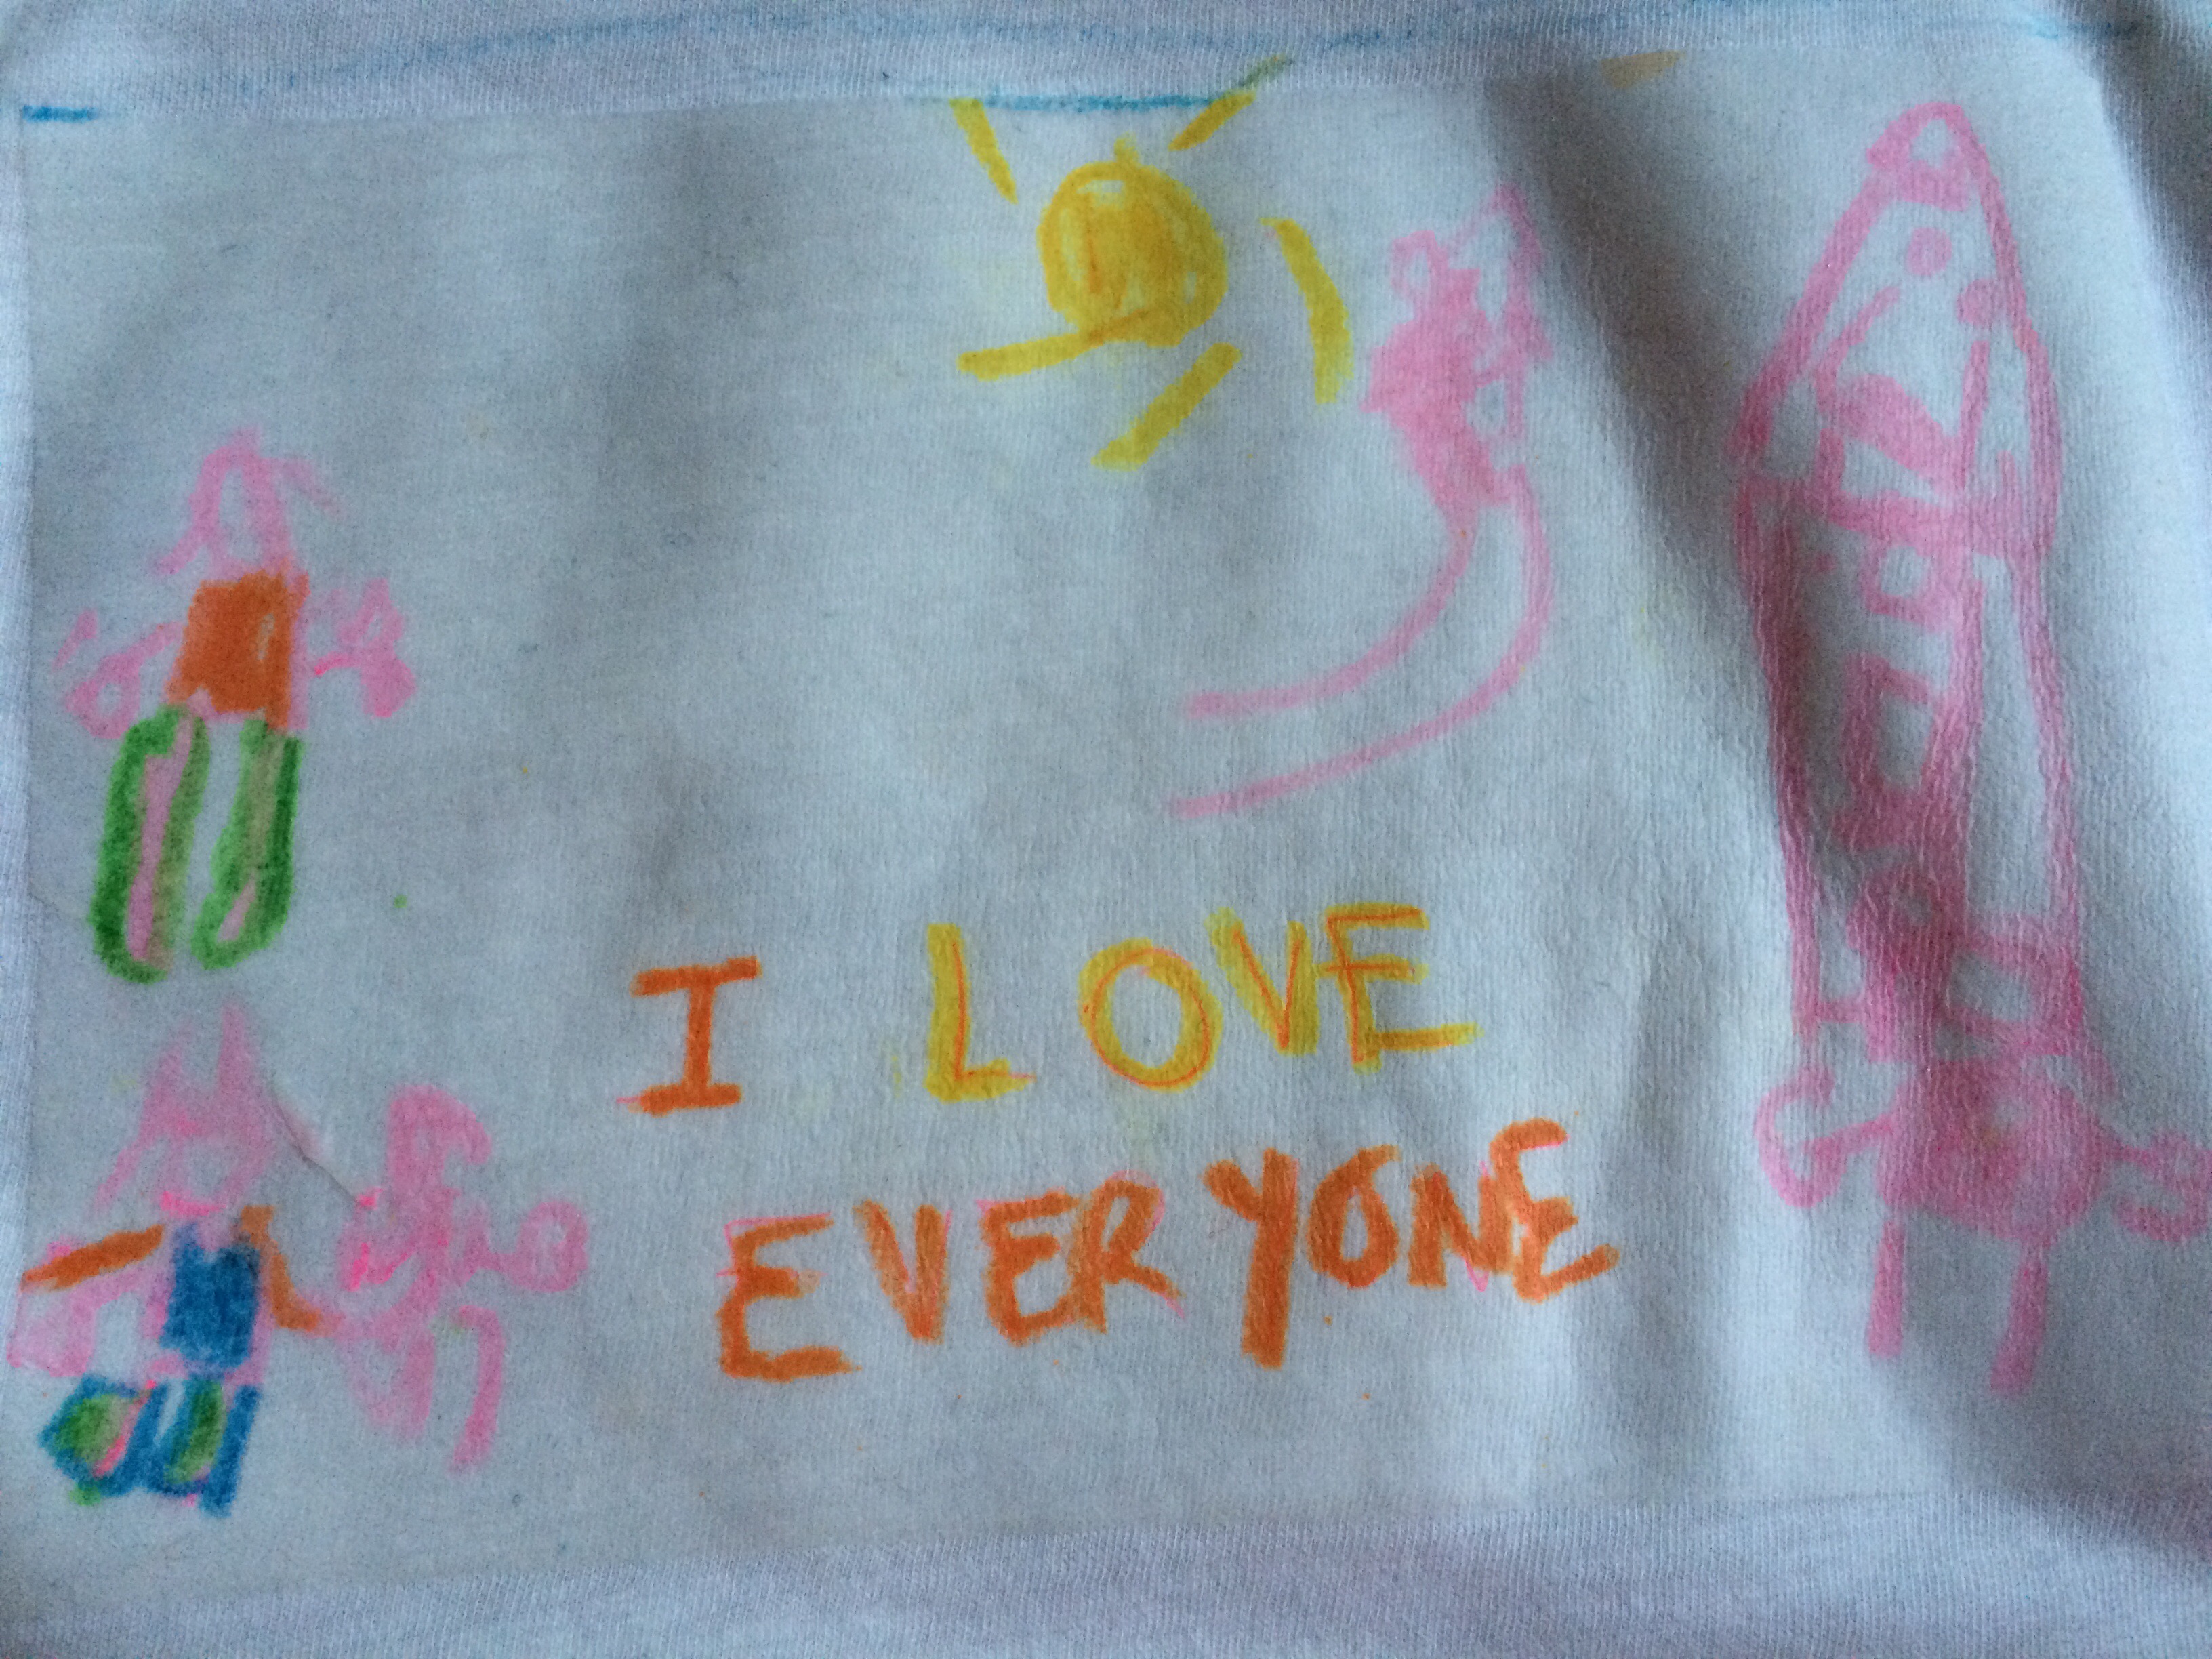
Kid diy screen printing

How to Start a Screen Printing Business (and Make Nearly $1M/Year
DIY Screen Printing: Easy, Detailed & Inexpensive! : 7 Steps (with
Blog — Knighthawk Screen Printing
🔓 Unlock the Secrets of Curing Screen Printing Ink - Screen Print
DIY Screen Printing at Home Kits by DIY Print Shop® Made In USA
The Anti Gravity Room with Broadway Comics –
Recommended for you
-
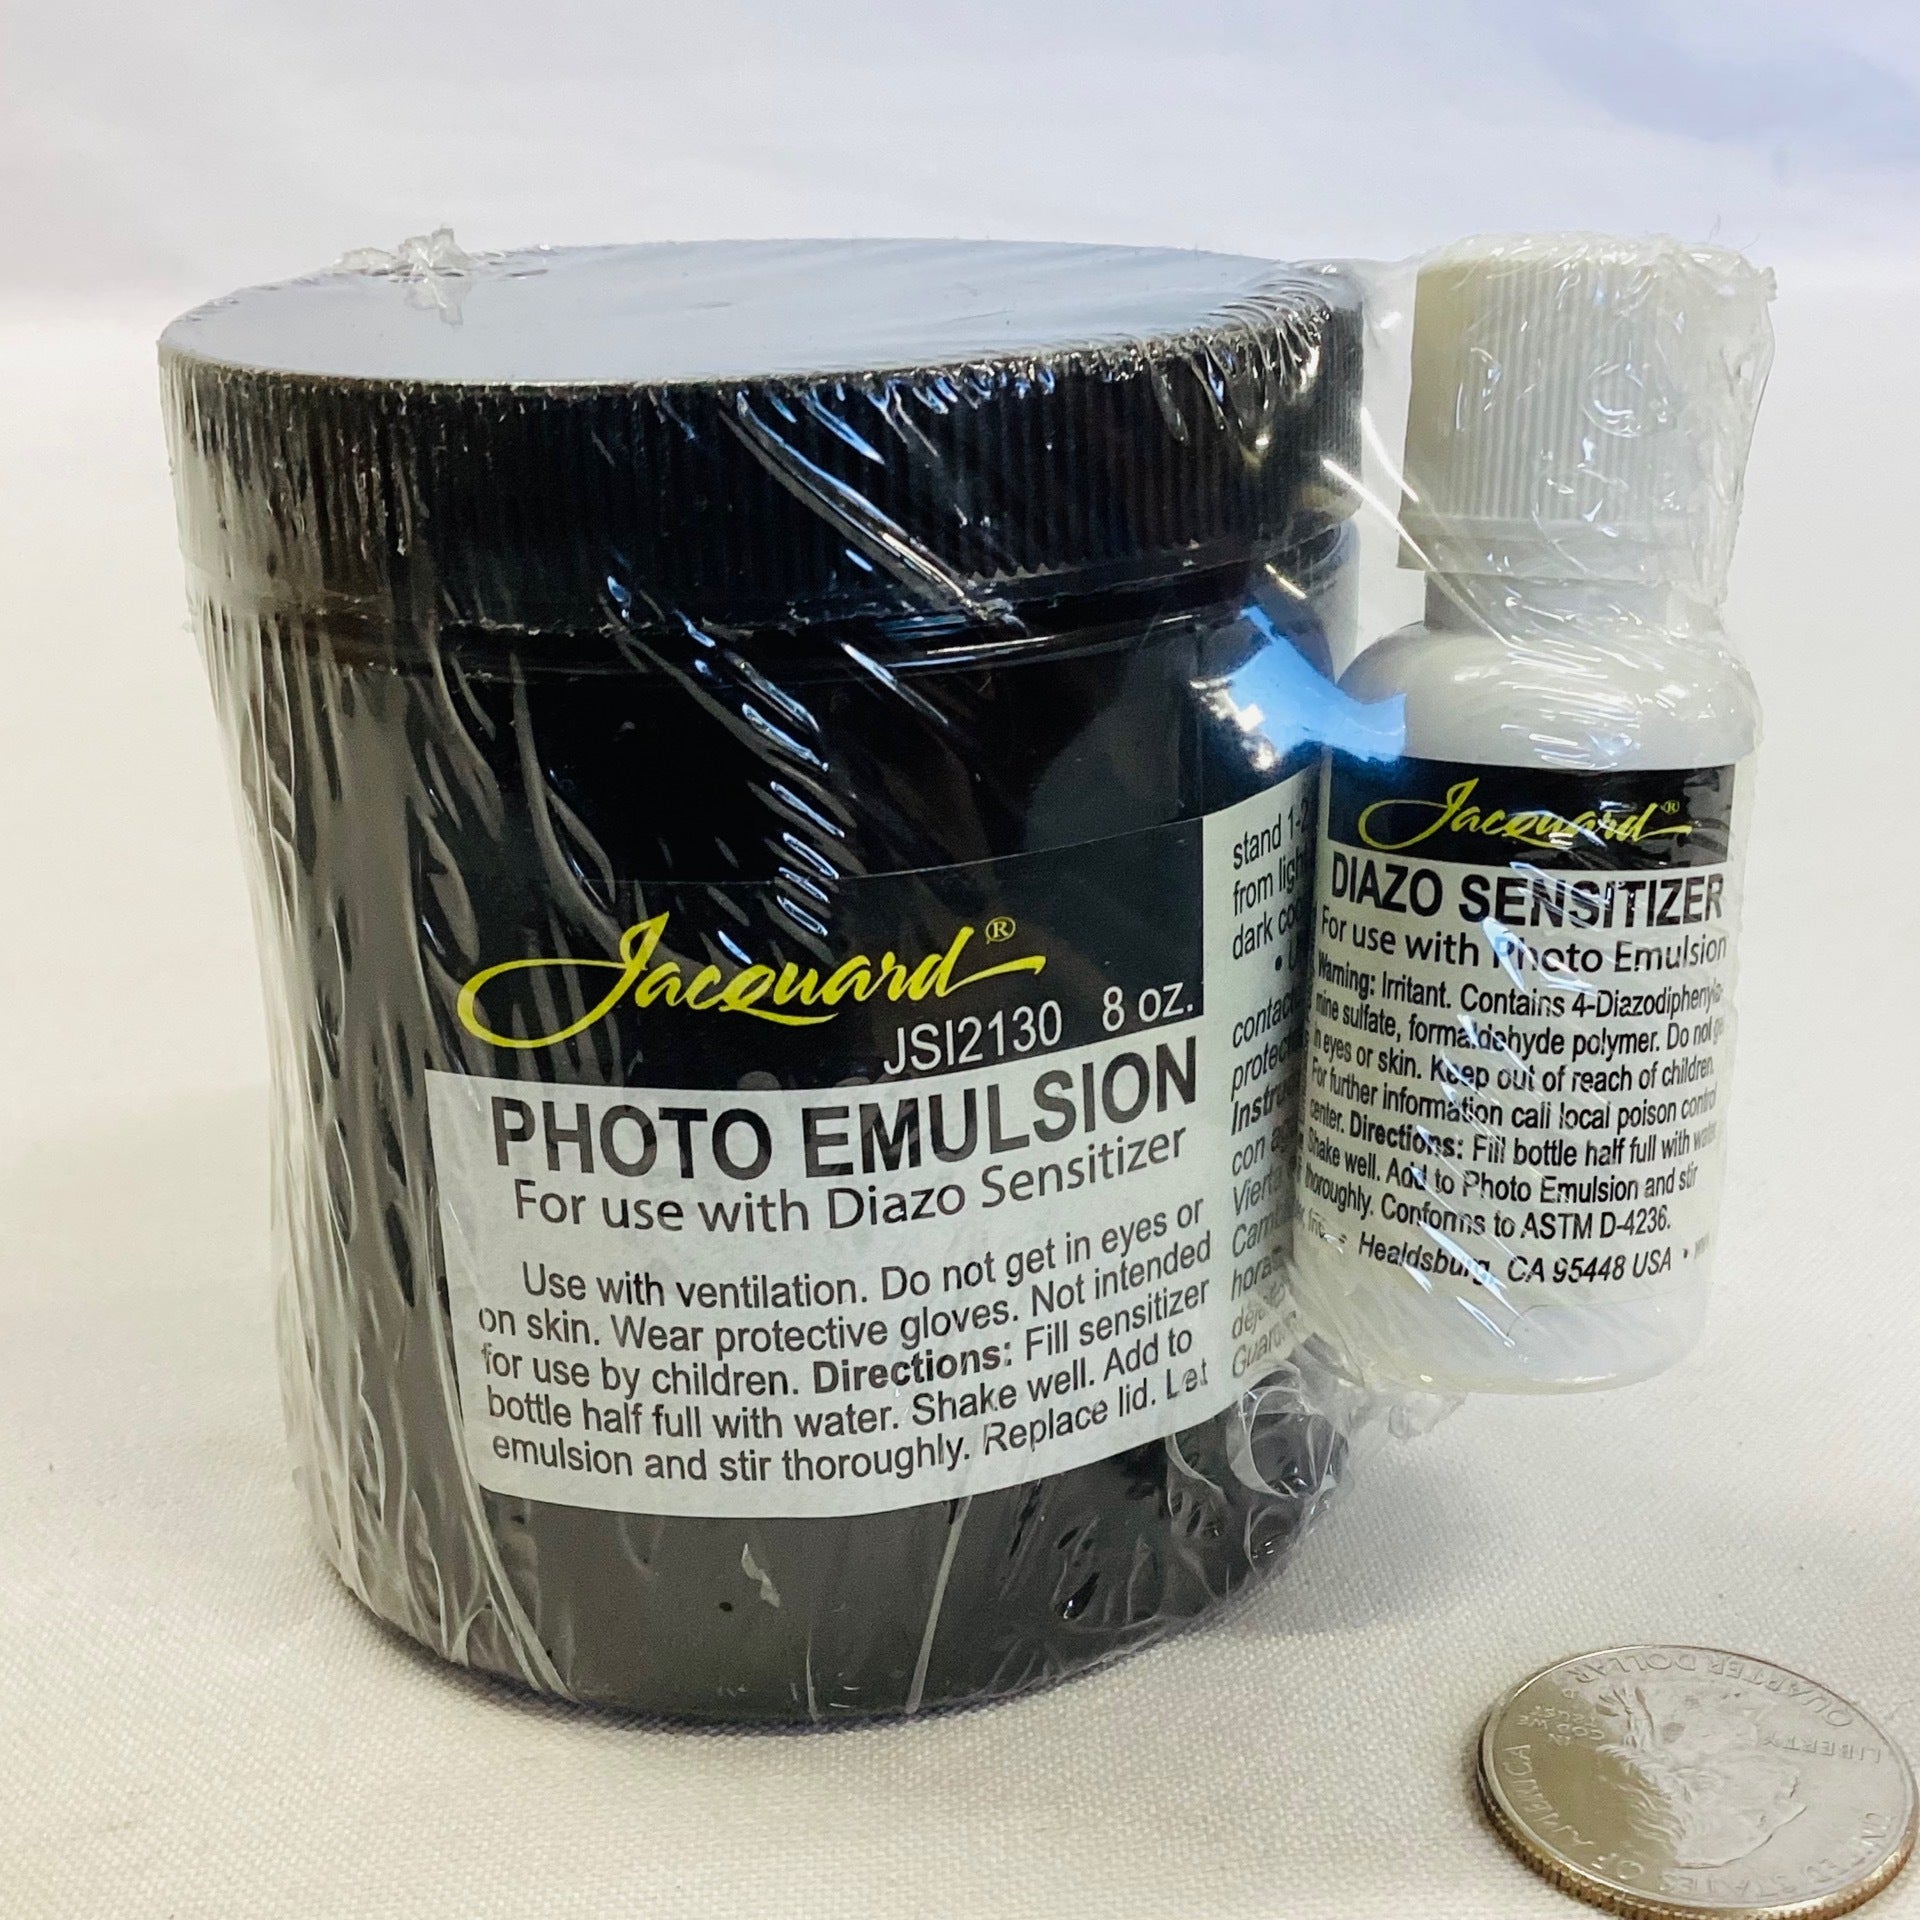
 Speedball® Diazo Photo Emulsion Kit12 May 2024
 -
 Kiwocol Poly-Plus ER (Tack Free) Emulsion (Quart)12 May 2024
 -
 Holden's 250 Diazo Photo Emulsion for Water Based Printing, Size: Gallon12 May 2024
 -
 Photo Emulsion Kit - Meininger Art Supply12 May 2024
 -
 Vegan Lactic Acid - Naturium12 May 2024
 -
 Sulwhasoo Essential Comfort Balancing Emulsion 4.22 oz / 125 ml12 May 2024
 -
 Water Resistant and Solvent Resistant Photo Emulsion - Screen printing frame, Screen printing squeegee, Screen printing mesh12 May 2024
 -
 903WR Photo Emulsion For Water-Based and Plastisol Ink12 May 2024
 -
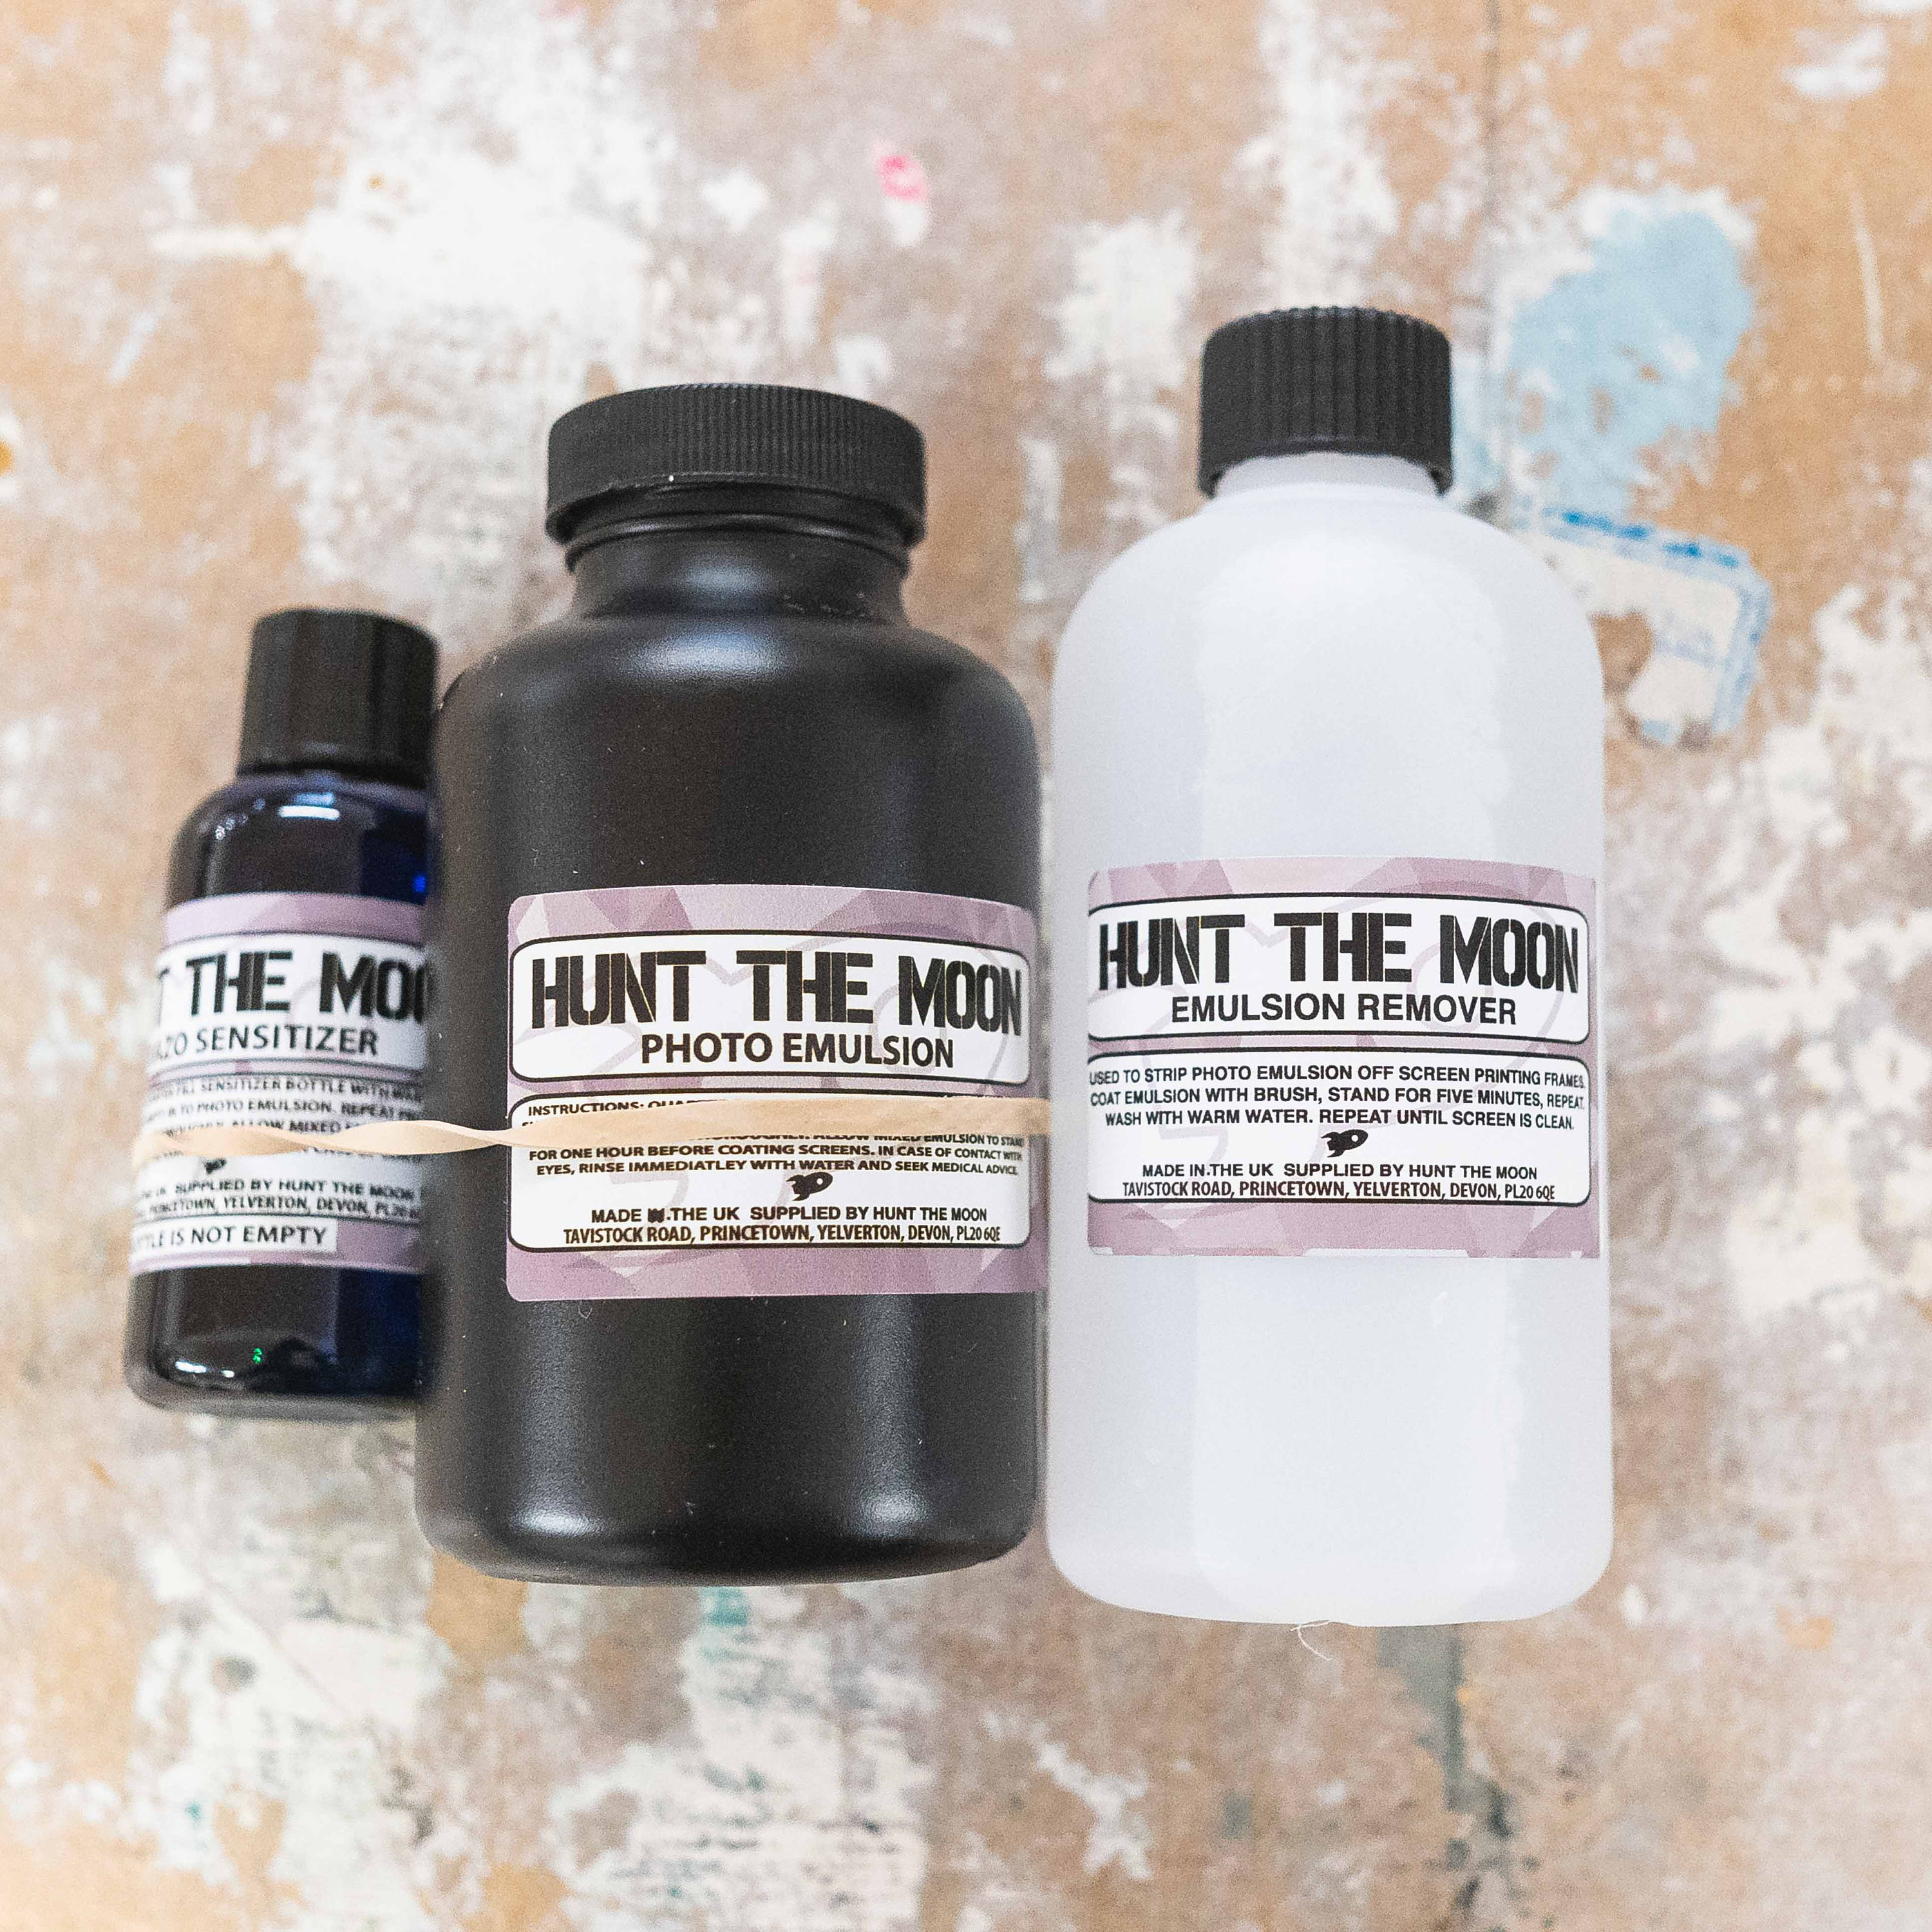 Photo Emulsion, Sensitiser & Remover Bundle 250ml or 1ltr Hunt the Moon12 May 2024
 -
 Fine Art: Photo Emulsion & Sensitizer12 May 2024
You may also like
-
 5Pcs Wooden Mini Easel Frame Wedding Table Number Card Stand Photo Display Holder Kids Painting Craft Artist Supplies Home Decor - AliExpress12 May 2024
 -
 Large 3D Rose - Silicone Mold –12 May 2024
 -
Como usar los prendedores12 May 2024
-
 How To Remove Scratches On Stainless Steel Cleaning hacks, Deep cleaning tips, Cleaning12 May 2024
 -
 China Custom Suede Silver Polishing Cloth Suppliers, Manufacturers12 May 2024
 -
 KOP02034 White Blank Opaque Dice D6 16mm (5/8in) Pack of 1212 May 2024
 -
 Raw Brass Earring,charms for Earring Making,brass Jewelry Connectors,circle Shape Earring,earring Accessories,earring Parts Supply FQ011412 May 2024
 -
 Viking 20 In. L Heavy-Duty Windshield Squeegee - Johnson Hardware & Furniture12 May 2024
 -
 10 Fun Things to Do in County Cork January 202412 May 2024
 -
 24-Inch Freestanding Electric Range12 May 2024