Autumn Embroidery Floral v1 - Image Transfer Paper – babycutters
By A Mystery Man Writer
Last updated 10 Jun 2024
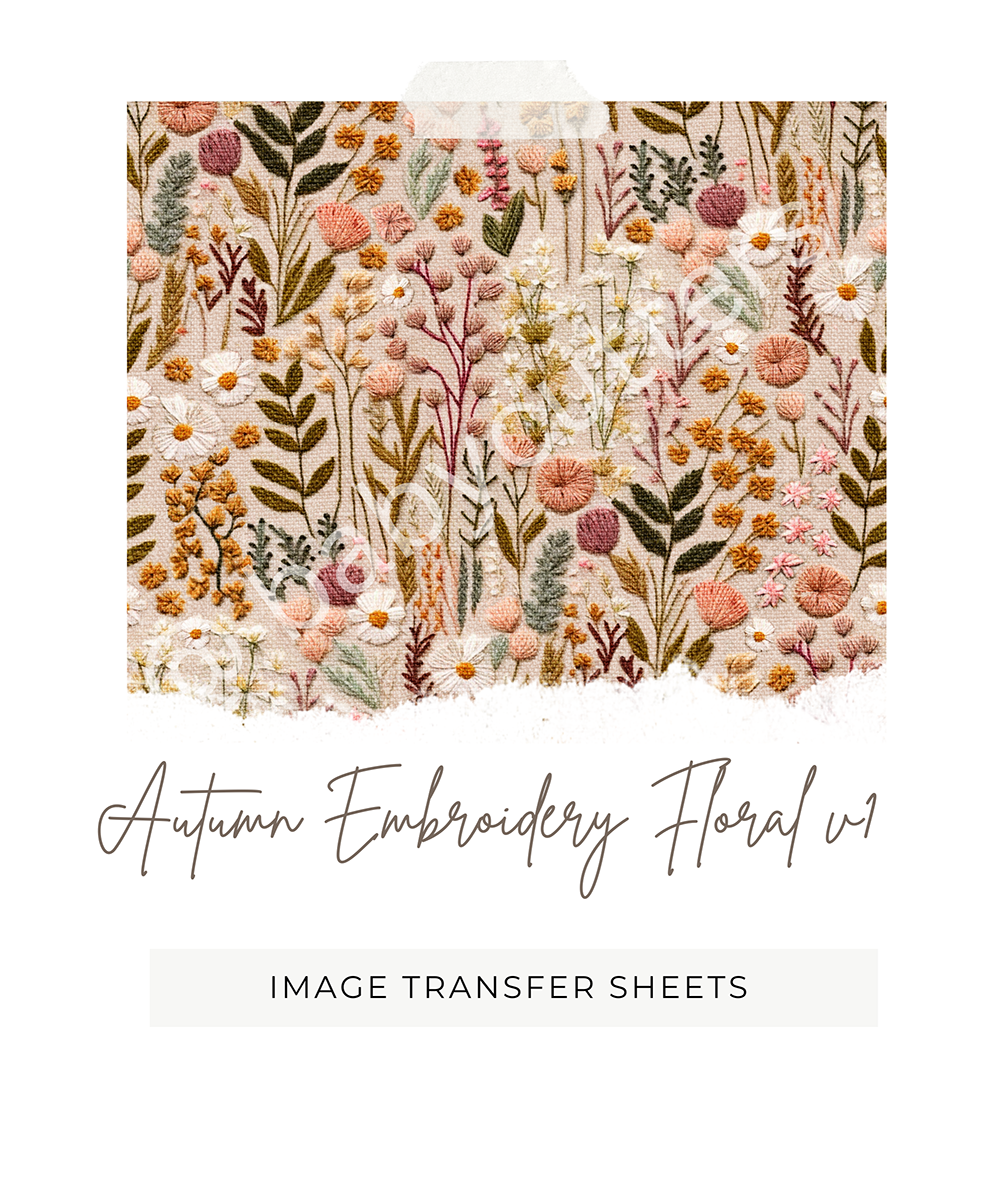
You will get:⋒ 1 Sheet - size (4 inch & 5 inch / 100mm & 130mm)⋒ Instructions sheetGETTING STARTED WITH WATER SOLUBLE SHEET:1. Condition clay slab and roll onto a tile surface.2. Place Transfer paper colourful side down onto clay surface.5. Gently smooth into place and roll the transfer paper a few times, ensur
You will get:⋒ 1 Sheet - size (4 inch & 5 inch / 100mm & 130mm)⋒ Instructions sheetGETTING STARTED WITH WATER SOLUBLE SHEET:1. Condition clay slab and roll onto a tile surface.2. Place Transfer paper colourful side down onto clay surface.5. Gently smooth into place and roll the transfer paper a few times, ensuring all surfaces of the paper are rolled down onto the clay.6. Let it sit there for 5 minutes or longer, the longer the better the result.7. Now rinse it in running water until the paper wash off but DO NOT wash too long or everything will come out even the pattern. (No need to rub it off with your finger as the water will wash it off)8. Gently pat dry the pattern on the clay.9. Now you are ready to use and cut with your cutter.RECOMMENDED METHOD:What do I need?Tile, roller and polymer clay (Fimo, Sculpey)Do I use water?Yes, water is required, preferably a running tap.Can I use with my cutters before baking?Yes!GETTING STARTED WITH WATERLESS SHEET:1. Condition clay and roll onto a tile surface.2. Apply a very thin even layer of Hi-Tack Very Sticky Fast Track Glue adhesive on the surface of the clay.3. Peel the backing paper out of the transfer paper4. Place Transfer paper colourful side down onto clay surface.5. Gently smooth into place with a roller or your fingers to remove any air bubbles.6. Roll the transfer paper a few times, ensuring all surfaces of the paper are rolled down onto the clay.7. Burnish the transfer paper and around the corner for a few minutes and then gently peel the small film from the corner, check that the pattern is stuck on clay before fully pulling the film out.RECOMMENDED METHOD:What do I need?Hi-Tack Very Sticky Fast Tack Glue, tile, roller and polymer clay (Fimo, Sculpey)Do I use water?No. No water required.Can I use with my cutters before baking?Yes!Do I need to seal these?It is optional, if you like to have a vibrant glossy finish, then I suggest applying dura clear glossy varnish or a clear UV resin.What else do I need to know?Please note that image colours look different in person and will also change slightly upon baking, this is normal. Also, I do not recommend using Liquid Polymer clay or Oven-bake adhesive, as this will not always work. The best glue is Hi-Tack Very Sticky Fast Track Glue - when a thin layer is applied, the clay can be re-used, but if a thick layer is applied, the clay cannot be re-used as scrap. Make sure to purchase Very Sticky version.Colour may change slightly when applied and baked.Please be aware that pattern placement will vary.Watermarks are not included in the sheets.Sheet colours may vary between waterless and water soluble.Applying resin to the finished pieces can really help add a vibrancy. More Process video can be viewed in instagram, under image transfer tutorial - @babyclaycutters
You will get:⋒ 1 Sheet - size (4 inch & 5 inch / 100mm & 130mm)⋒ Instructions sheetGETTING STARTED WITH WATER SOLUBLE SHEET:1. Condition clay slab and roll onto a tile surface.2. Place Transfer paper colourful side down onto clay surface.5. Gently smooth into place and roll the transfer paper a few times, ensuring all surfaces of the paper are rolled down onto the clay.6. Let it sit there for 5 minutes or longer, the longer the better the result.7. Now rinse it in running water until the paper wash off but DO NOT wash too long or everything will come out even the pattern. (No need to rub it off with your finger as the water will wash it off)8. Gently pat dry the pattern on the clay.9. Now you are ready to use and cut with your cutter.RECOMMENDED METHOD:What do I need?Tile, roller and polymer clay (Fimo, Sculpey)Do I use water?Yes, water is required, preferably a running tap.Can I use with my cutters before baking?Yes!GETTING STARTED WITH WATERLESS SHEET:1. Condition clay and roll onto a tile surface.2. Apply a very thin even layer of Hi-Tack Very Sticky Fast Track Glue adhesive on the surface of the clay.3. Peel the backing paper out of the transfer paper4. Place Transfer paper colourful side down onto clay surface.5. Gently smooth into place with a roller or your fingers to remove any air bubbles.6. Roll the transfer paper a few times, ensuring all surfaces of the paper are rolled down onto the clay.7. Burnish the transfer paper and around the corner for a few minutes and then gently peel the small film from the corner, check that the pattern is stuck on clay before fully pulling the film out.RECOMMENDED METHOD:What do I need?Hi-Tack Very Sticky Fast Tack Glue, tile, roller and polymer clay (Fimo, Sculpey)Do I use water?No. No water required.Can I use with my cutters before baking?Yes!Do I need to seal these?It is optional, if you like to have a vibrant glossy finish, then I suggest applying dura clear glossy varnish or a clear UV resin.What else do I need to know?Please note that image colours look different in person and will also change slightly upon baking, this is normal. Also, I do not recommend using Liquid Polymer clay or Oven-bake adhesive, as this will not always work. The best glue is Hi-Tack Very Sticky Fast Track Glue - when a thin layer is applied, the clay can be re-used, but if a thick layer is applied, the clay cannot be re-used as scrap. Make sure to purchase Very Sticky version.Colour may change slightly when applied and baked.Please be aware that pattern placement will vary.Watermarks are not included in the sheets.Sheet colours may vary between waterless and water soluble.Applying resin to the finished pieces can really help add a vibrancy. More Process video can be viewed in instagram, under image transfer tutorial - @babyclaycutters

Puocaon Floral Clay Transfer Paper - 4 Design 20 Pcs

AccuCut General Dies Starter Sets

Flower Cutters - Dream Cutters and Molds
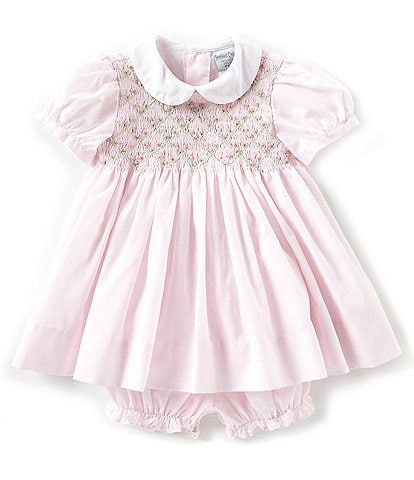
Friedknit Creations Baby Girl 3-9 Months Floral Smock Romper

Decor Transfers® – Floral Silhouette – total sheet size 24″x35
silhouette file instructions
Autumn Embroidery Floral v1 - Image Transfer Paper – babycutters

Autumn Embroidery Floral v1 - Image Transfer Paper – babycutters

Robins and Sunflowers Embroidery Pattern Fall Hand Embroidery

Decor Transfers® – Floral Silhouette – total sheet size 24″x35
You will get:, ⋒ 1 Sheet - size (4 inch & 5 inch / 100mm & 130mm), ⋒ Instructions sheet, GETTING STARTED WITH WATER SOLUBLE SHEET:, 1. Condition clay

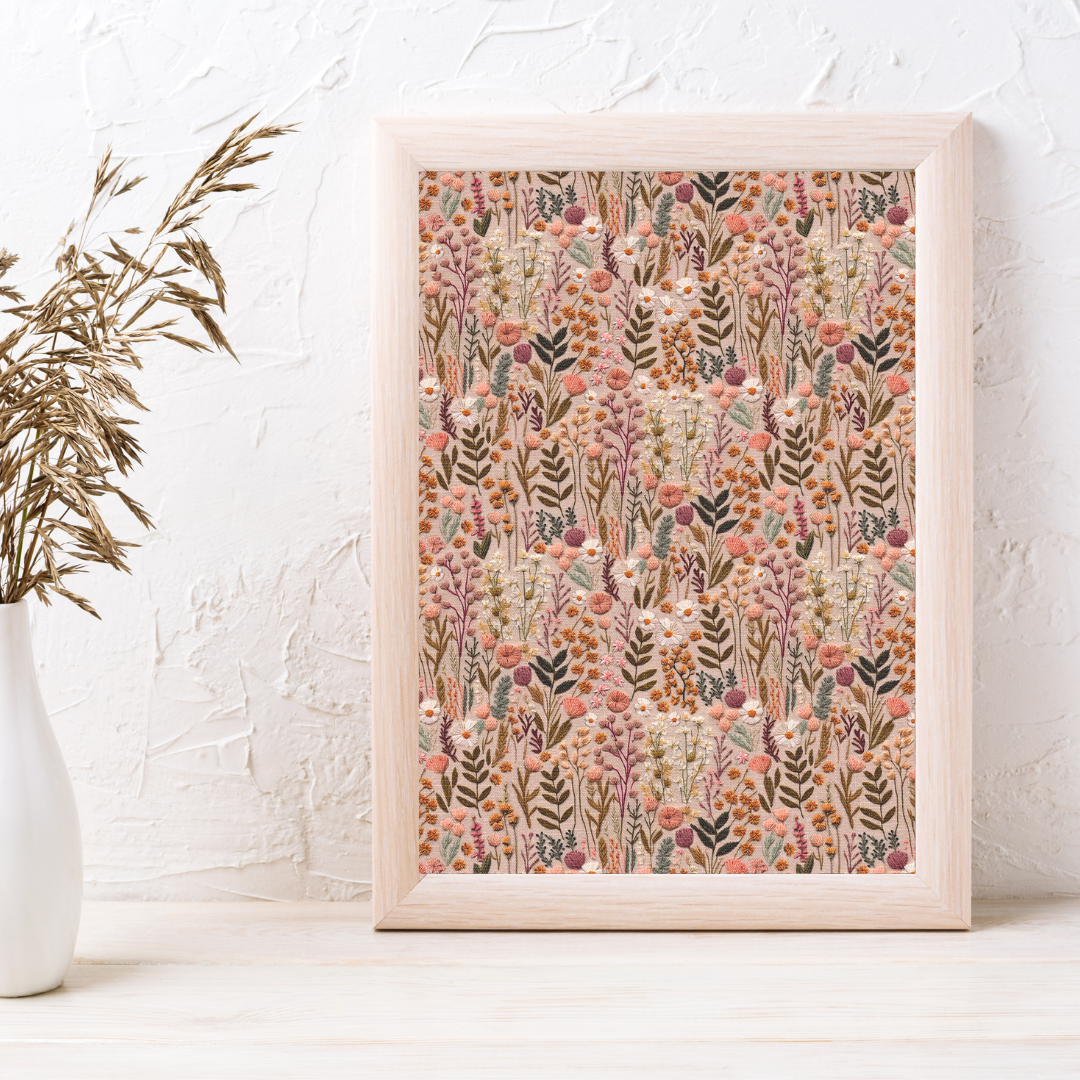
Autumn Embroidery Floral v3 /Image Transfer Paper / Polymer Clay Transfer Paper / Clay Tools / Earring Making
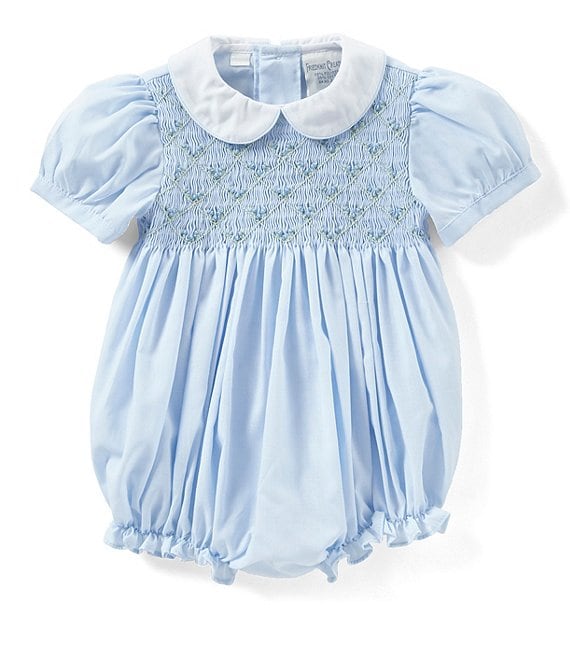
Friedknit Creations Baby Girl 3-9 Months Floral Smock Romper
Autumn Embroidery Floral v1 - Image Transfer Paper – babycutters
Recommended for you
-
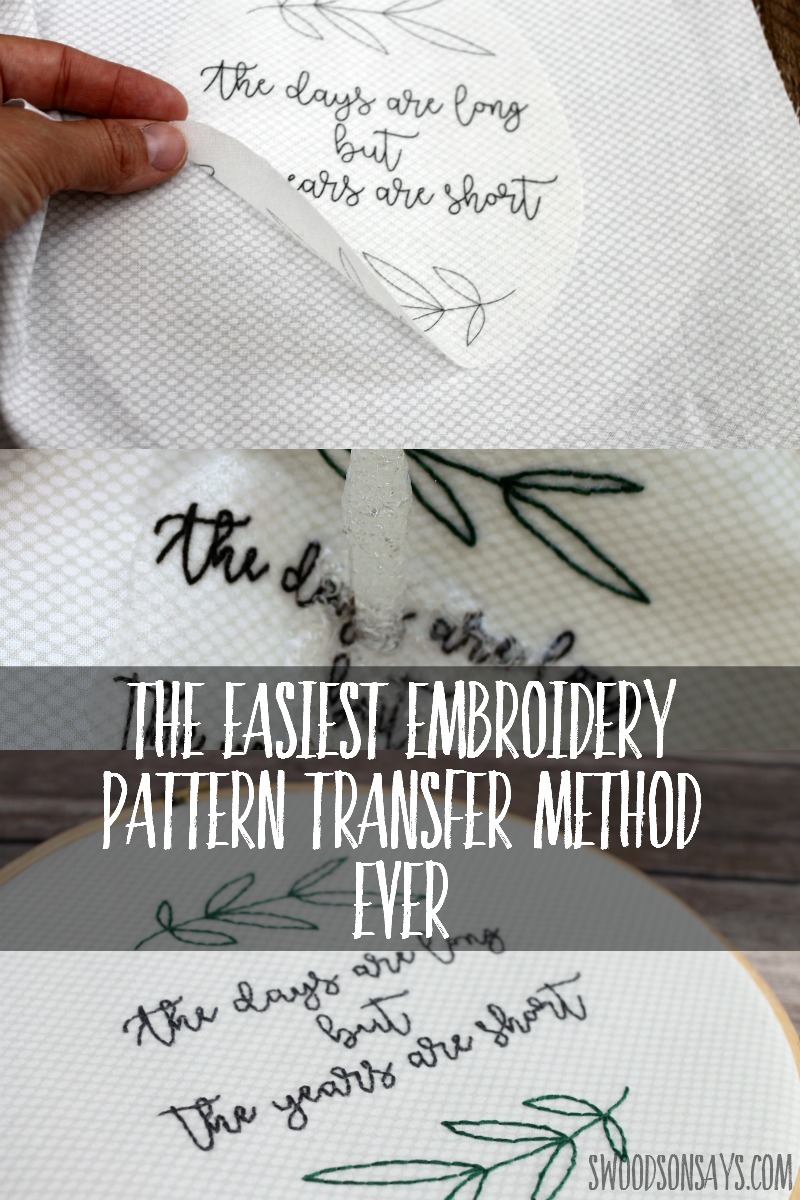 Trick for how to transfer embroidery patterns10 Jun 2024
 -
 How to do an embroidery pattern transfer on fabric10 Jun 2024
 -
 10Sheets DIY Embroidery Transfer Paper Copy Pattern Tracing Paper Sewing Lovers – the best products in the Joom Geek online store10 Jun 2024
 -
 How to transfer designs to fabric DMC Embroidery Transfer Paper - QUILTsocial10 Jun 2024
 -
 DIY Embroidery Transfer Paper Hand Stitch Embroidery Paper Cloth Copying Paper Sewing Lovers – the best products in the Joom Geek online store10 Jun 2024
 -
 T Shirt Transfers Paper DIY Clothes Embroidery Aids Transfer Paper T Shirt Transfers Paper DIY Sewing Craft - AliExpress10 Jun 2024
 -
 Qinlorgo Convenient Durable Sulky Stick Embroidery Transfer Paper for DIY10 Jun 2024
 -
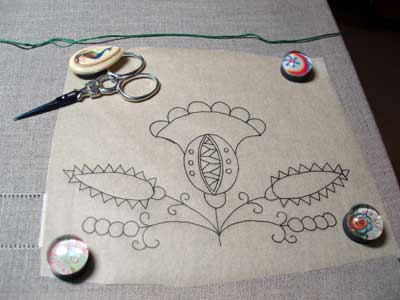 Transferring an Embroidery Pattern using Tracing Paper10 Jun 2024
 -
 Top 3 ways of transferring embroidery patterns to fabric - Peacock10 Jun 2024
 -
 16PCS Creative Transfer Paper Cross Pattern Transfers Embroidery10 Jun 2024
You may also like
-
 16 x 100 ft. x 4 Mil Roll of Heavy Duty Clear Plastic Sheet, from Best Materials10 Jun 2024
 -
 Learn How to Dye Pink Paper with this easy tutorial10 Jun 2024
 -
 color correcting/toner chart Hair color guide, Hair color wheel10 Jun 2024
 -
 Country Christmas Wax Melts 6 Oz Jumbo Wax Melt Christmas10 Jun 2024
 -
 Silicone Wrap Sleeve Kit Compatible With Sublimation Tumblers 30 Oz,with 1pcs Heat Transfer Tape Compatible With Sublimatio10 Jun 2024
 -
 Olive Branch Wax Seal Anticipate Invitations10 Jun 2024
 -
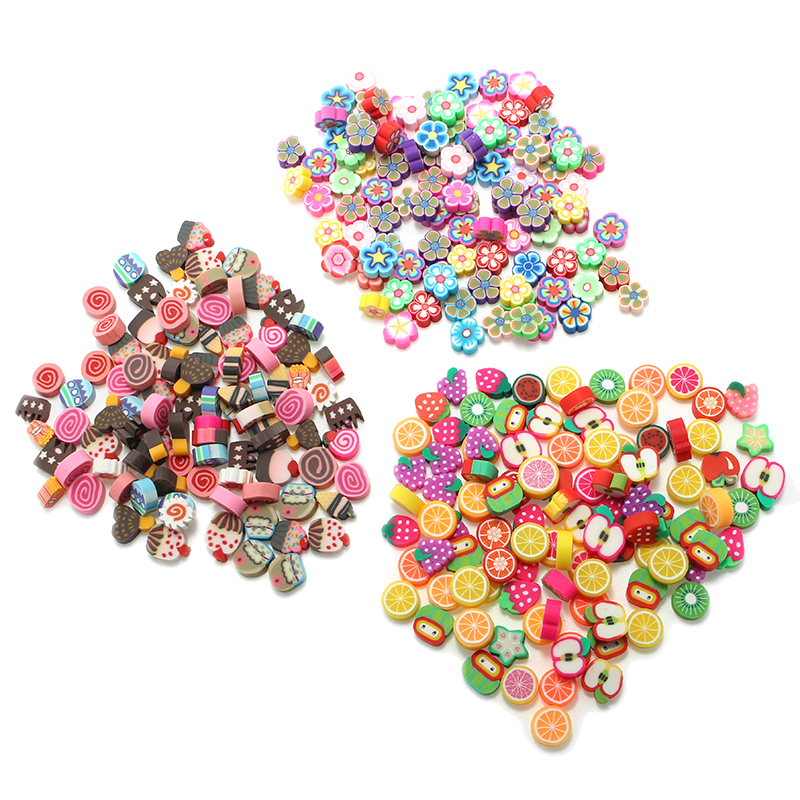 100PCS DIY Slime Accessories Decor Fruit Cake Flower Polymer Clay Toy Ornament –10 Jun 2024
 -
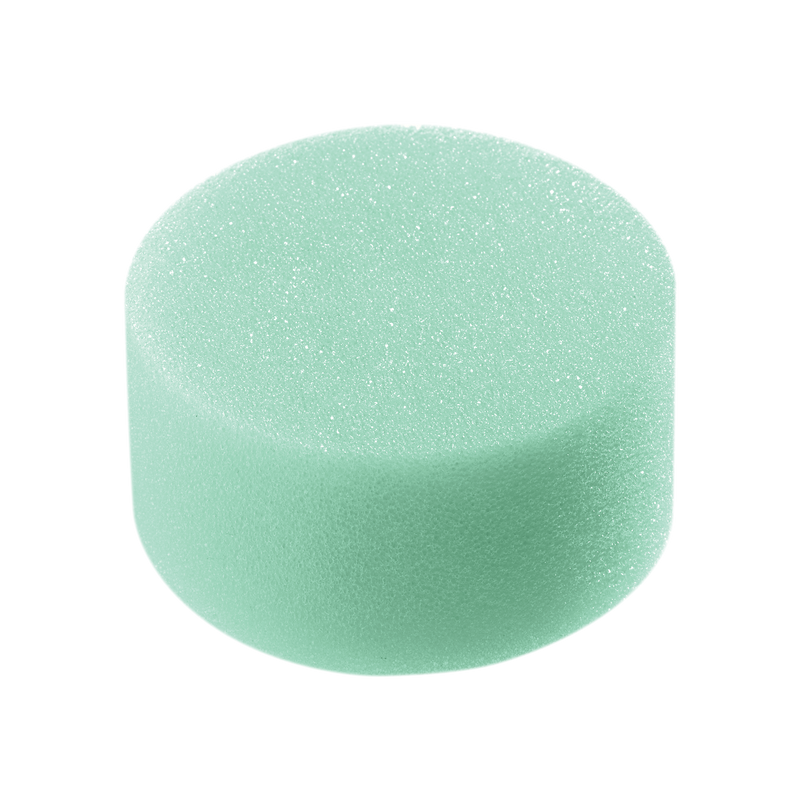 Round Synthetic Sponge10 Jun 2024
 -
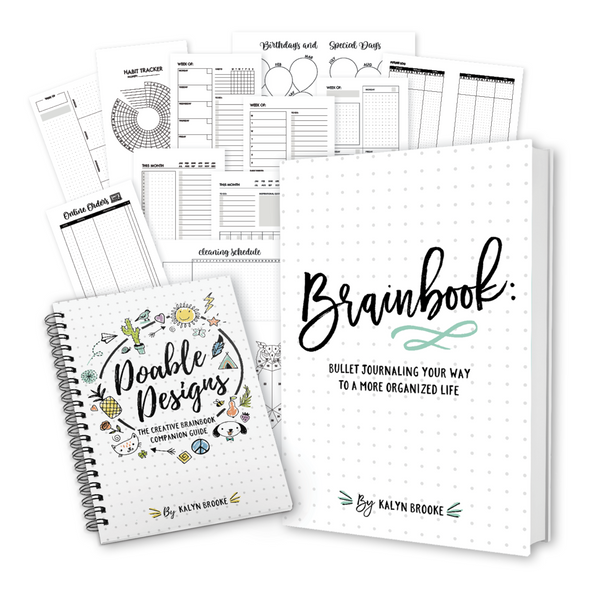 Bullet Journaling Starter Package (DIGITAL DOWNLOAD) – KB Creative10 Jun 2024
 -
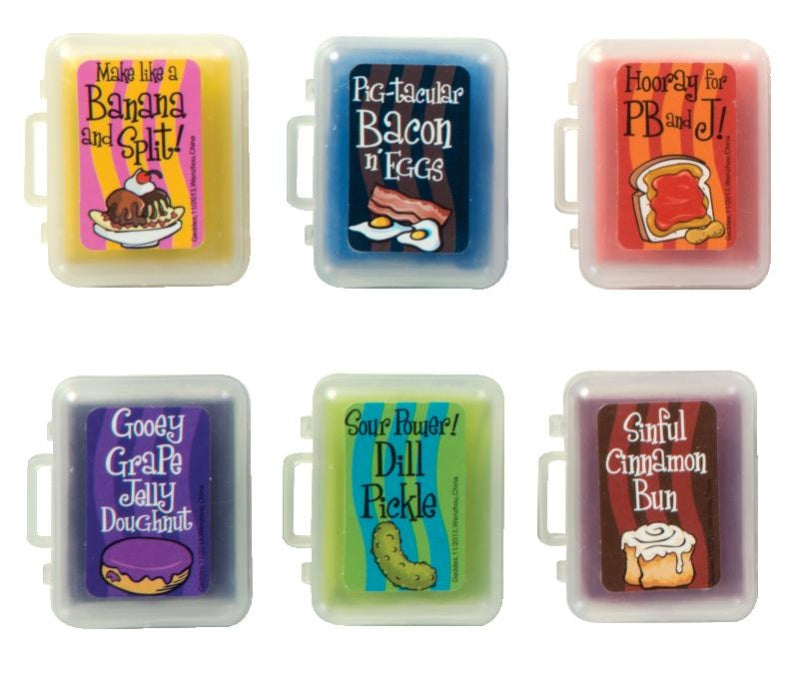 Fun Erasers: Scent-sibles Doo Wop Kneaded Erasers10 Jun 2024