How to apply a Re Design By Prima Transfer / Decal To Furniture – Shabby Nook
By A Mystery Man Writer
Last updated 12 May 2024
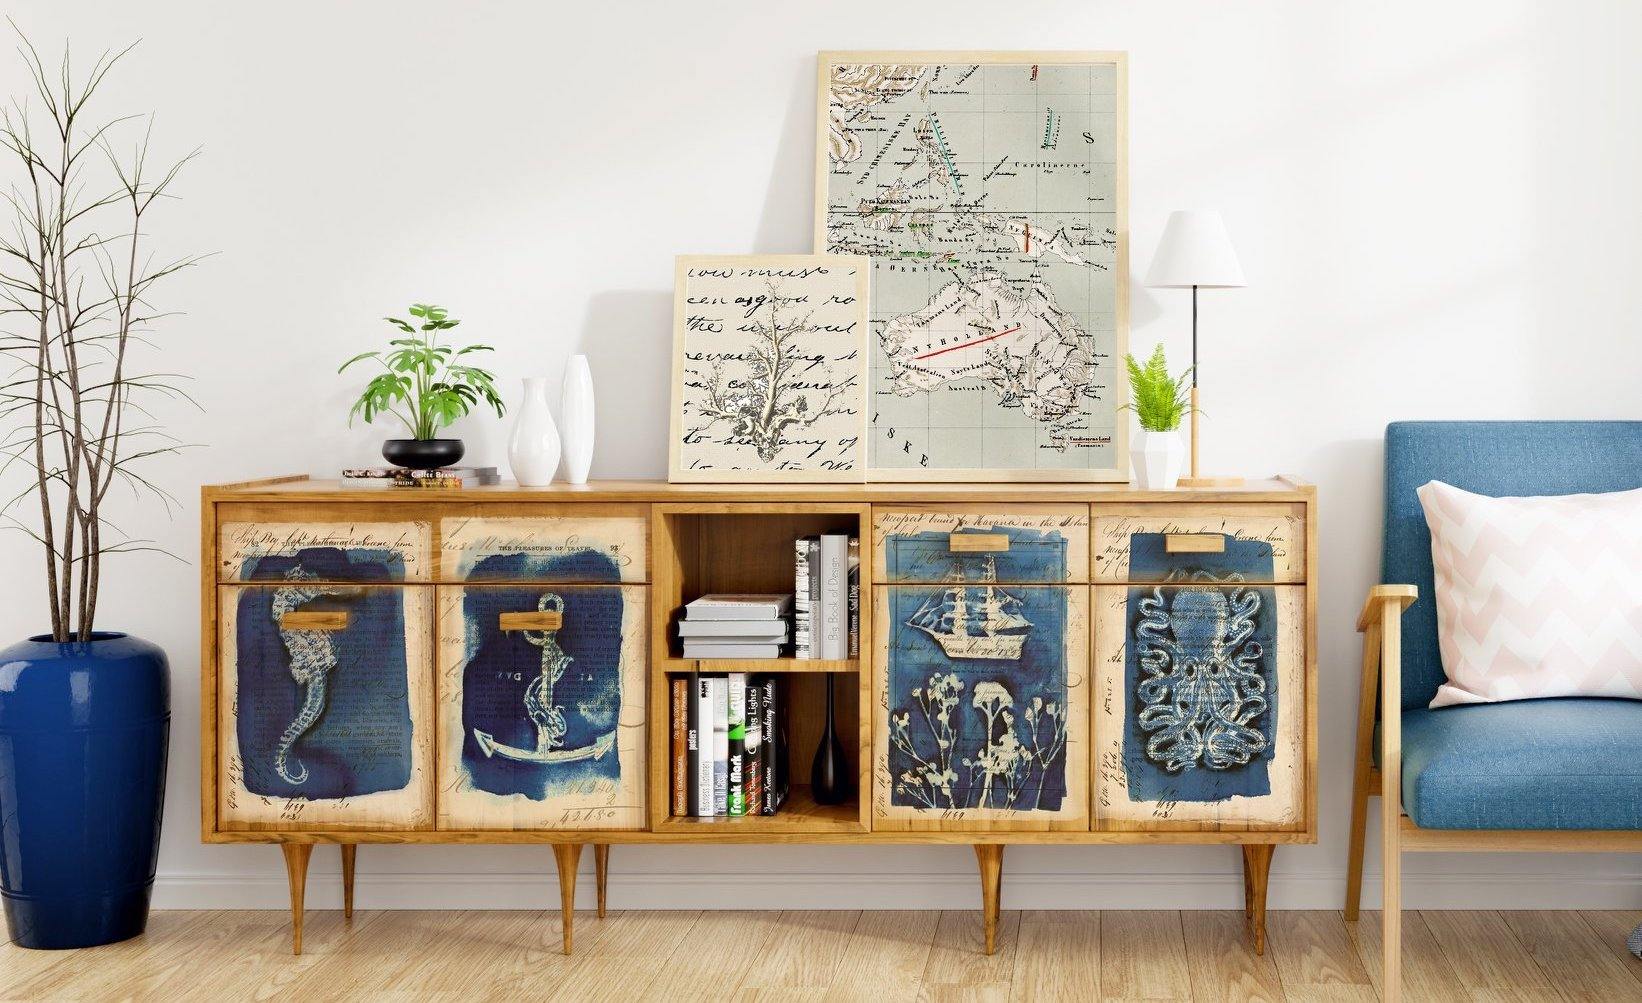
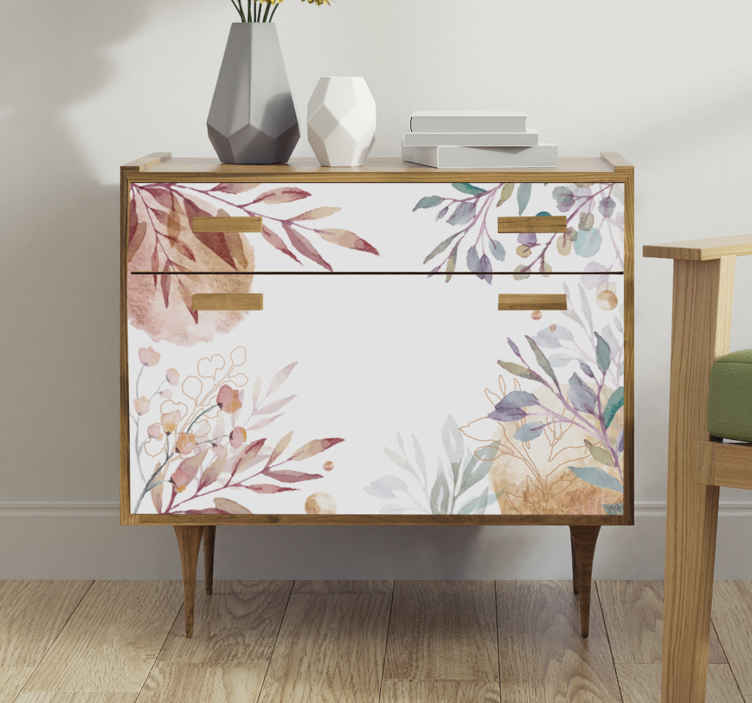
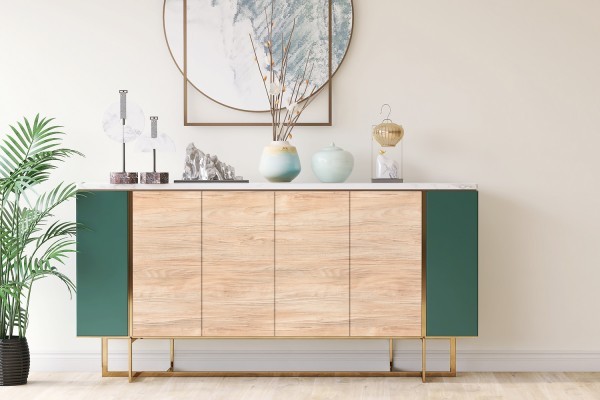
Follow these five simple sets when applying your furniture transfer. Transfers can be used on any flat surface including mirrors, glass, wood, walls, furniture. Here are some beautiful examples!
A furniture transfer is a pre-printed design that comes attached to a non-stick backing sheet. There’s lots of beautiful designs you can choose from and they can transform your furniture giving vintage vibes, shabby chic, modern or boho feel. Transfers can be used on any flat surface including mirrors, glass, wood, walls, furniture. It can also be used over painted furniture, just ensure that you've let the paint to settle for 24 hours before starting this process. You can apply a transfer on unpainted furniture, but not on a waxed piece. Adding a transfer to your furniture can be a really simple task with such rewarding results here is how it's done! Step 1.Clean your surface because if there is any dirt then it can prevent the transfer from adhering well. You can clean your furniture with Grime Cutter.Step 2. Choose which part of the design that you wish to use. Keep the two parts of the transfer paper together (the print and the white backing sheet) while cutting away at the part of the transfer you plan to use. The backing sheet is there to make sure that the back of the transfer doesn’t get dirty, so it’s really important that you handle it with care. Step 3. Once you have cut out all of the elements of the transfer, use masking tape to decide where you would like your transfer to sit on your piece of furniture. Once you are happy with the positioning of the design, this is where you can carefully remove the white backing sheet. Step 4.In the package for the transfer there would also be a plastic/wooden stick, this is what you will use to rub or also known as 'burnishing' the transfer onto the surface. Start from the edge and work your way in one direction, use the stick to rub the design until the image transfer is onto the surface. You shouldn’t have to push too hard but you may find you need to be repetitive in some areas of the transfers.If your transfer meets a draw or an edge, it may be easier to cut the transfer with a scalpel knife before continuing to rub this on. Step 5.When you are happy that all of the parts of the transfer have been rubbed onto your surface, you can peel back the clear sheet slowly checking that all the transfer has.transferred! Look closely as you go and if there's a anything that hasn't transferred, smooth the clear sheet back into position and can revisit step 4. At this point you may also notice that some of the transfer hasn’t taken well to creases or edges (such as doors, drawers or handles), with a small knife gently cut into these areas and push the design into the crack. Step 6. Finally, rub firmly around all the edges of the transfer with your finger, this will help ensure it is well adhered and it will reduce the risk of it lifting should you want to add a sealant or a top coat over the transfer. By carrying out this final step it will also reduce the haze that you can sometimes get when applying over dark colours. Some of my favourite transfers: You can find the transfers here for only £29.99 How inspiring are these pieces made by some of my lovely customers! By Ronnie Stokes By Jodie Flavell By Laura Downes By Sue Adams By Connie Clark Don't forget to keep posting your transformations on instagram and tagging us or into our Facebook group. We love seeing your masterpieces and sharing those with our followers on our Facebook and Instagram. If you are not already in our fab customer focus group please join us here: Furniture Painting Hub with Shabby Nook private group on Facebook where you can also ask questions, be inspired and get support on your painting journey!
A furniture transfer is a pre-printed design that comes attached to a non-stick backing sheet. There’s lots of beautiful designs you can choose from and they can transform your furniture giving vintage vibes, shabby chic, modern or boho feel. Transfers can be used on any flat surface including mirrors, glass, wood, walls, furniture. It can also be used over painted furniture, just ensure that you've let the paint to settle for 24 hours before starting this process. You can apply a transfer on unpainted furniture, but not on a waxed piece. Adding a transfer to your furniture can be a really simple task with such rewarding results here is how it's done! Step 1.Clean your surface because if there is any dirt then it can prevent the transfer from adhering well. You can clean your furniture with Grime Cutter.Step 2. Choose which part of the design that you wish to use. Keep the two parts of the transfer paper together (the print and the white backing sheet) while cutting away at the part of the transfer you plan to use. The backing sheet is there to make sure that the back of the transfer doesn’t get dirty, so it’s really important that you handle it with care. Step 3. Once you have cut out all of the elements of the transfer, use masking tape to decide where you would like your transfer to sit on your piece of furniture. Once you are happy with the positioning of the design, this is where you can carefully remove the white backing sheet. Step 4.In the package for the transfer there would also be a plastic/wooden stick, this is what you will use to rub or also known as 'burnishing' the transfer onto the surface. Start from the edge and work your way in one direction, use the stick to rub the design until the image transfer is onto the surface. You shouldn’t have to push too hard but you may find you need to be repetitive in some areas of the transfers.If your transfer meets a draw or an edge, it may be easier to cut the transfer with a scalpel knife before continuing to rub this on. Step 5.When you are happy that all of the parts of the transfer have been rubbed onto your surface, you can peel back the clear sheet slowly checking that all the transfer has.transferred! Look closely as you go and if there's a anything that hasn't transferred, smooth the clear sheet back into position and can revisit step 4. At this point you may also notice that some of the transfer hasn’t taken well to creases or edges (such as doors, drawers or handles), with a small knife gently cut into these areas and push the design into the crack. Step 6. Finally, rub firmly around all the edges of the transfer with your finger, this will help ensure it is well adhered and it will reduce the risk of it lifting should you want to add a sealant or a top coat over the transfer. By carrying out this final step it will also reduce the haze that you can sometimes get when applying over dark colours. Some of my favourite transfers: You can find the transfers here for only £29.99 How inspiring are these pieces made by some of my lovely customers! By Ronnie Stokes By Jodie Flavell By Laura Downes By Sue Adams By Connie Clark Don't forget to keep posting your transformations on instagram and tagging us or into our Facebook group. We love seeing your masterpieces and sharing those with our followers on our Facebook and Instagram. If you are not already in our fab customer focus group please join us here: Furniture Painting Hub with Shabby Nook private group on Facebook where you can also ask questions, be inspired and get support on your painting journey!
Instant beauty on virtually any surface you can imagine. Our Decor Transfers are easy to use rub-on transfers that release onto a wide variety of surfaces allowing for a multitude of decor, furniture and multi-media uses. Simply peel, rub-on and transfer a beautifully detailed design to transform your next piece into a work of art.

Redesign Decor Transfers - Albery 2 sheets

Rub on Furniture Decal PARISIAN LETTER Redesign With Prima

How to Apply Re-Design with Prima Furniture Transfers - In 5 Easy

How to apply furniture transfers, Prima transfers
Rub on Furniture Transfer, FLORAL COURT, Redesign With Prima

Maxi Transfers® – Dainty Blooms – 2 sheets, 12″x12″ – Re·Design

How to apply a Re Design By Prima Transfer / Decal To Furniture
DELICATE ROSES, Rub on Transfers for Furniture, Redesign With

How To Apply redesign with Prima™ Decor Transfers™ to Furniture
Recommended for you
-
 Rub on Transfers for Furniture, Furniture Decals, Redesign With Prima Transfers, ROYAL BURGUNDY, Rose Furniture Transfers, 44 X 3012 May 2024
 -
 Dress Up Your Furniture with Vinyl Stencil Stickers - Wall Decor Plus More12 May 2024
 -
 Gold Hollow Carving Mirror Sticker Furniture Modified Acrylic Mirror Decal Wardrobe Table Home Art Decoration Wall Stickers Home12 May 2024
 -
 Furniture Stickers, Decorative furniture designs - TenStickers12 May 2024
 -
 Furniture stickers & decals, self adhesive PCV foil for furniture12 May 2024
 -
 Cute design for kids decals for furniture12 May 2024
 -
 Rub on Transfers for Furniture Furniture Decals Redesign12 May 2024
 -
 WOODLAND FLORAL Rub on Transfers for Furniture, Redesign with Prima Transfers12 May 2024
 -
 Hearts kallax decals for furniture - TenStickers12 May 2024
 -
 Caves Beautiful Scenery Wall Sticker,3D Effect Window Furniture Decals Virtual Window Basement (W)47.3X(H)35.4 : Tools & Home Improvement12 May 2024
You may also like
-
 25 Amazing Gifts That Men Actually Want - Creative and Unique Gift Guide for Man Who Has Everything12 May 2024
 -
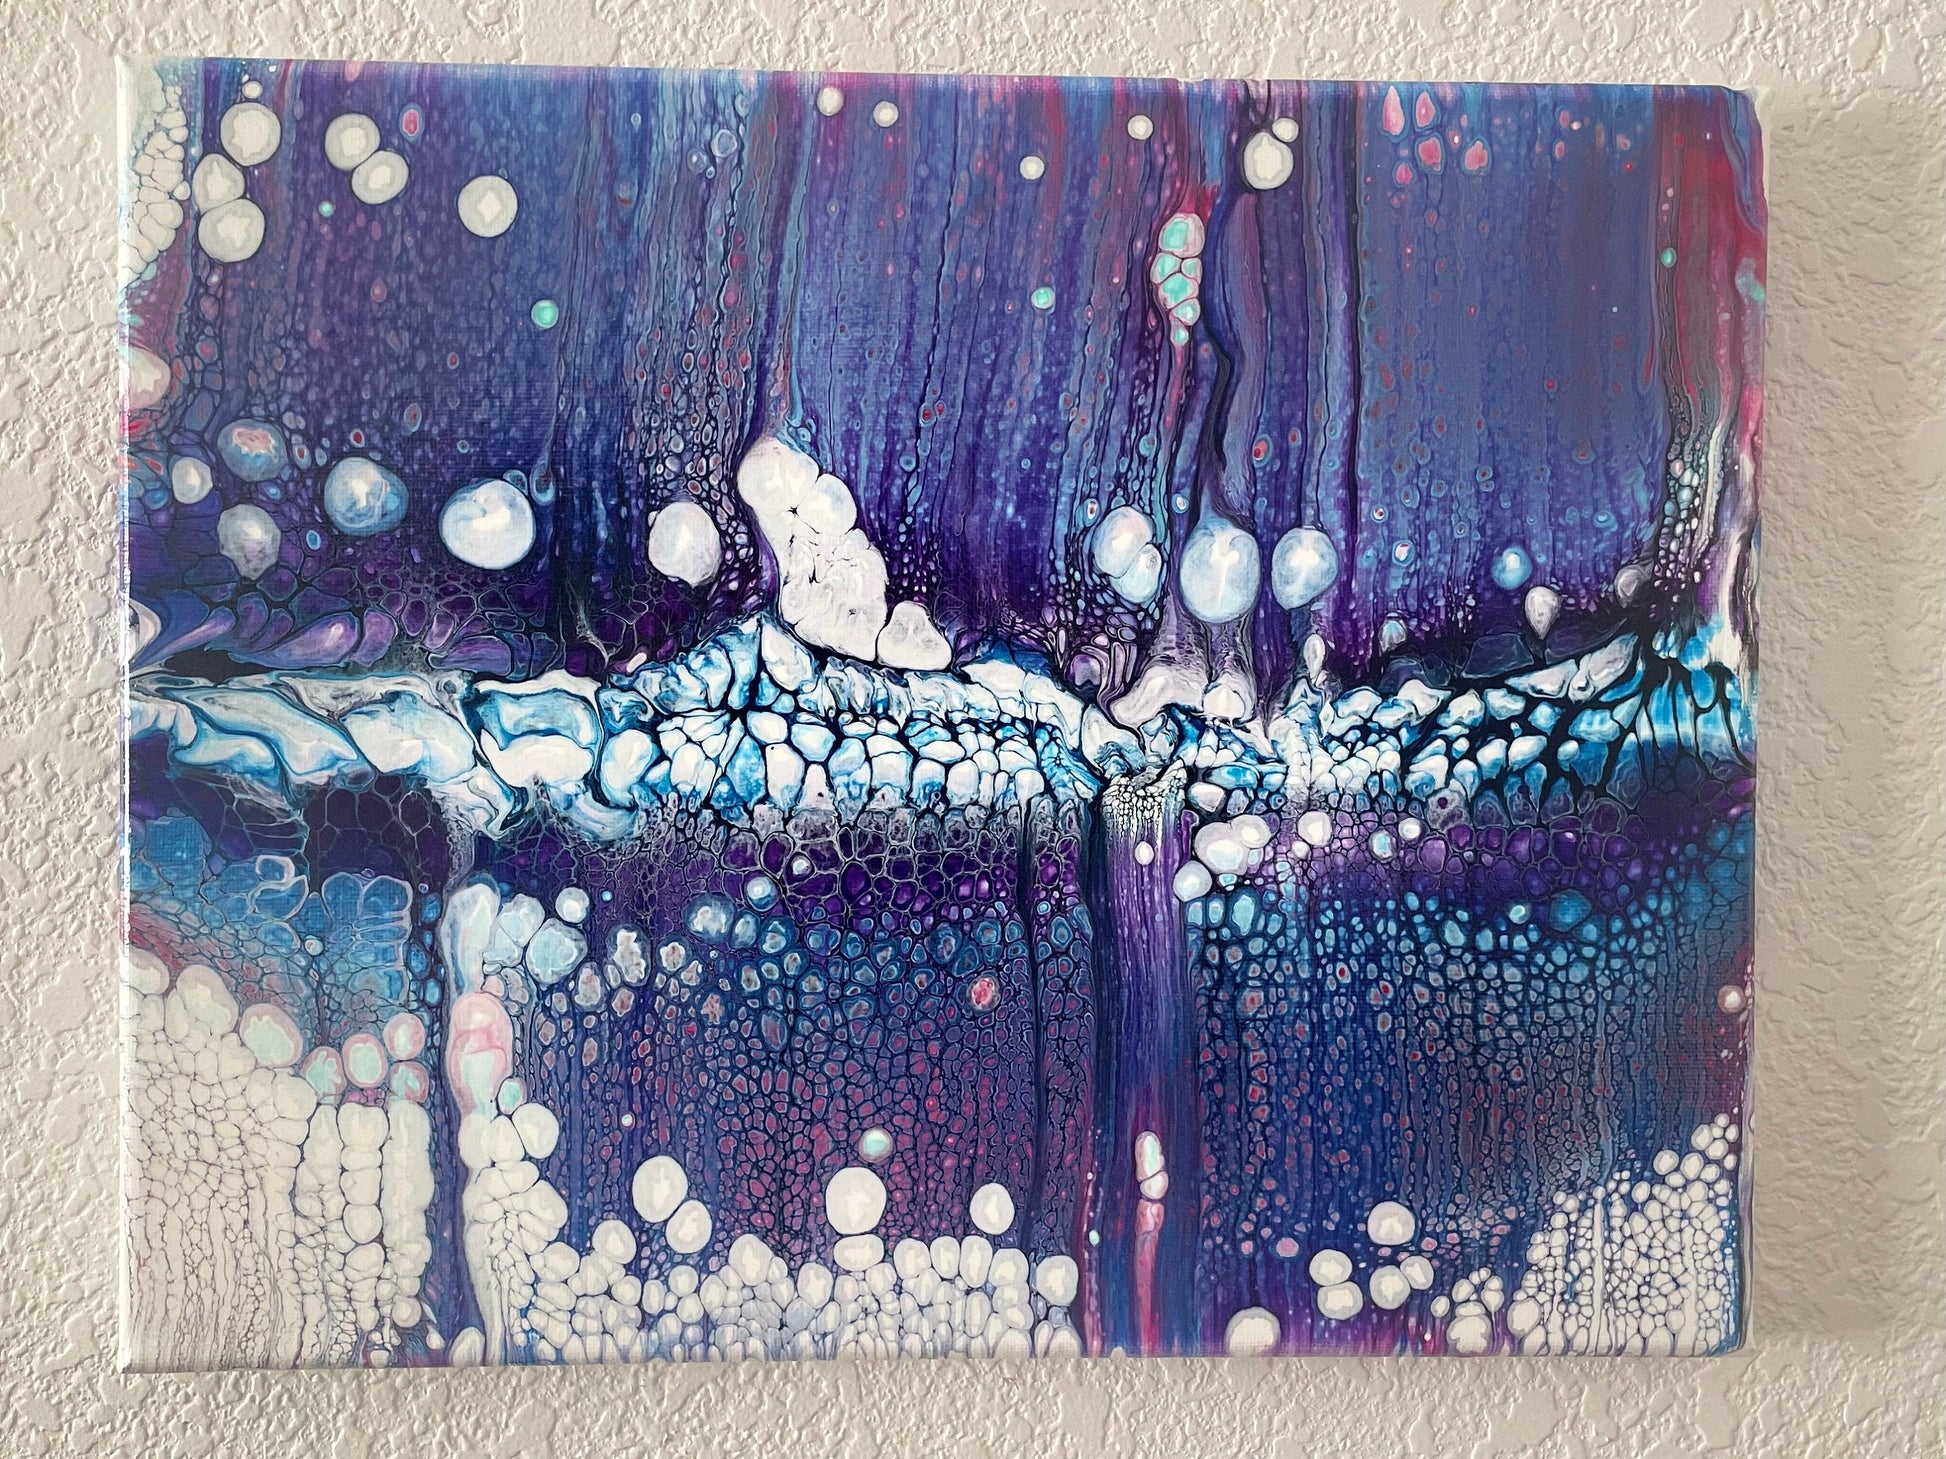 One of a Kind Abstract Painting on 11x14 Canvas in Gorgeous Purple, Bl – Janelle's Acrylic Art12 May 2024
 -
 15PCS Stainless Steel Silver Curtain Pleater Pinch Pleat Tape Hook 4-Prong Curtain Drape Hanger Hook Clip - AliExpress12 May 2024
 -
 Odorless Paint Thinner - 8oz. (MonaLisa Brand) - Brookhurst Hobbies12 May 2024
 -
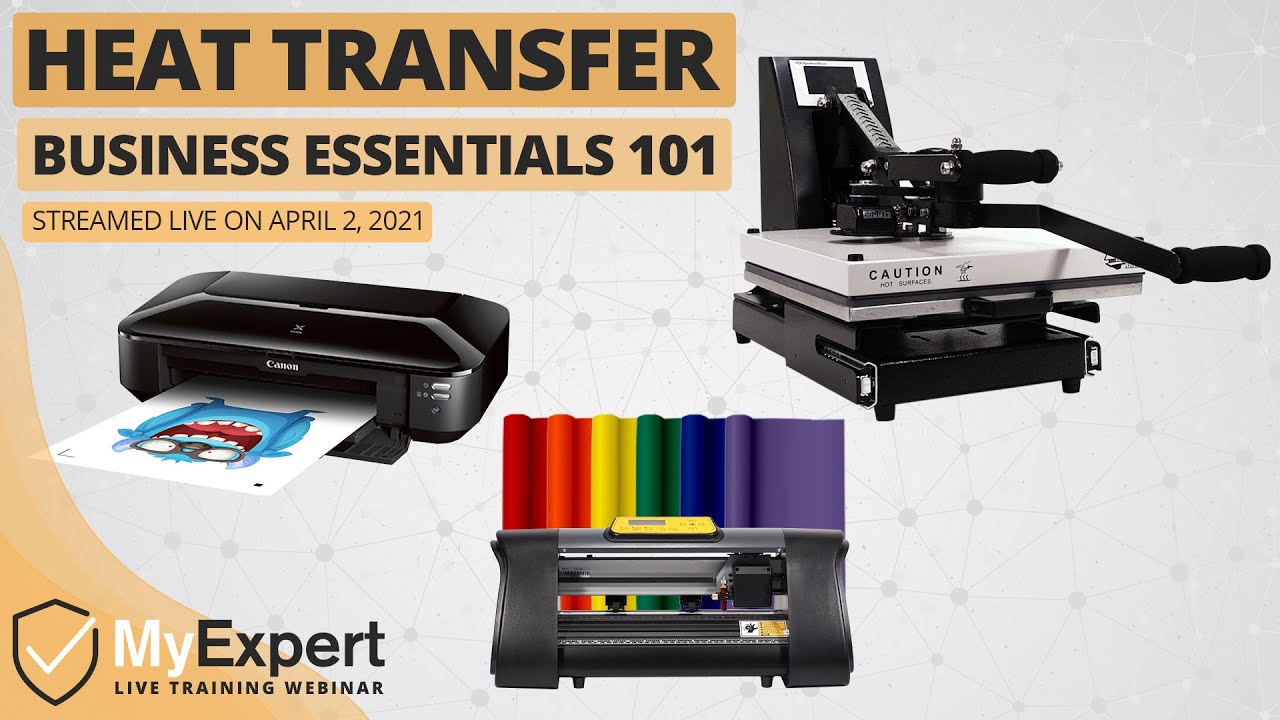 Heat Transfer Business Essentials 10112 May 2024
 -
 COHEALI 20 Pcs Waistband Replacement Drawstring for Sweatpants Hoodies Drawstrings Drawstring with Easy Threaders Sports Pants Drawstring Pants12 May 2024
 -
 Ashland Low Temp Mini Glue Gun12 May 2024
 -
 Pillsy Buy Now12 May 2024
 -
 The Best Books For 7 Year Olds12 May 2024
 -
8x8.5x2.8 Eco-Friendly Disposable Takeout Box - Single Compartment (300 Count), 300 - Kroger12 May 2024
