How to Make a Crocheted Journal Pouch, Homemade Bullet Journal Supplies
By A Mystery Man Writer
Last updated 01 Jun 2024

Hey! I’m showing you today how to make a crocheted journal pouch for your bullet journal supplies. You can be a beginner crocheter to make this pencil pouch. I’m going to show you how I made this crochet pen pouch, but use this as a crotchet guide and get creative! Make sure to check out the free instruction printable
Hey guys! It’s Chloe again from @bulletjournalbychloe and I’m showing you today how to make a crocheted journal pouch. You don’t need to be an expert to make this pouch. I’m going to show you how I crochet but use this as a guide and get creative! Make sure to check out the free printable at the end for the instructions to keep to hand. Use can use my affiliate code bujochloe10 to save 10% off your purchase Supplies Add you will need photo Archer & Olive journal: I’m using A5. If your journal is a different size, alter the measurements Crochet hook: I’m using a 10mm hook Wool/yarn: I’m using a crunchy fluffy wool Scissors Okay… go grab your supplies and let’s start making a crochet pencil pouch! Step 1: Chain Start with a slip not and chain 18 loops (18 for a tight fit, add more if you want a looser fit). Loop the wool around the hook and pull it through. (See video for reference) Step 2: double crochet Now you will double crochet down the row. Insert the hook into the hole, wrap the wool around your hook and pull it through two loops. You will be left with two loops on your hook. Loop the wool around again and pull through the two remaining hooks. Repeat this process down the row. When you finish a row, chain 1. This will help create height for your next row. Step 3: Repeat Repeat step 2 as many times as you need. Keep going until you have a rectangle that wraps all the way round your journal. If you want a looser fit, add more rows until you get to the desired length. Step 4: Attach the sides Now you need to connect the sides together. Fold the rectangle in half and crochet along the side. Tie it off and repeat on the other side. And that’s it! You now have your very own journal pouch. You can go further with this by adding latches or a zip. I hope you enjoyed this tutorial and can see how easy it is to create! Video Want to see more? Check out this video to see how I made mine! Printable Finally, make sure you grab your free printable as a guide or to print out for your journal: I hope you enjoyed this blog! Make sure to tag me (@bulletjournalbychloe) and Archer and Olive (@archerandolive) in any of your creations and use the hashtag #AOShare #archerandolive! Have fun getting crafty!
Hey guys! It’s Chloe again from @bulletjournalbychloe and I’m showing you today how to make a crocheted journal pouch. You don’t need to be an expert to make this pouch. I’m going to show you how I crochet but use this as a guide and get creative! Make sure to check out the free printable at the end for the instructions to keep to hand. Use can use my affiliate code bujochloe10 to save 10% off your purchase Supplies Add you will need photo Archer & Olive journal: I’m using A5. If your journal is a different size, alter the measurements Crochet hook: I’m using a 10mm hook Wool/yarn: I’m using a crunchy fluffy wool Scissors Okay… go grab your supplies and let’s start making a crochet pencil pouch! Step 1: Chain Start with a slip not and chain 18 loops (18 for a tight fit, add more if you want a looser fit). Loop the wool around the hook and pull it through. (See video for reference) Step 2: double crochet Now you will double crochet down the row. Insert the hook into the hole, wrap the wool around your hook and pull it through two loops. You will be left with two loops on your hook. Loop the wool around again and pull through the two remaining hooks. Repeat this process down the row. When you finish a row, chain 1. This will help create height for your next row. Step 3: Repeat Repeat step 2 as many times as you need. Keep going until you have a rectangle that wraps all the way round your journal. If you want a looser fit, add more rows until you get to the desired length. Step 4: Attach the sides Now you need to connect the sides together. Fold the rectangle in half and crochet along the side. Tie it off and repeat on the other side. And that’s it! You now have your very own journal pouch. You can go further with this by adding latches or a zip. I hope you enjoyed this tutorial and can see how easy it is to create! Video Want to see more? Check out this video to see how I made mine! Printable Finally, make sure you grab your free printable as a guide or to print out for your journal: I hope you enjoyed this blog! Make sure to tag me (@bulletjournalbychloe) and Archer and Olive (@archerandolive) in any of your creations and use the hashtag #AOShare #archerandolive! Have fun getting crafty!

How to Make a Crocheted Bullet Journal Pouch FULL Beginner Tutorial

How to Make a Crocheted Journal Pouch, Homemade Bullet Journal Supplies

How to Make an Easy Journal Pouch (No Sewing Machine Needed!)

An Index Page for a Bullet journal and planner
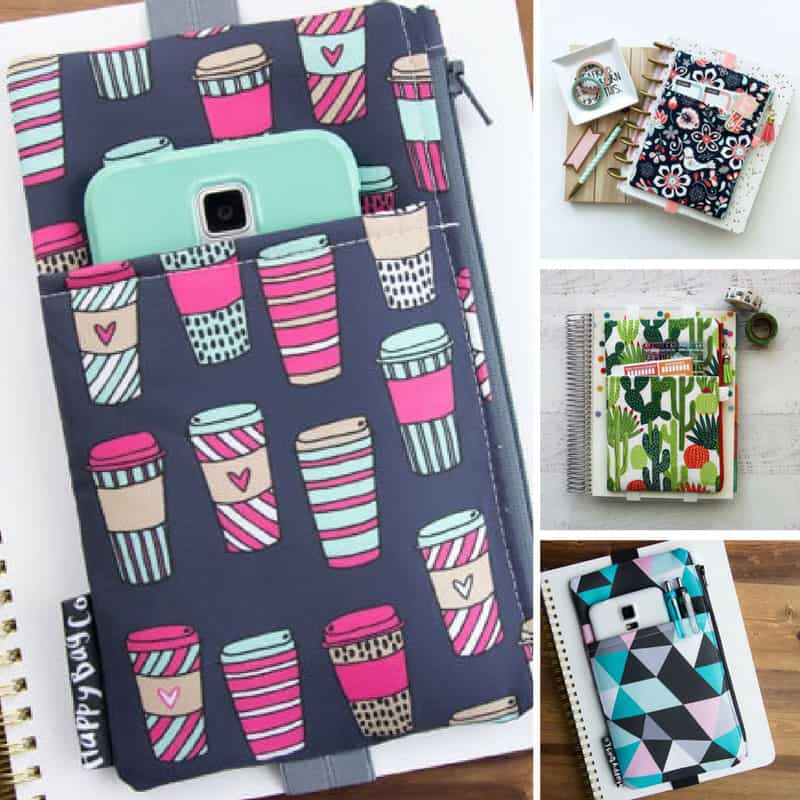
Bullet Journal Pouches {Journal organizers you can't live without!}

Introducing the Task Table - Natalie in Stitches
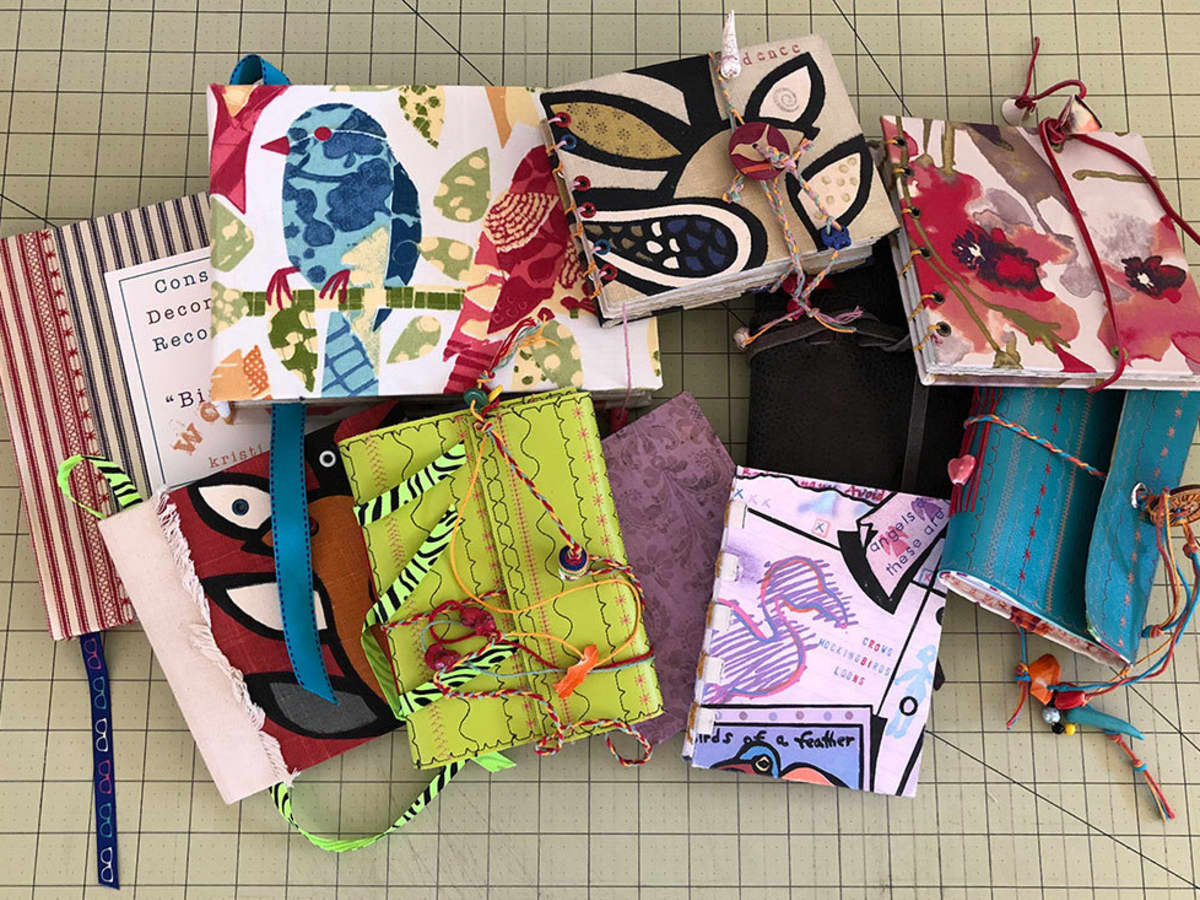
Handmade Journals: Tips and Techniques - FeltMagnet

How to Make an Easy Journal Pouch (No Sewing Machine Needed!)

How to Make a Crocheted Bullet Journal Pouch FULL Beginner Tutorial

How to Make a Crocheted Journal Pouch, Homemade Bullet Journal Supplies

How To Make DIY Planner Folder Pockets (Perfect For Happy Planners) - Hello Creative Family

How to Make a Crocheted Journal Pouch, Homemade Bullet Journal Supplies
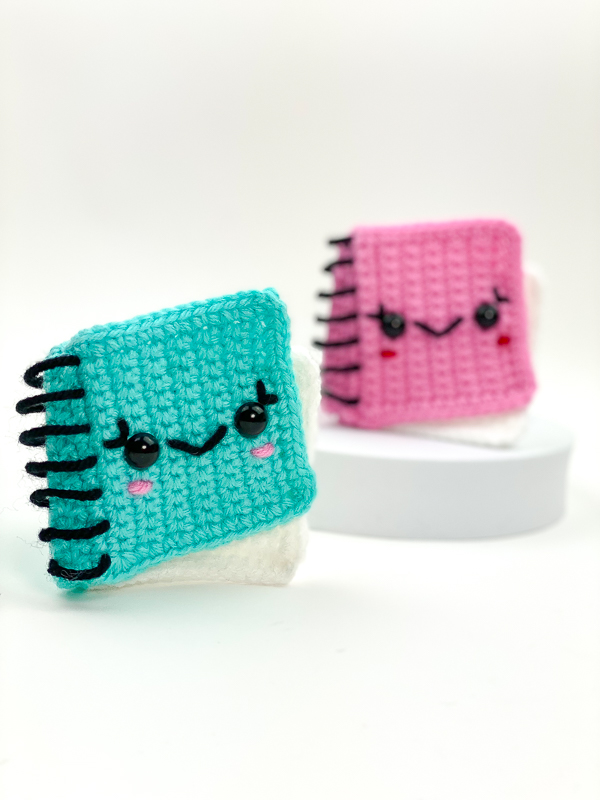
Mini Nifty Notebook Free Crochet Pattern - Knot Bad
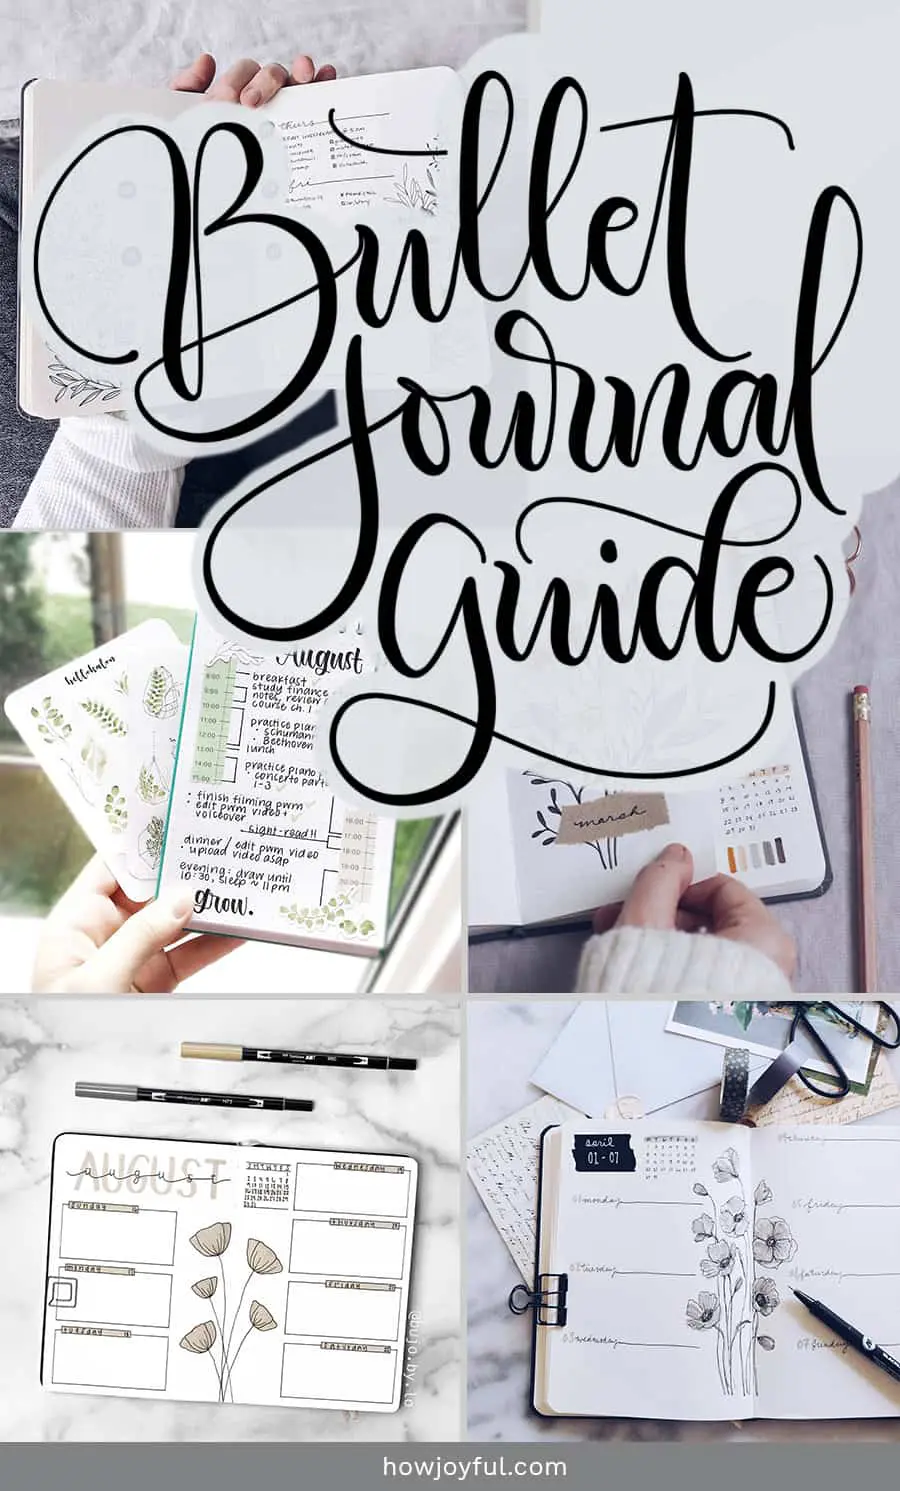
Bullet Journal: The Definitive Guide for beginners (in 2024)
Recommended for you
-
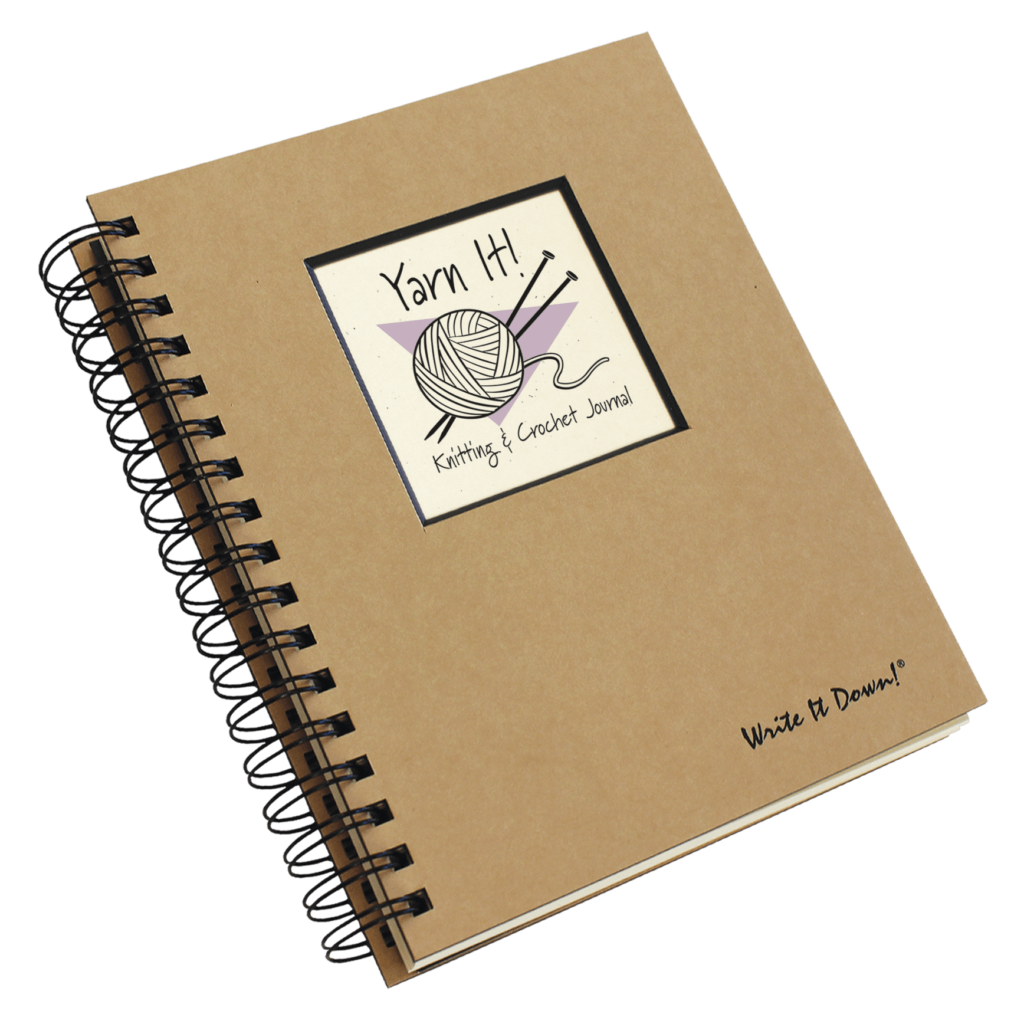 Yarn it! Knitting & Crochet Journal01 Jun 2024
 -
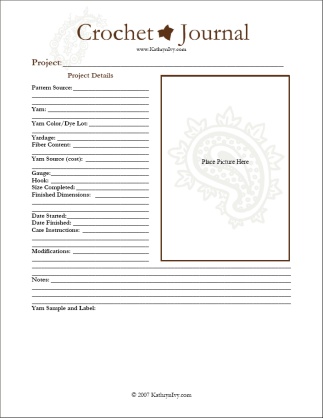
 Free Printable Crochet Journal and Planner! - The Unraveled Mitten01 Jun 2024
 -
 yarn journal – not your average crochet01 Jun 2024
 -
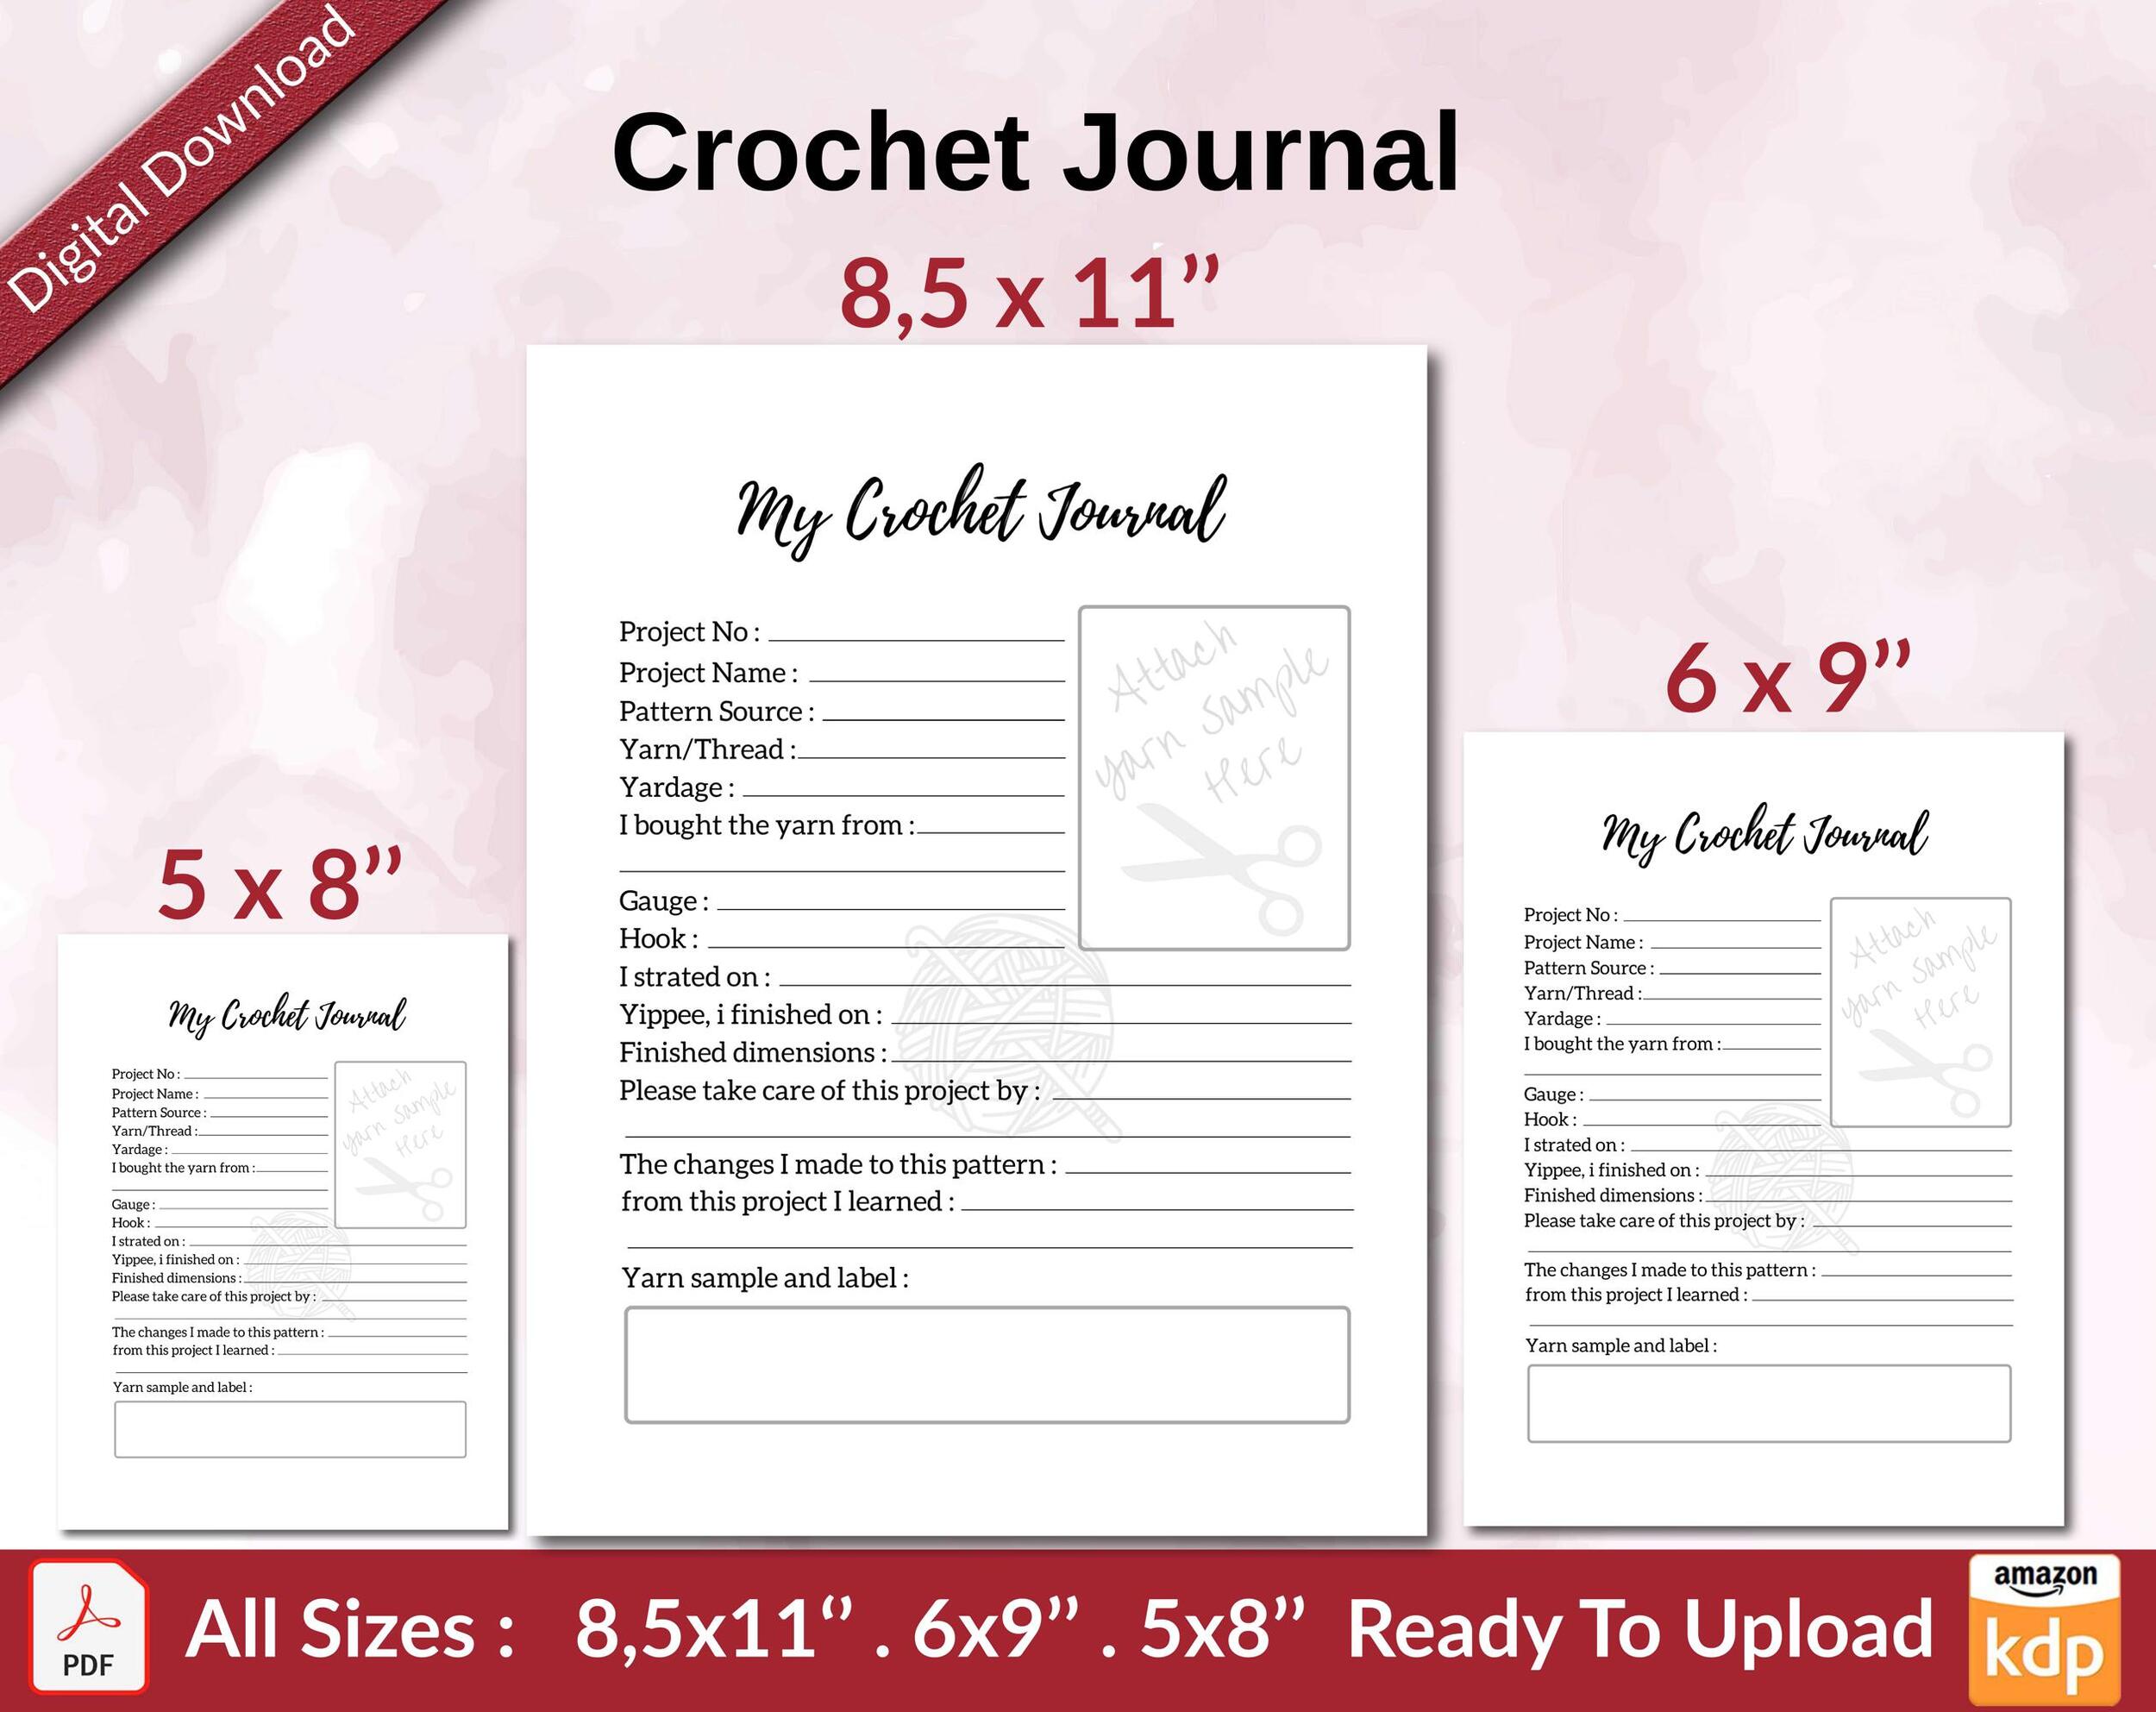 Crochet Journal Planner:120-Pages for 5x8, 8.5x11, 6x9 | KDP PDF01 Jun 2024
 -
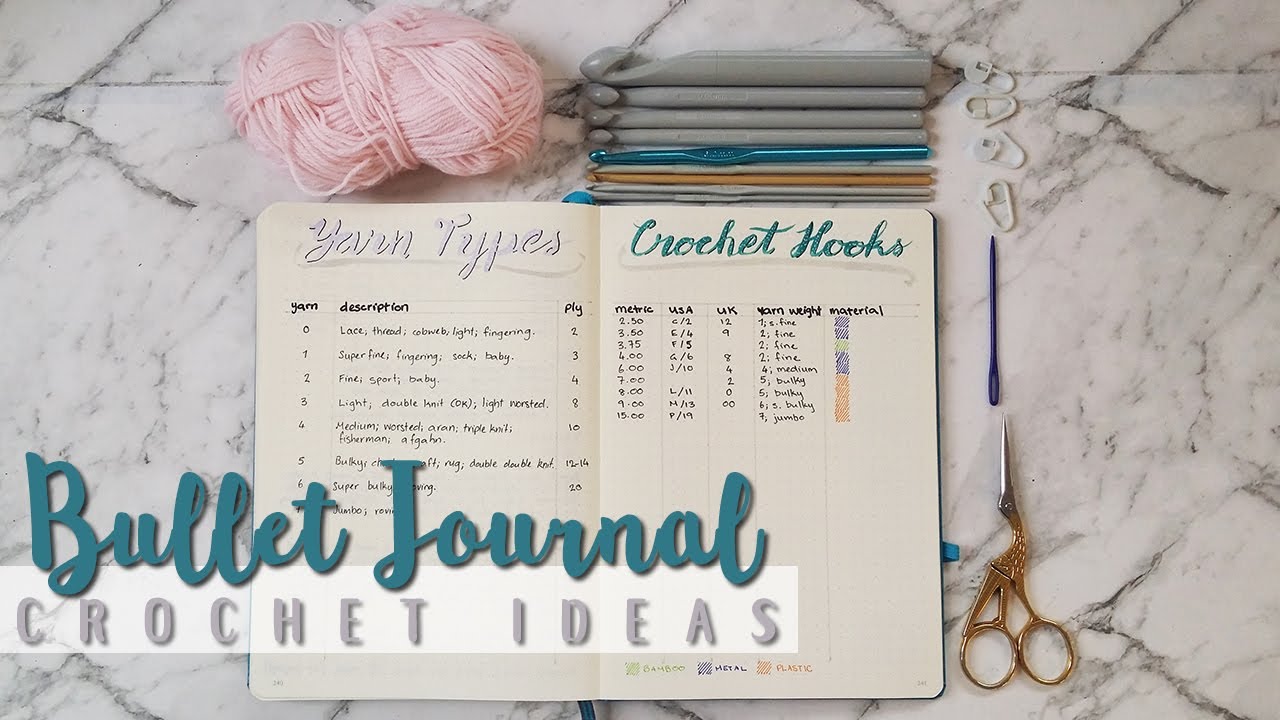 BULLET JOURNAL CROCHET IDEAS01 Jun 2024
 -
 Crochet Planner, Digital Crochet Journal, Crochet Project Planner, Digital Crochet Notebook, Project Planner PDF, Crochet Pattern Tracker01 Jun 2024
 -
 Beginner's Crochet Project Journal Tracker - FlamingoCrochet - A New Way to Learn Crochet01 Jun 2024
 -
 Crochet Journals Canoe Mtn Designs01 Jun 2024
 -
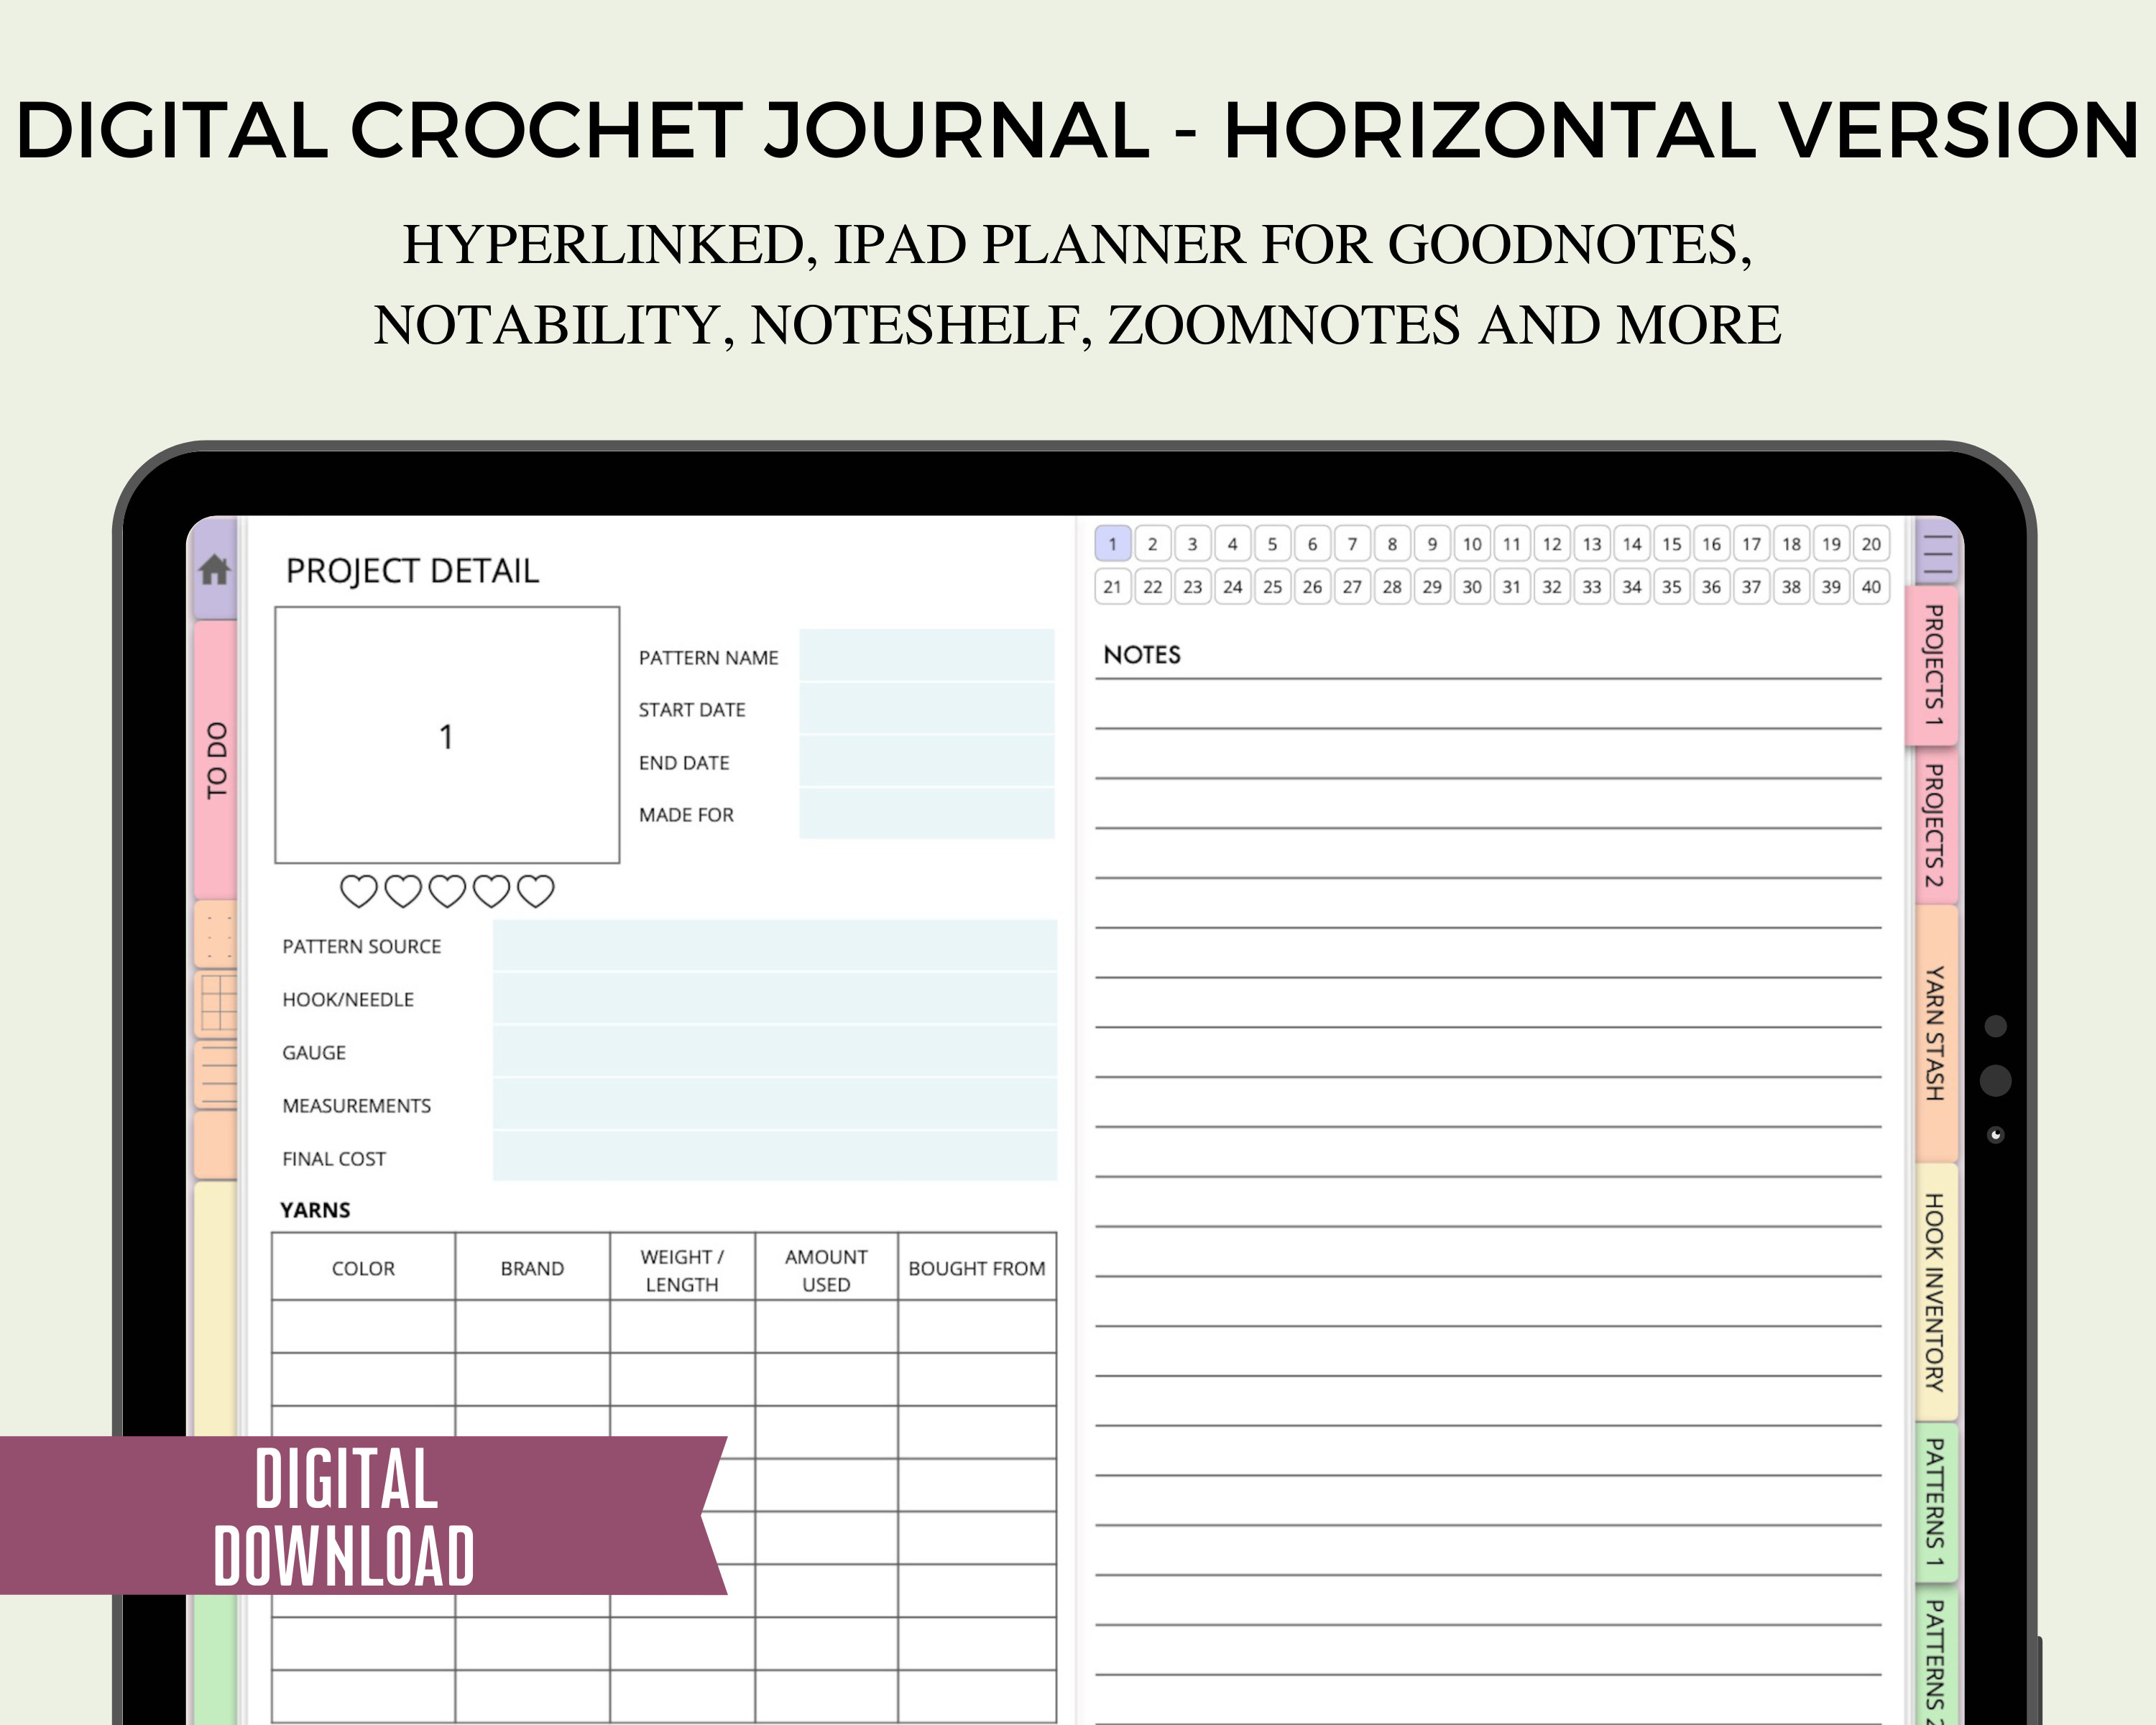
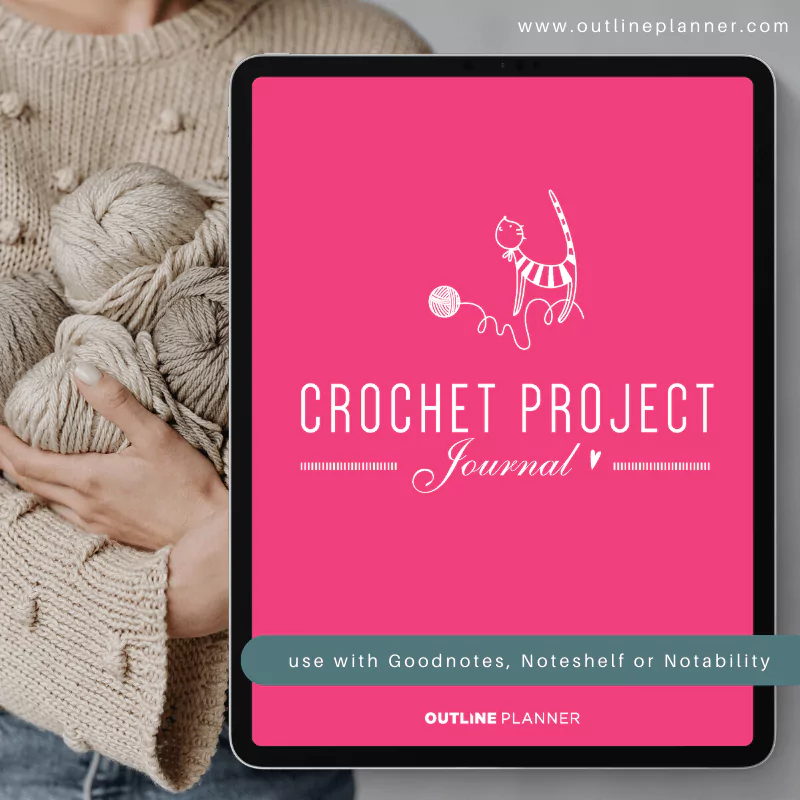 BEST Crochet Project Journal iPad01 Jun 2024
 -
 Crochet Journal : r/Journaling01 Jun 2024
You may also like
-
 YILAIRIOU Car Wash Kit with Foam Gun - Car Wash Cleaning Kit with Wash Microfiber Sponge and Towels Tire Brush Collapsible Bucket Wash, Sprayers for Car Cleaning Gardens and Pets01 Jun 2024
 -
 3D file 5ft Giant Pencil w/ Modular Length - 3D Printable Digital STL Model for Teachers, Spongebob, Doodle Bob Cosplay, Halloween Costume, & Decor ✏️・3D printing template to download・Cults01 Jun 2024
 -
 Floor Line Projector - Laser - Mark Floor Lanes Without Tape01 Jun 2024
 -
 Buy 1 or 2 Christmas Bow Charms/ Holiday Christmas Bow Earring01 Jun 2024
 -
 Luxury Ice Skating Pink Charm Bracelet Perfect Stocking Filler Kids Gifting Secret Santa - Denmark01 Jun 2024
 -
 Afoxsos 12 in. x 12 in. Square Teak Wood Interlocking Flooring Tiles Striped Pattern (Pack of 10 Tiles)01 Jun 2024
 -
 Rubeus Hagrid And Harry Potter - Paint By Numbers - Painting By Numbers01 Jun 2024
 -
 China Honeycomb Packing Paper in Self-Dispensed Box Manufacturer01 Jun 2024
 -
 Freedom Flag 2023 USPS Forever Postage Stamp Coil/Roll of 100 US First Class Postal Patriotic Country America Stripes Stars Old Glory USA Celebration01 Jun 2024
 -
 Summer Days Charms ~ Beaches Collection ~ Floating Charms ~ Compatible with Most Brands Like Origami Owl and South Hill Designs01 Jun 2024