SharpenAir Airbrush Needle Repair – Maple Airbrush Supplies
By A Mystery Man Writer
Last updated 12 May 2024
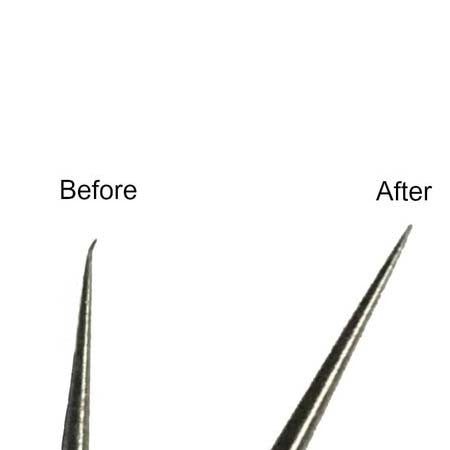
SharpenAir is the first and only hand-held device that is specifically designed for repairing bent and damaged airbrush needles.
SharpenAir Airbrush Needle Repair Tool - Original This is the first and only hand-held device that is specifically designed for repairing bent and damaged airbrush fluid needles. The concept and design was created by Chad Elliot especially for the airbrushing community. SharpenAir works by utilizing multiple angles allowing your damaged needle to be straightened efficiently and with precision each and every time while maintaining its factory angle. There are four channels that are uniquely angled to do the work for you. The sharpener stones are made up of varying grit and work together to provide you with a consistently perfect finish. How to use your SharpenAir Original SharpenAir Model Works With ALL Airbrush Brands EXCEPT Paasche and DeVilbiss Dagr Although the SharpenAir is quick and easy to use it is helpful to read our instructions before your first use to ensure proper sharpening of your airbrush fluid needle. SharpenAir contains four sharpening stones in its main compartment area where the logo is embossed. There are four slots or channels which run from the base of the sharpener vertically to the end of the sharpener. Working your needle from right to left: Step 1: Place the needle in the slot (far right) allowing the needle to reach the end of the slot. With minimal pressure begin rotating the needle in a clockwise direction; about 10-15 revolutions. Pull the needle out and check the tip. You may need to repeat this step a few times to achieve the desired straightness and/or until the burr is removed. Step 2: This slot is at less of an angle than Step 1 and uses a less aggressive stone. Using the same amount of revolutions as step 1 (10-15), this step eases the angle even further in order to reach stock angle. This process will also help in removing some of the step one sand scratches. Step 3 and Step 4 are designed utilizing the same angle. Step 3: contains a sanding stone consisting of a lower grit to quickly reshape the entire cone if needed. This step is optional. Smaller repairs may be completed at Step 2, however, a more damaged needle may utilize all steps in order to be completely sharpened. Step 4: contains a higher grit sharpening stone and will further sand out the scratches from Step 3. - If you have any further questions on how to operate your SharpenAir please feel free to contact us and we will be happy to help! Quick tip: SharpenAir sharpening stones are designed for you to receive maximum amount of use. They are each double-sided and can be rotated and flipped giving you the best results. After sharpening your airbrush needle it may help to polish out the needle in order to avoid the onset of Dry Tip. An easy way of doing this is to use some metal polish, a cloth, a small piece of paper or 2000 grit sandpaper, and a drill. Add a little polish to the needle tip and place the needle tip inside the paper placed in between your finger and thumb, pinching the cone. Run the drill for 10-20 secs and repeat as many times as needed until the scratches have softened or smoothed. This step can be repeated using a soft cloth to further buff and polish your needle.
SharpenAir Airbrush Needle Repair Tool - Original This is the first and only hand-held device that is specifically designed for repairing bent and damaged airbrush fluid needles. The concept and design was created by Chad Elliot especially for the airbrushing community. SharpenAir works by utilizing multiple angles allowing your damaged needle to be straightened efficiently and with precision each and every time while maintaining its factory angle. There are four channels that are uniquely angled to do the work for you. The sharpener stones are made up of varying grit and work together to provide you with a consistently perfect finish. How to use your SharpenAir Original SharpenAir Model Works With ALL Airbrush Brands EXCEPT Paasche and DeVilbiss Dagr Although the SharpenAir is quick and easy to use it is helpful to read our instructions before your first use to ensure proper sharpening of your airbrush fluid needle. SharpenAir contains four sharpening stones in its main compartment area where the logo is embossed. There are four slots or channels which run from the base of the sharpener vertically to the end of the sharpener. Working your needle from right to left: Step 1: Place the needle in the slot (far right) allowing the needle to reach the end of the slot. With minimal pressure begin rotating the needle in a clockwise direction; about 10-15 revolutions. Pull the needle out and check the tip. You may need to repeat this step a few times to achieve the desired straightness and/or until the burr is removed. Step 2: This slot is at less of an angle than Step 1 and uses a less aggressive stone. Using the same amount of revolutions as step 1 (10-15), this step eases the angle even further in order to reach stock angle. This process will also help in removing some of the step one sand scratches. Step 3 and Step 4 are designed utilizing the same angle. Step 3: contains a sanding stone consisting of a lower grit to quickly reshape the entire cone if needed. This step is optional. Smaller repairs may be completed at Step 2, however, a more damaged needle may utilize all steps in order to be completely sharpened. Step 4: contains a higher grit sharpening stone and will further sand out the scratches from Step 3. - If you have any further questions on how to operate your SharpenAir please feel free to contact us and we will be happy to help! Quick tip: SharpenAir sharpening stones are designed for you to receive maximum amount of use. They are each double-sided and can be rotated and flipped giving you the best results. After sharpening your airbrush needle it may help to polish out the needle in order to avoid the onset of Dry Tip. An easy way of doing this is to use some metal polish, a cloth, a small piece of paper or 2000 grit sandpaper, and a drill. Add a little polish to the needle tip and place the needle tip inside the paper placed in between your finger and thumb, pinching the cone. Run the drill for 10-20 secs and repeat as many times as needed until the scratches have softened or smoothed. This step can be repeated using a soft cloth to further buff and polish your needle.

Airbrush Replacement Parts
Retailers – SharpenAir
Blog – Official Blog

How To Sharpen & Polish Your Airbrush Needle - Easy Airbrush Maintenance

Airbrush Replacement Parts
Retailers – SharpenAir
SharpenAir™ Needle Repair System (Original)
SharpenAir

Airbrush Replacement Parts
Retailers – SharpenAir

How To Sharpen & Polish Your Airbrush Needle - Easy Airbrush Maintenance

Airbrush Replacement Parts

SharpenAir needle repair kit photo review : r/modelmakers
Recommended for you
-
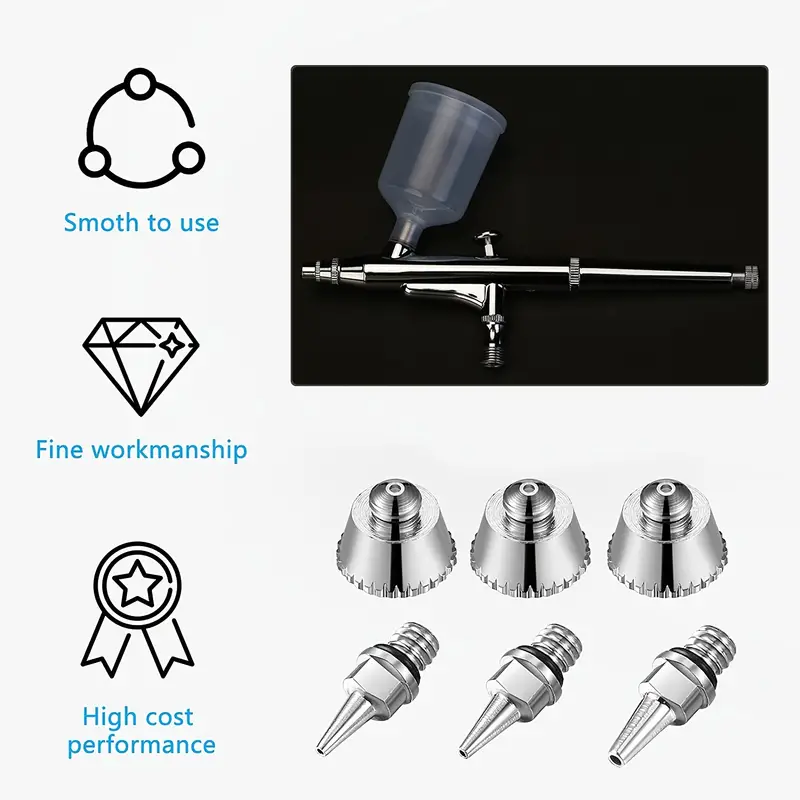
 NEOECO Replacement Nozzle & Needle Tips Type 2 for Model NCT-SJ8312 May 2024
 -
 Airbrush Nozzle Tool Nozzle Kit With Wrench Airbrush - Temu12 May 2024
 -
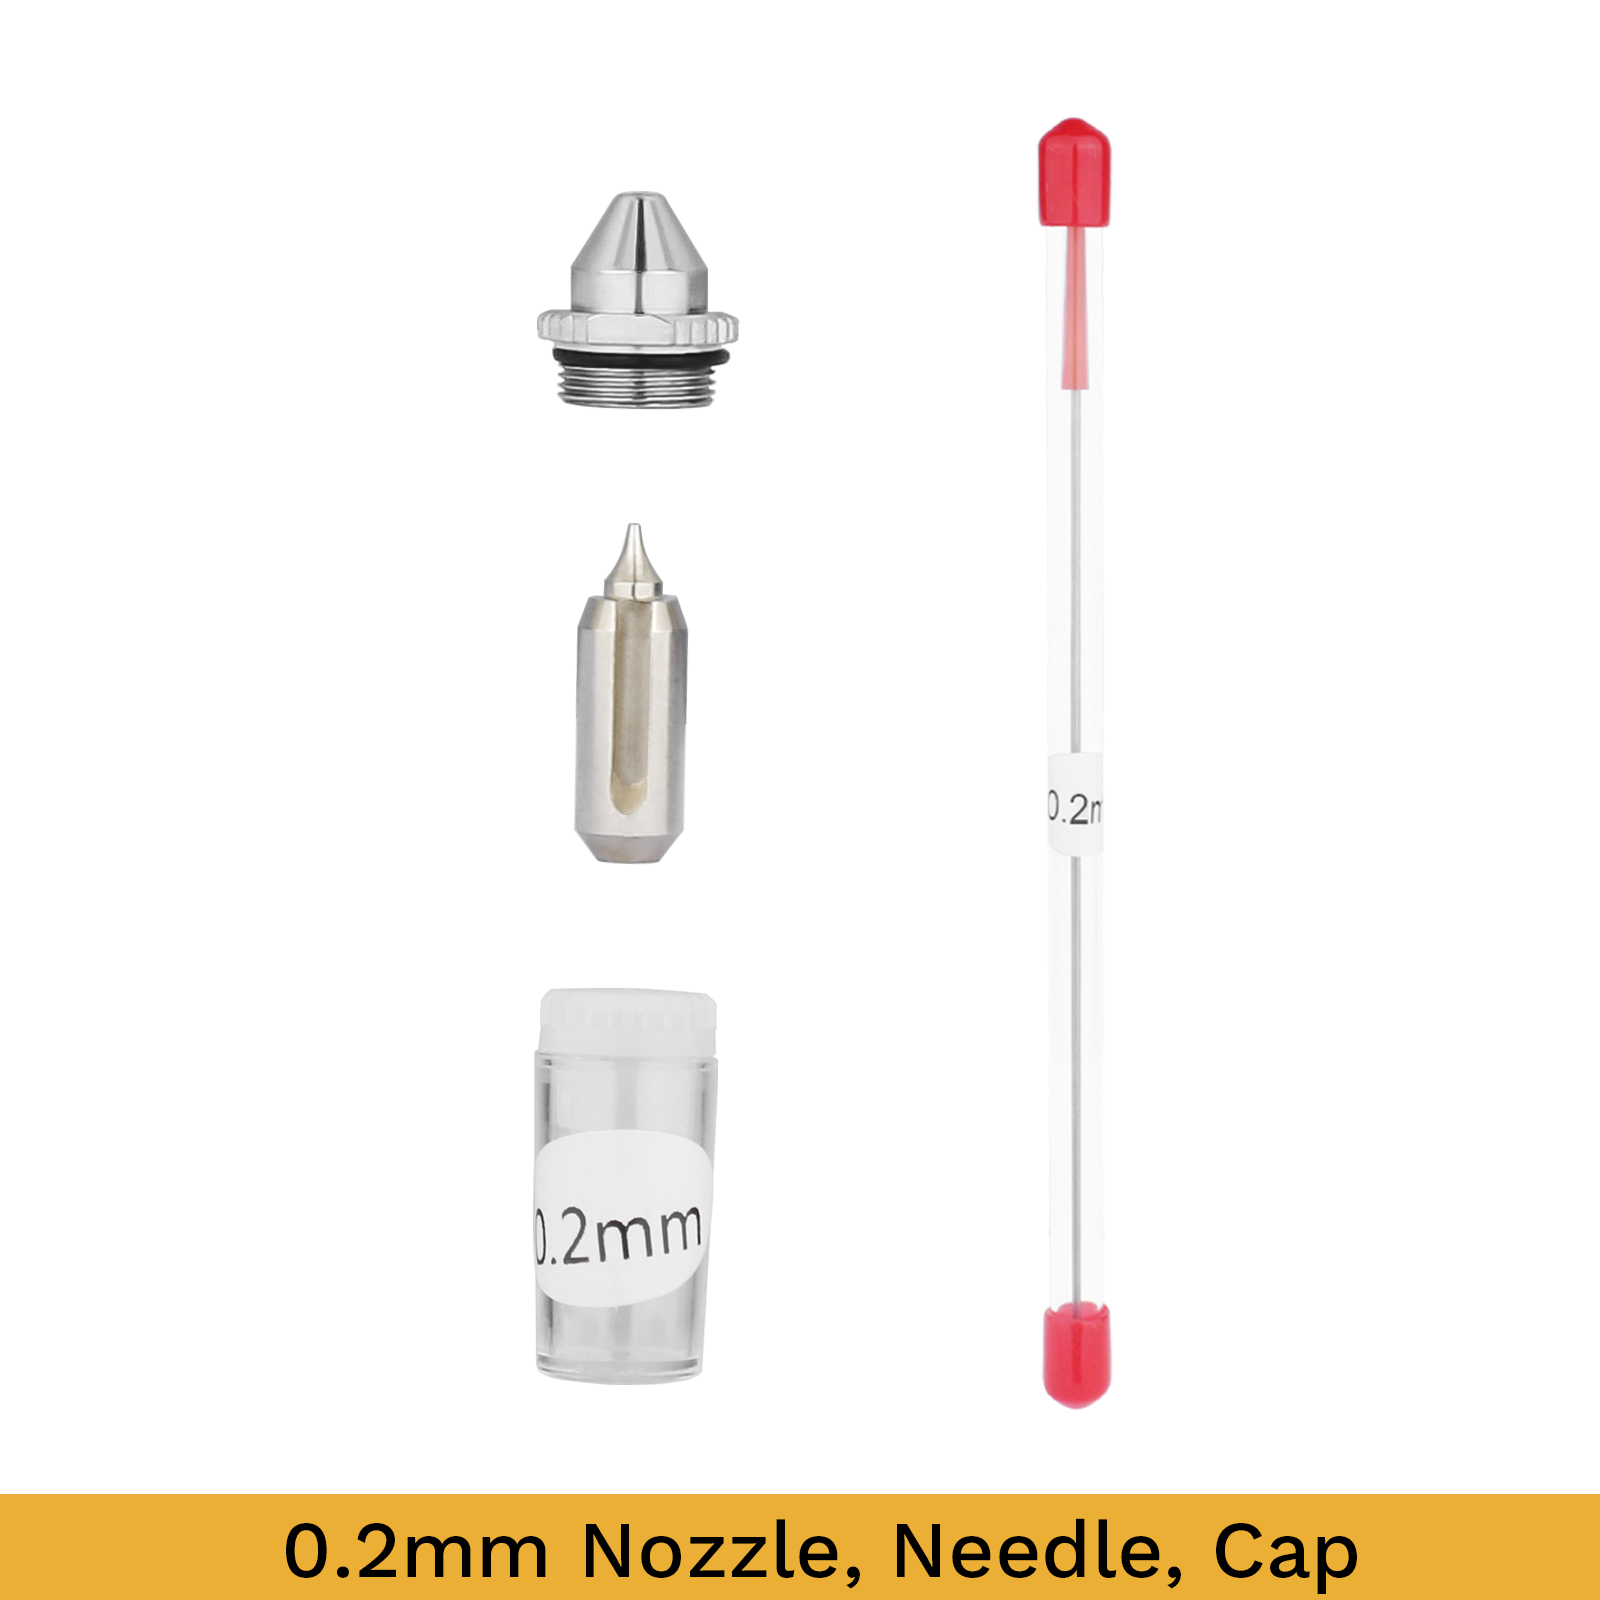
 Airbrush Nozzle Needle Replacement 0.2-0.5mm For Airbrushes Spray Gun Model 1/3P12 May 2024
 -
 How To Polish Airbrush Needle At Home The Easy Way!12 May 2024
 -
 Airbrush Nozzle Replacement, Needle Airbrushes Spray Gun12 May 2024
 -
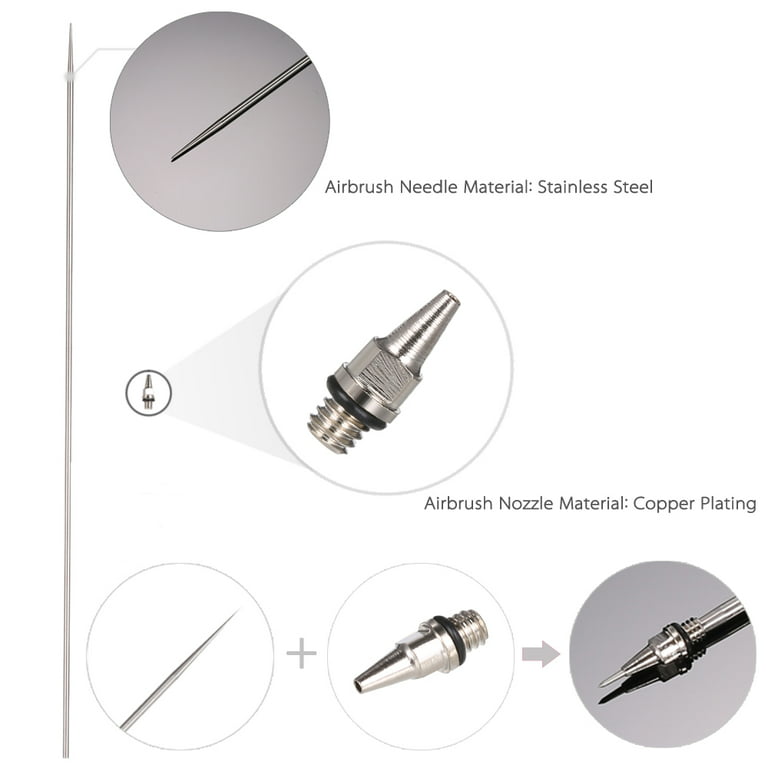 0.5mm Airbrush Nozzle And Needle Replacement for Airbrushes Spray Model Spraying Paint Maintenance Tool Accessories12 May 2024
 -
 Airbrush Needle Brush Set Spray Nozzle Cleaning Repairing Tools Mini Cleaner Kit12 May 2024
 -
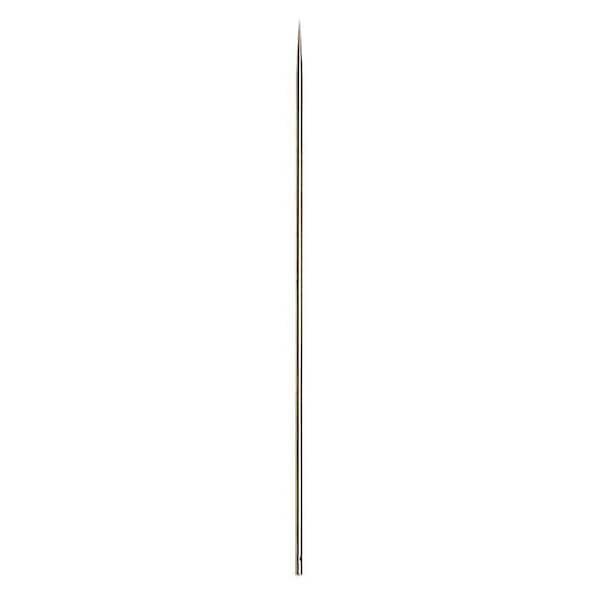 Preval .38 mm Airbrush Needle12 May 2024
 -
 Iwata Head Needle Crown Cap, Replacement Part, cm-b/sb/c/c+ (i5351d)12 May 2024
 -
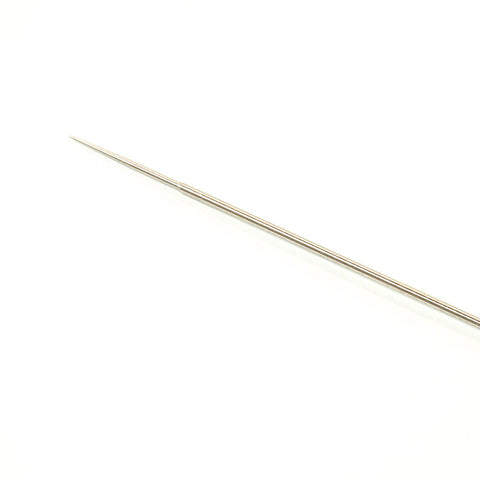 9mm needle (SKU# 0959) – Preval12 May 2024
You may also like
-
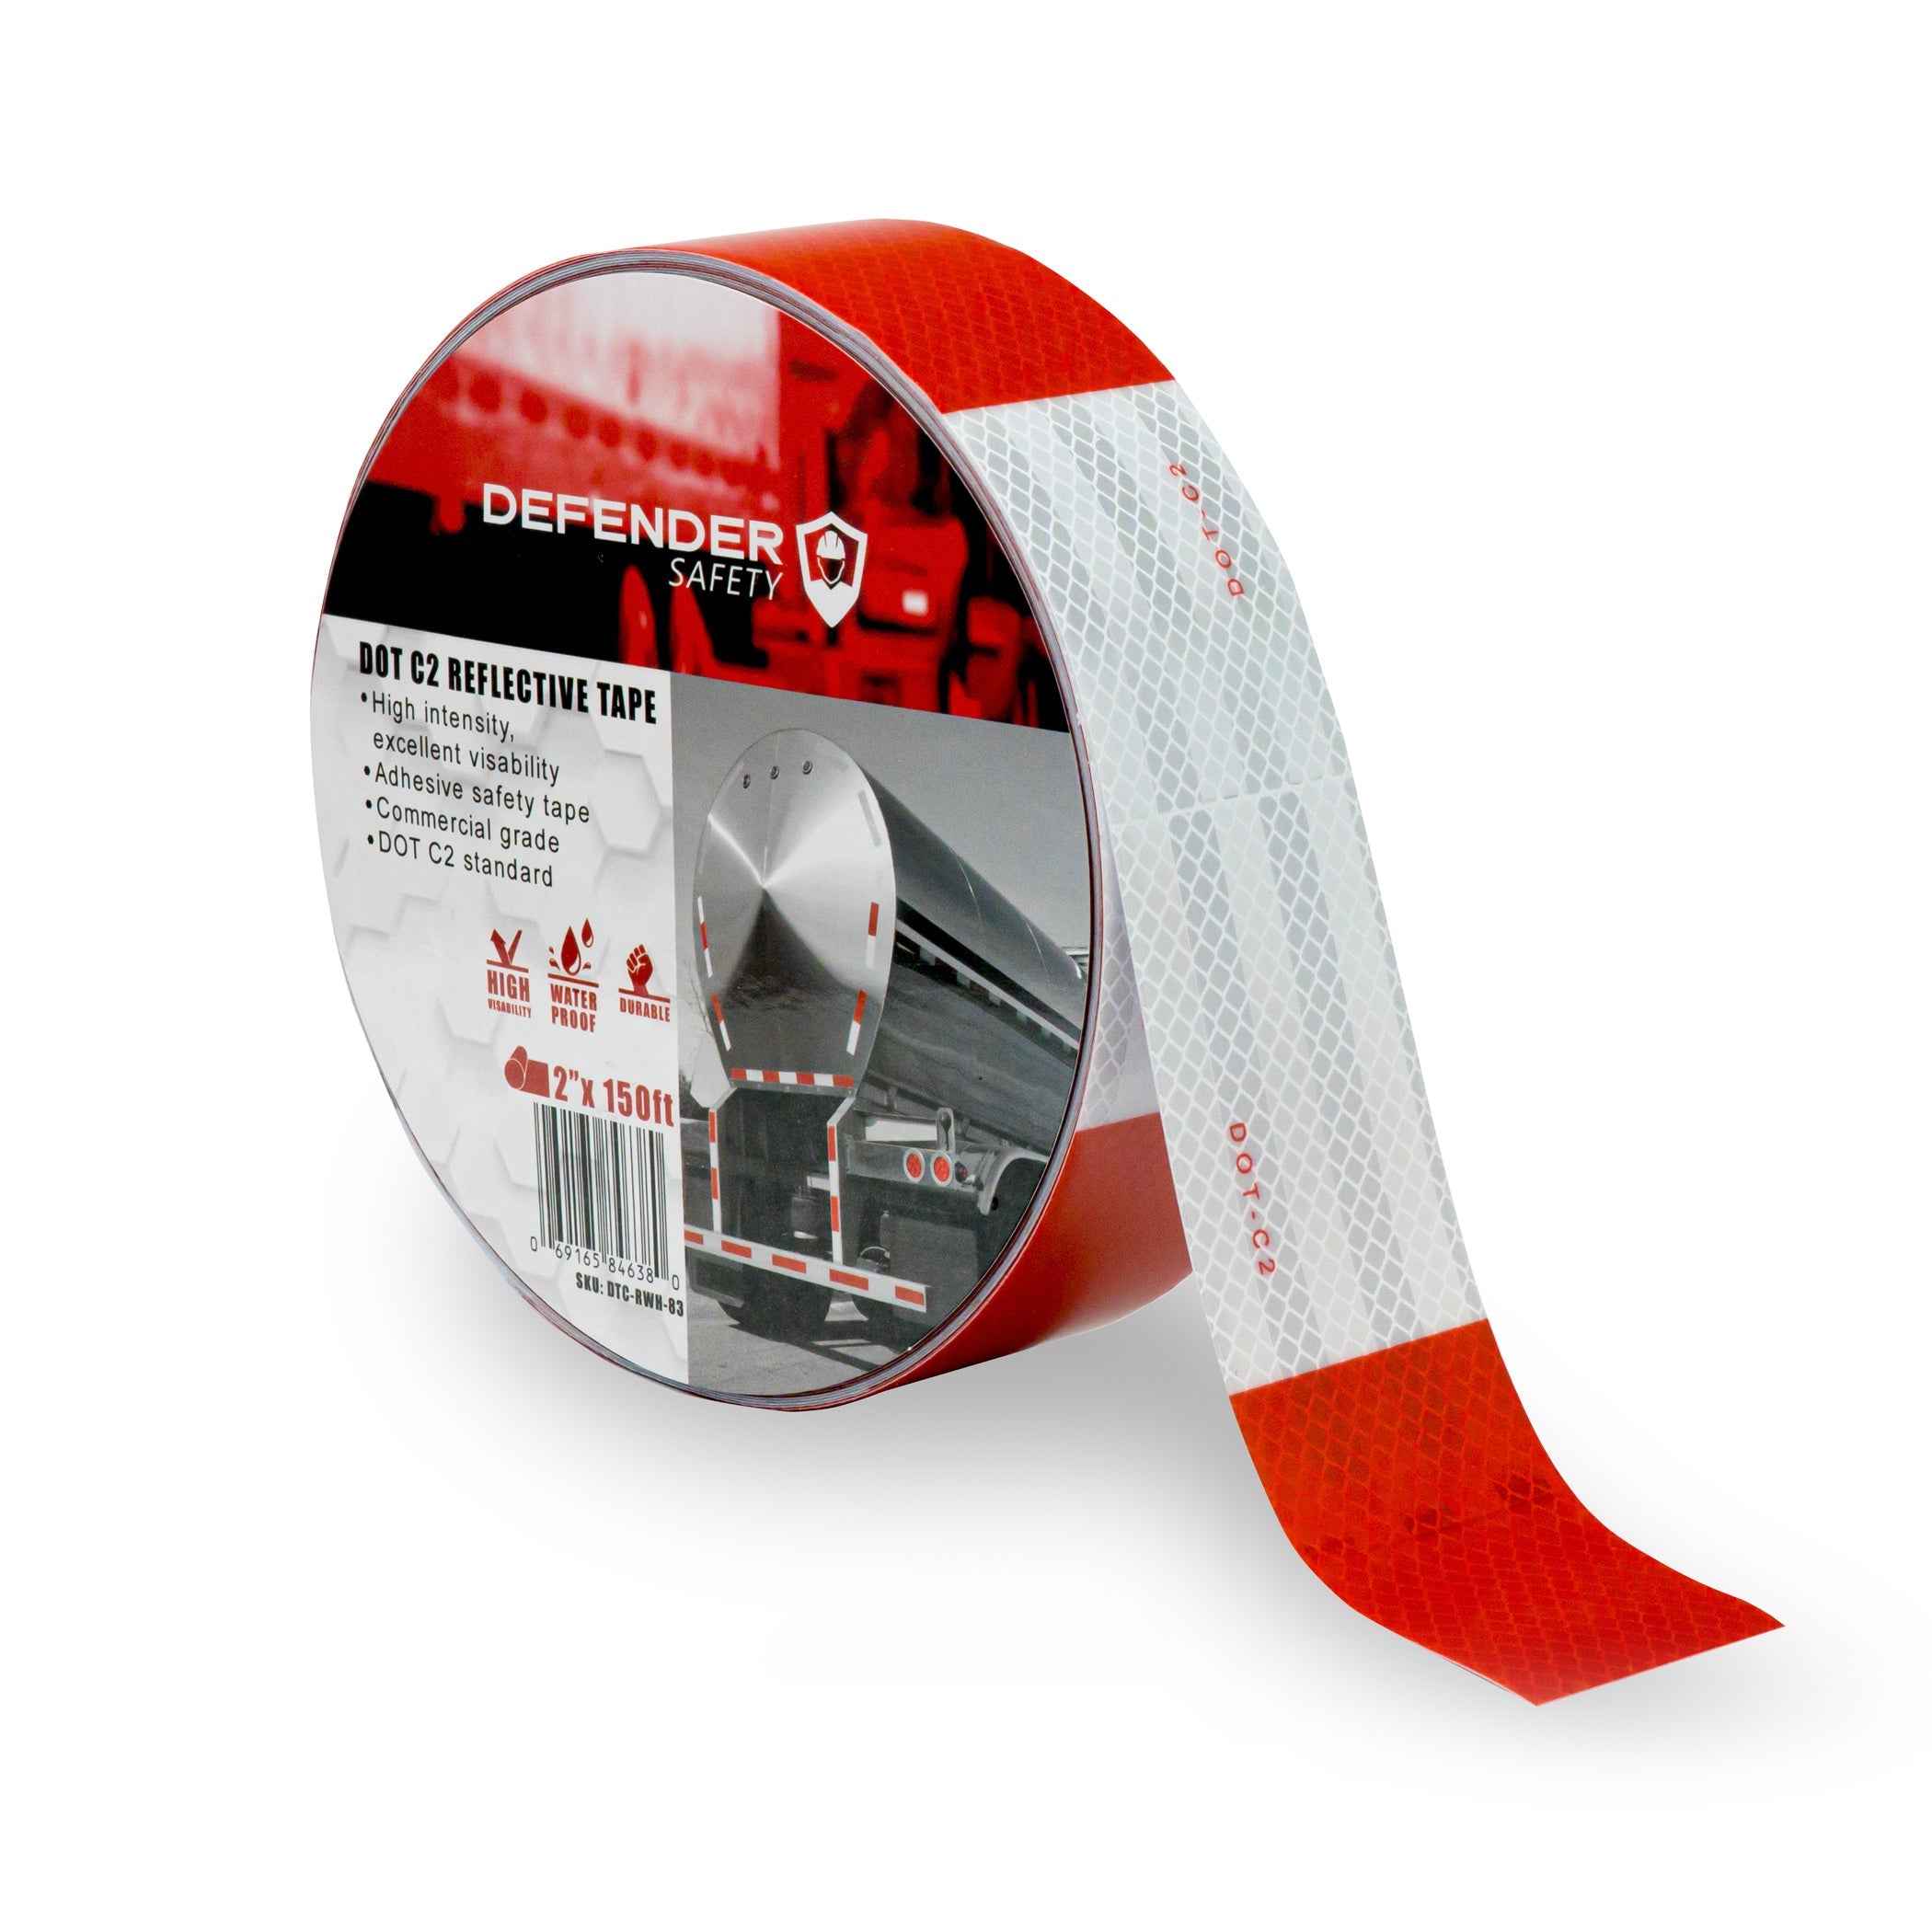 Dot C2 Reflective Adhesive Tape. Red and White Reflective. Weather-Proof Commercial Grade for Trucks/Trailers, 2x 15012 May 2024
 -
 Home Intuition 4-Piece Ceramic Kitchen Canisters Set, Airtight Containers with Wooden Spoons Reusable Chalk Labels and Marker for Sugar, Coffee, Flour12 May 2024
 -
 3pcs Non Conductive Ceramic Tweezers Anti-Static Reverse12 May 2024
 -
 Never Ever Land Scrapbook Album - 12x10 Blue Scrap Book. Scrapbooking Supplies, Memory Book, Wedding Guest Book, Photo Album12 May 2024
 -
 Dritz Superboard Cutting Board12 May 2024
 -
 Loona 12:00 Midnight Albums (A, B, C, D) - NO Photocards12 May 2024
 -
 BestBuy Scam? How does this work? : r/Scams12 May 2024
 -
 The PPF: Scarcity and Opportunity Cost, Education12 May 2024
 -
 32,000+ Red Polka Dot Stock Photos, Pictures & Royalty-Free Images - iStock12 May 2024
 -
 Cubic Mini Flue Systems - Tiny Wood Stove12 May 2024