PATCH SCREW NUT BOLT
By A Mystery Man Writer
Last updated 15 May 2024
All Hot Leathers patches feature a heat- sealed backing. This means that our patches may be ironed on or sewn on to most clothing easily. Patch Sewing Instructions: Note: Sewing by hand will give you greater control and is easier than trying to use a sewing machine when sewing into leather. Sewing on a patch will leave
All Hot Leathers patches feature a heat- sealed backing. This means that our patches may be ironed on or sewn on to most clothing easily. Patch Sewing Instructions: Note: Sewing by hand will give you greater control and is easier than trying to use a sewing machine when sewing into leather. Sewing on a patch will leave permanent holes on your jacket to please be careful about placement before you start. • Identify where you want the patch and outline the area with tailor’s chalk • Using a sewing pick, pick open the bottom seam of your garment lining just enough to allow your hand to fit inside the garment • Position your inside hand so it is resting flat between the lining and outlines area • Use your outside had to position the patch, you can lightly spray leather adhesive on the area to hold the patch, however this is not a permanent adhesive • Begin threading your upholstery needle using a strong nylon thread that matches your patch, use your thimble to push the needle through the leather moving from inside the item to the outside • This will allow the knot to be on the inside of the item, then pull the needle through and out with your outside hand and back down through the patch and leather • Continue this pattern all around the patch, keeping stitches close together and to the end of the patch for the most secure attachment • Once you have gotten back to where you started, send the needle through the first stitch, and loop it around a few times to make a finishing knot • Finally restitch the garments lining and your all set Patch Iron-on Instructions: • Preheat your iron to 325-335 degrees. Do Not Use Steam. • Press the area where you want your patch to be for 25 seconds • Position the patch on the garment so that it is positioned where you would like it to be • Place a lightweight cloth over the patch, using a back-and-forth motion with medium pressure ron the area for 15 seconds The iron should never come into direct contact with the patch • Carefully turn your garment inside out, using the same back and forth motion firmly iron the inside of the item where your patch is for about 1 minute • Turn the garment right side in once more, use your clen lightweight cloth to cover the patch • Iron the edges of the patch through the cloth to ensure they are thoroughly sealed • Let the garment cool completely before wearing
All Hot Leathers patches feature a heat- sealed backing. This means that our patches may be ironed on or sewn on to most clothing easily. Patch Sewing Instructions: Note: Sewing by hand will give you greater control and is easier than trying to use a sewing machine when sewing into leather. Sewing on a patch will leave permanent holes on your jacket to please be careful about placement before you start. • Identify where you want the patch and outline the area with tailor’s chalk • Using a sewing pick, pick open the bottom seam of your garment lining just enough to allow your hand to fit inside the garment • Position your inside hand so it is resting flat between the lining and outlines area • Use your outside had to position the patch, you can lightly spray leather adhesive on the area to hold the patch, however this is not a permanent adhesive • Begin threading your upholstery needle using a strong nylon thread that matches your patch, use your thimble to push the needle through the leather moving from inside the item to the outside • This will allow the knot to be on the inside of the item, then pull the needle through and out with your outside hand and back down through the patch and leather • Continue this pattern all around the patch, keeping stitches close together and to the end of the patch for the most secure attachment • Once you have gotten back to where you started, send the needle through the first stitch, and loop it around a few times to make a finishing knot • Finally restitch the garments lining and your all set Patch Iron-on Instructions: • Preheat your iron to 325-335 degrees. Do Not Use Steam. • Press the area where you want your patch to be for 25 seconds • Position the patch on the garment so that it is positioned where you would like it to be • Place a lightweight cloth over the patch, using a back-and-forth motion with medium pressure ron the area for 15 seconds The iron should never come into direct contact with the patch • Carefully turn your garment inside out, using the same back and forth motion firmly iron the inside of the item where your patch is for about 1 minute • Turn the garment right side in once more, use your clen lightweight cloth to cover the patch • Iron the edges of the patch through the cloth to ensure they are thoroughly sealed • Let the garment cool completely before wearing

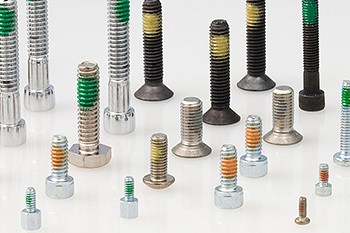
Threads for wheel bolts, wheel screws, wheel hubs and wheel nuts

SatelliteSale Universal Roof Patch Kit 6x Zinc Plated Lag Bolts and 3x Mastic Pitch Pads

John Deere M112644 Bolt, M10 X 1.5 X 45 Patch
Auto, bolt, mechanic, nut, part, repair, screw icon - Download on Iconfinder

M7*20mm Structure A325m Hot Galvanized Full Threadcarbon Steel Heavy Nuts Washers Thread Glue Nylon Patch Hexagon Head Bolt - China Hex Head Bolt, M5 Structure Hex Head Bolt

M5 M6 M11 M14 Nylon Patch Hex Head Screws for Clutch Equipment Fastener Customized Nylon Patch Screw Bolt - China ASTM A193 B7 Hex Bolts, Gr12.9 Hex Bolt
ND Industries ND Patch – Self Locking & Sealing
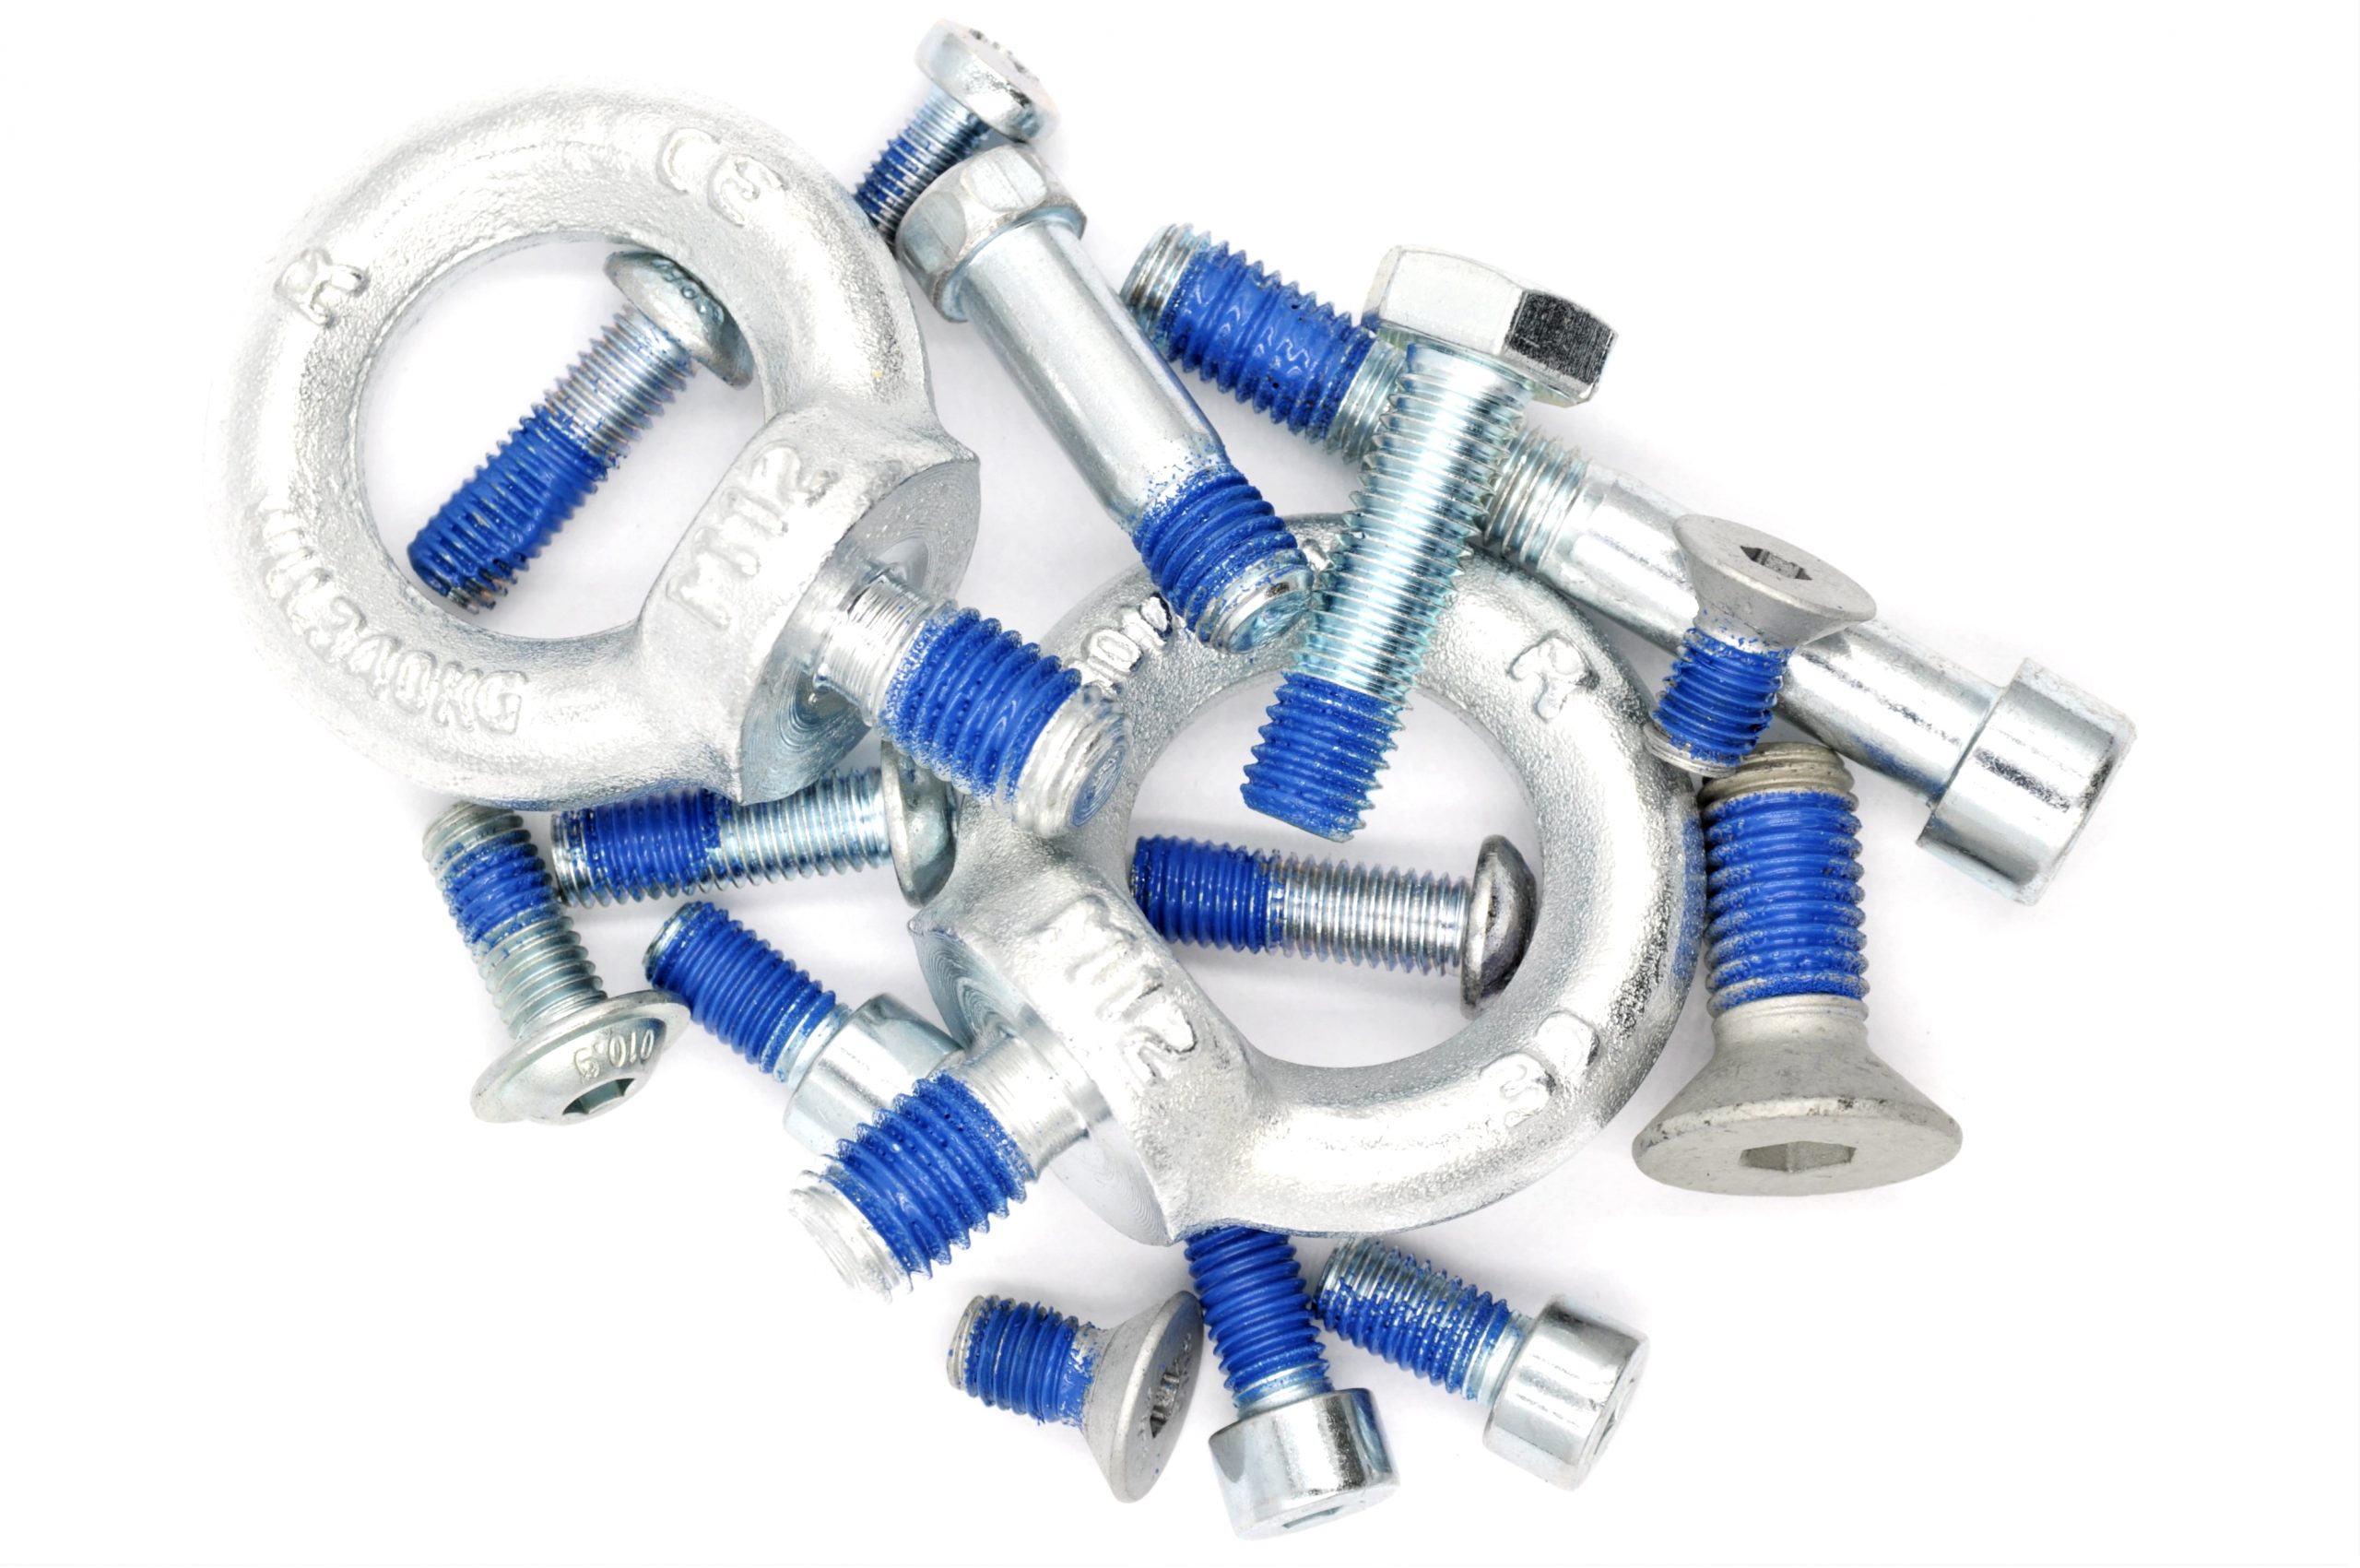
Specials Fasteners and fixings - Blue Nylon Patch Screws on Stock - GTA
High efficiency: Easy to use, flat cross head designed and screwdrivers slots on top are deep and strong. That means you can use a power screwdriver

Create idea 50 Pack M6 Cage Nuts and Bolts Screws Washers Network Cabinets Server Rack Mount Patch Panel Casing Housing
Used uniform patch.

Jacket Patch / Custom Bolt Manufacturing / Hex Screw Screwed Nut Hardware Thread
Recommended for you
-
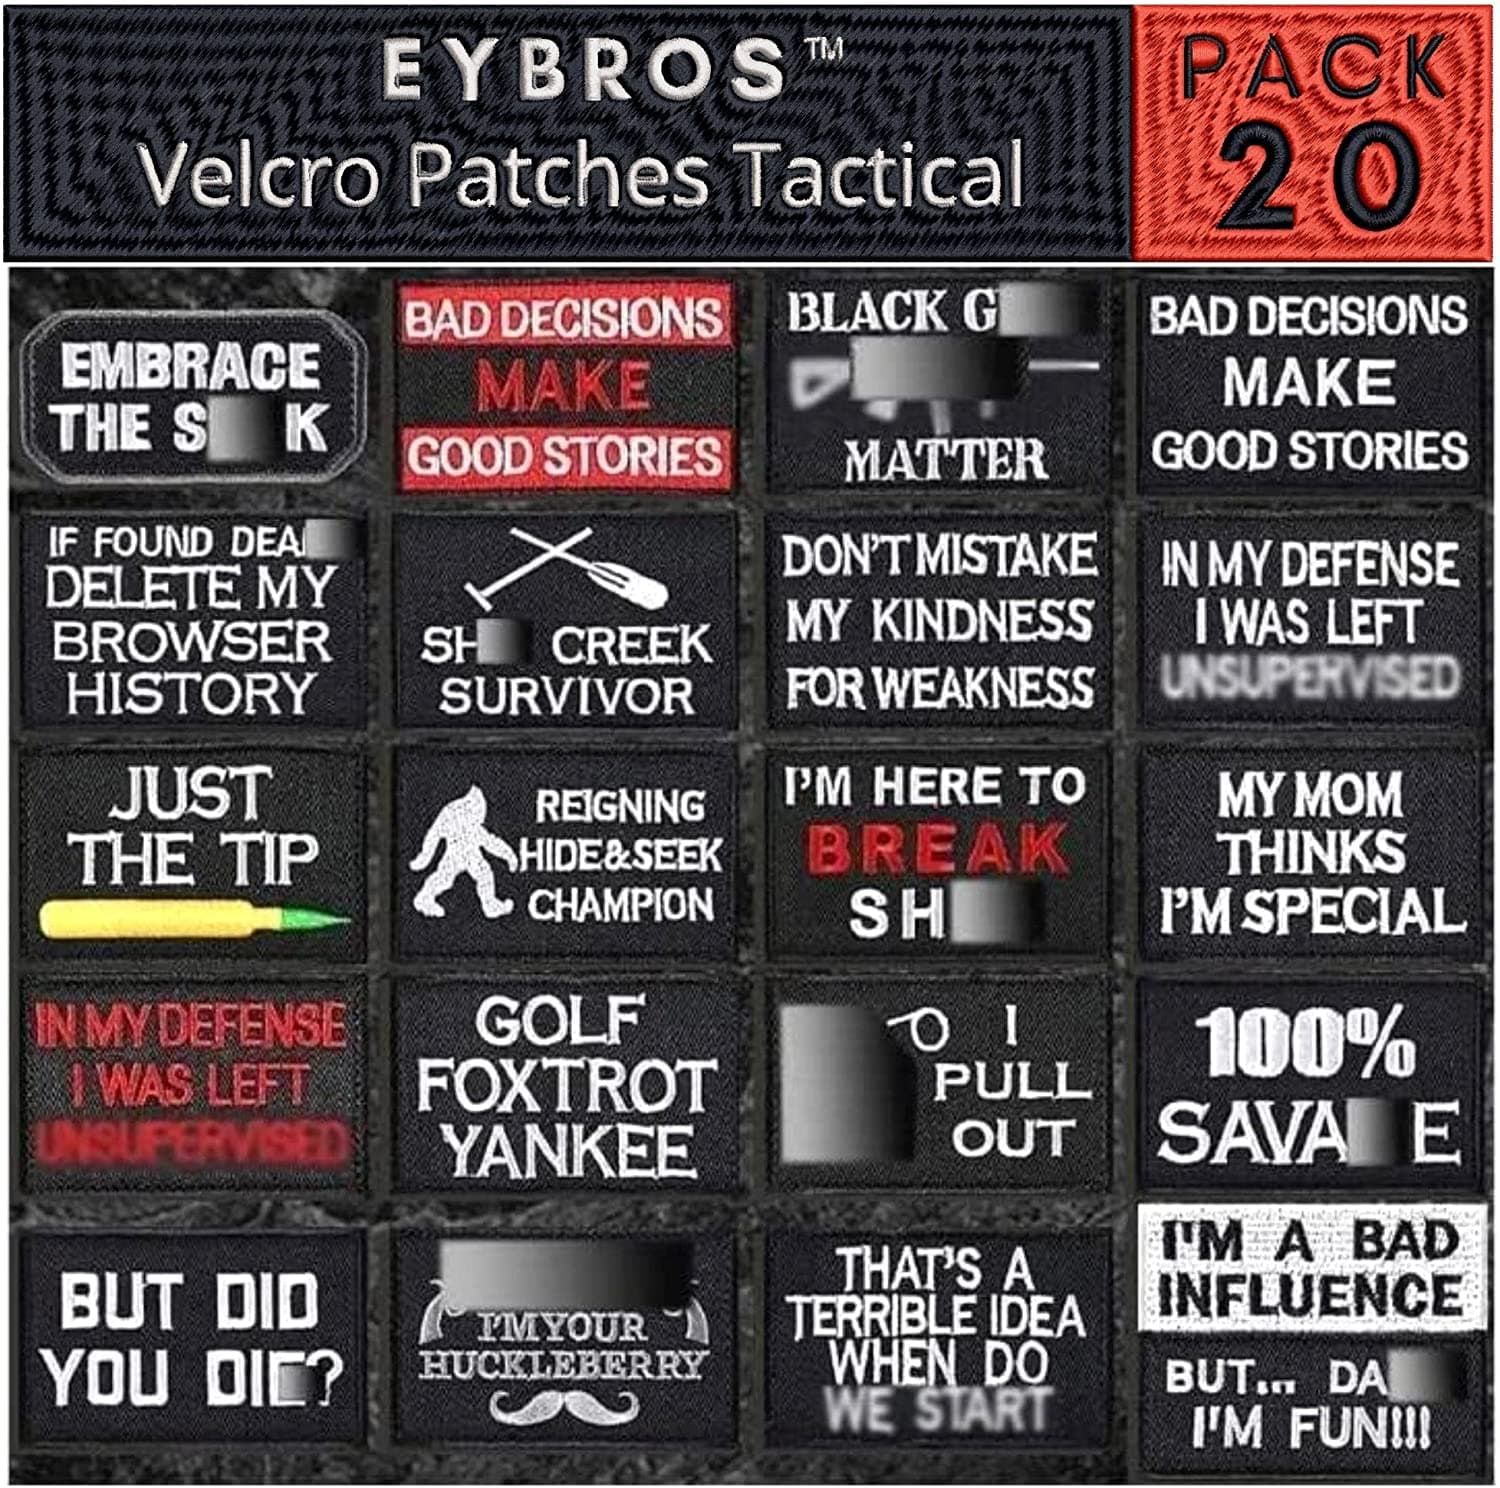 Eybros Tactical Morale Patch, 20 Bundle-Set, Military Patches Funny f – ANTARCTICA Outdoors15 May 2024
 -
 WZT 20 Pieces Funny Tactical Military Morale Patch Full Embroidery Patch Set for Caps,Bags,Backpacks,Clothes,Vest,Military Uniforms,Tactical Gears15 May 2024
 -
 Funny Morale Patches Online Huge Selection of Morale Patches15 May 2024
 -
 Morale Patches - Velcro Backed & Always Original15 May 2024
 -
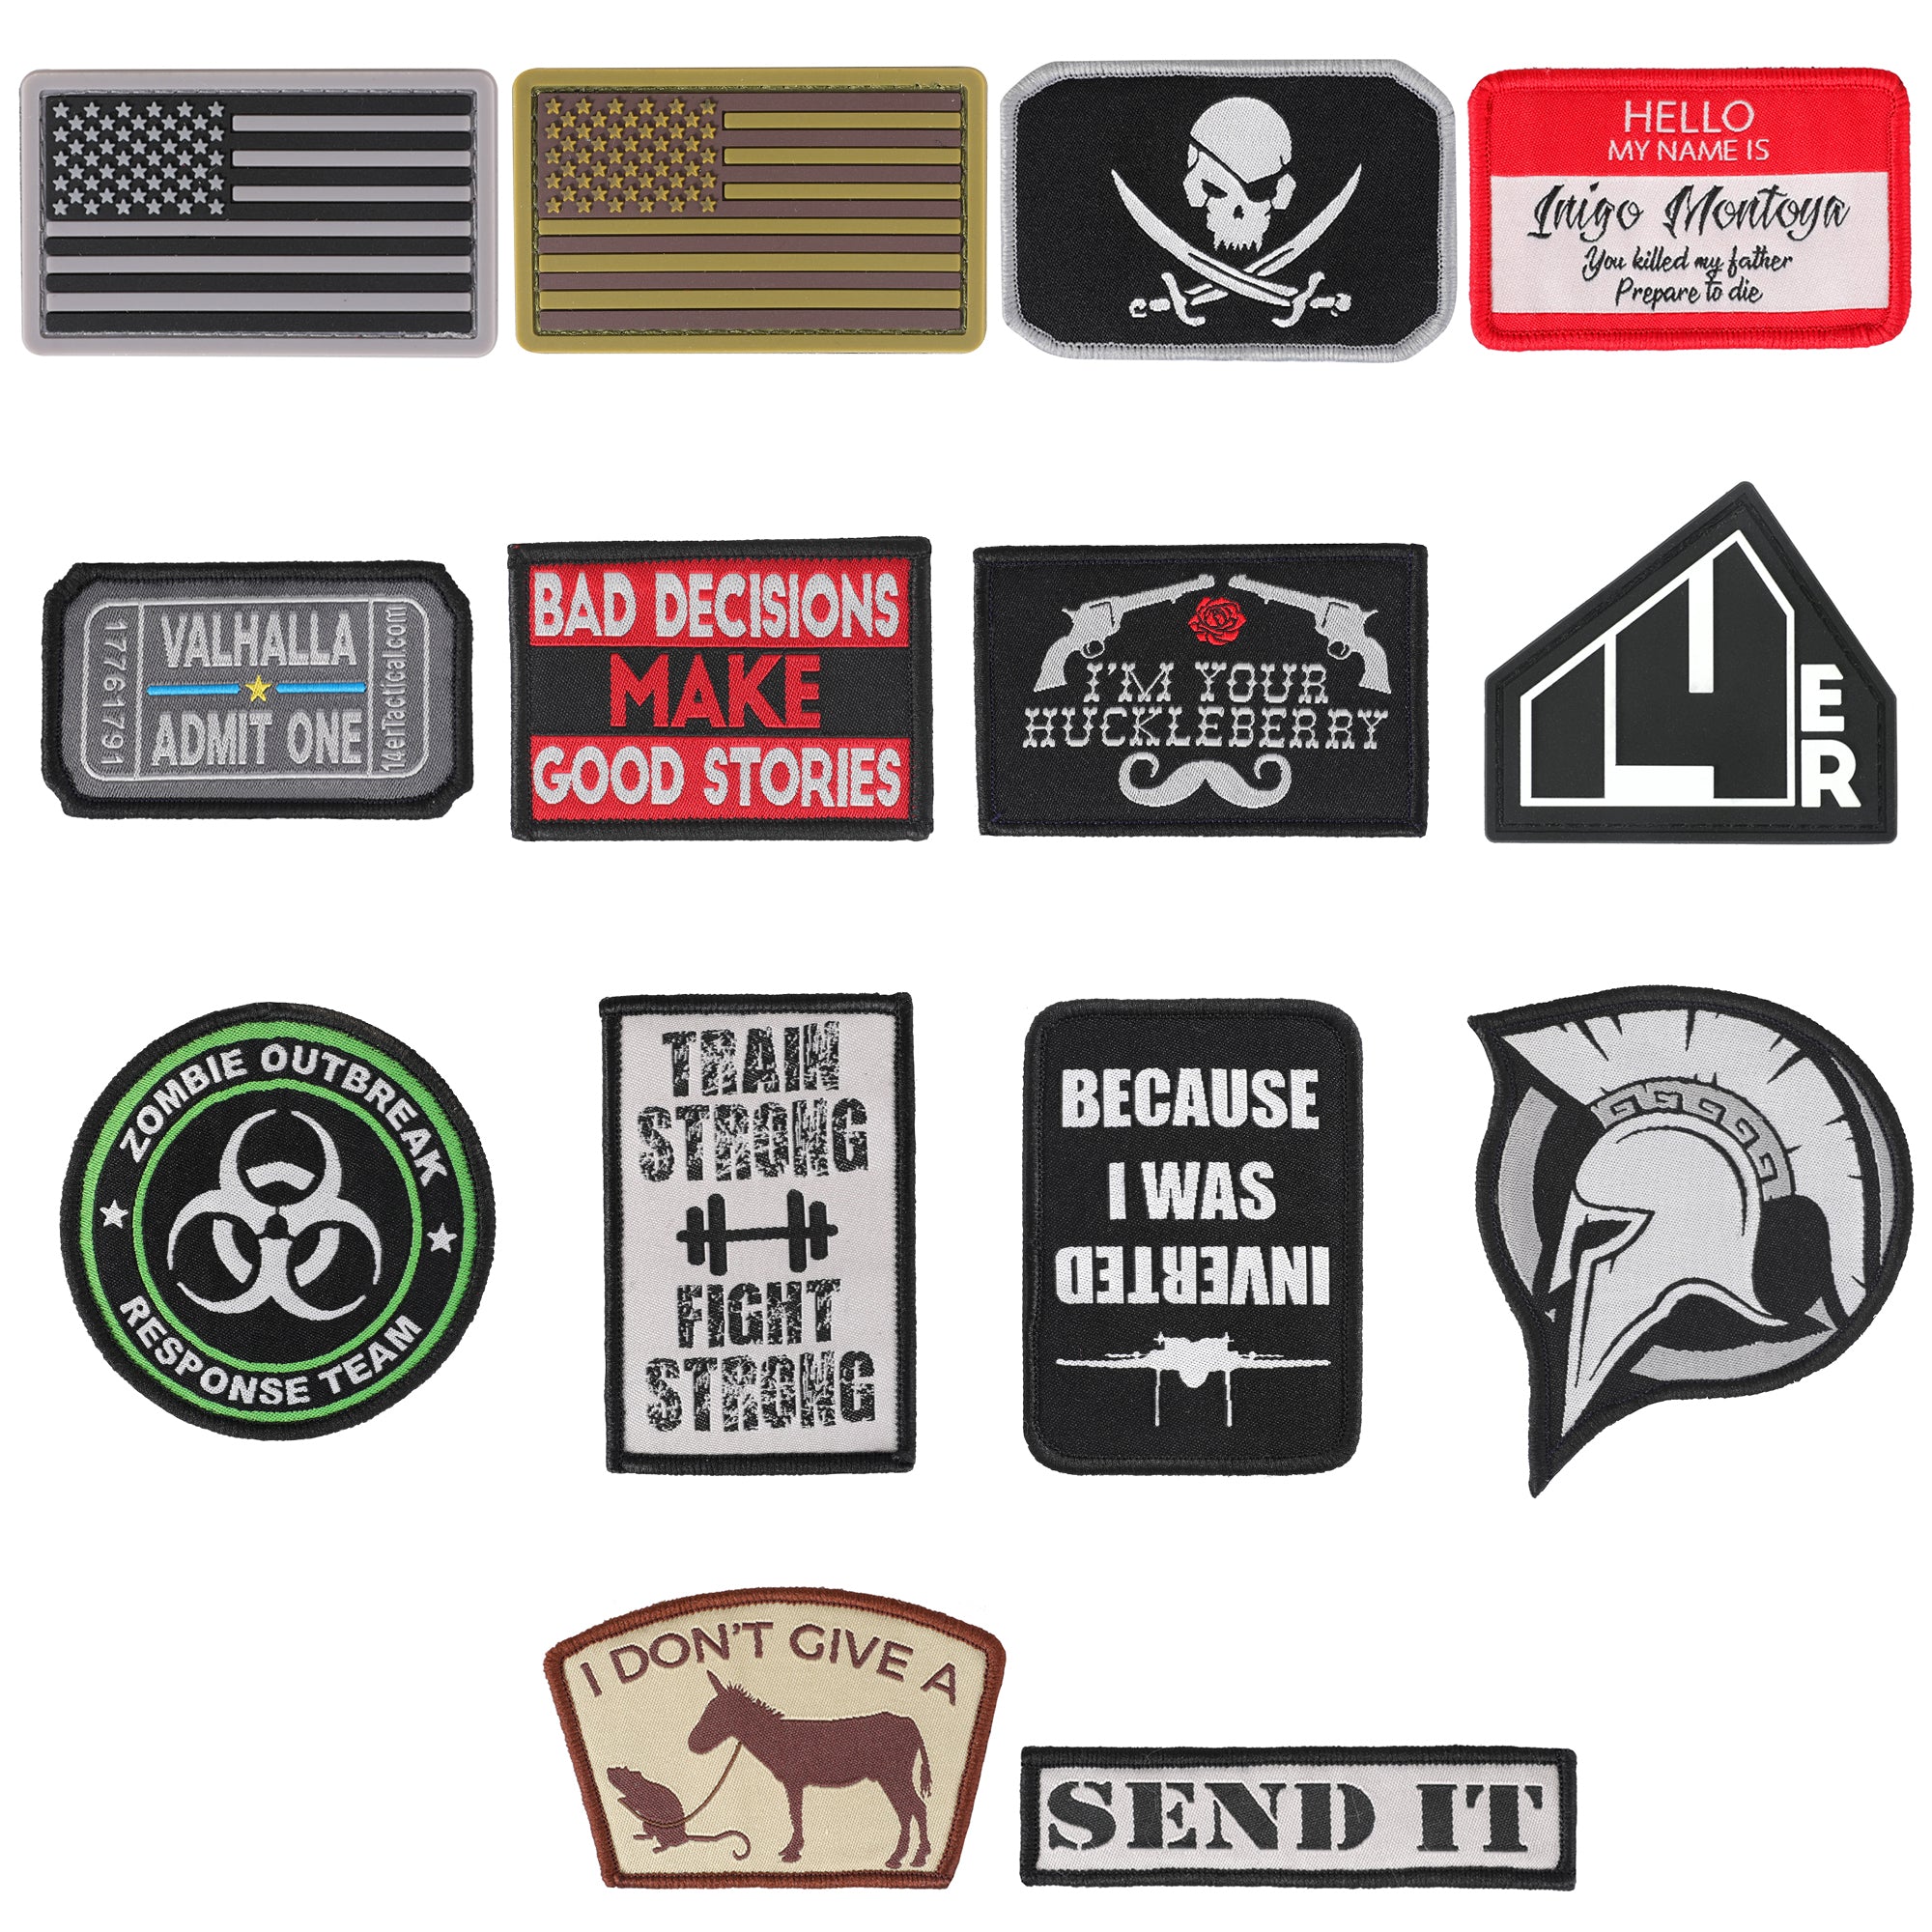 14er Morale Patches (14-Pack)15 May 2024
 -
 Custom Morale Patches - PVC & Velcro Patches15 May 2024
 -
 Eybros Tactical Morale Patch, 20 Bundle-Set, Military Patches Funny for Backpacks Hat Army Gears etc.15 May 2024
 -
 Ho Lee Chit Funny Morale Patch Tactical Military USA15 May 2024
 -
 Park Ranger Endor Funny Morale Patch Tactical Military USA15 May 2024
 -
 Funny Velcro Patches15 May 2024
You may also like
-
Christmas White Bead Garland Plastic Pearl Faceted D3529, 1 - Kroger15 May 2024
-
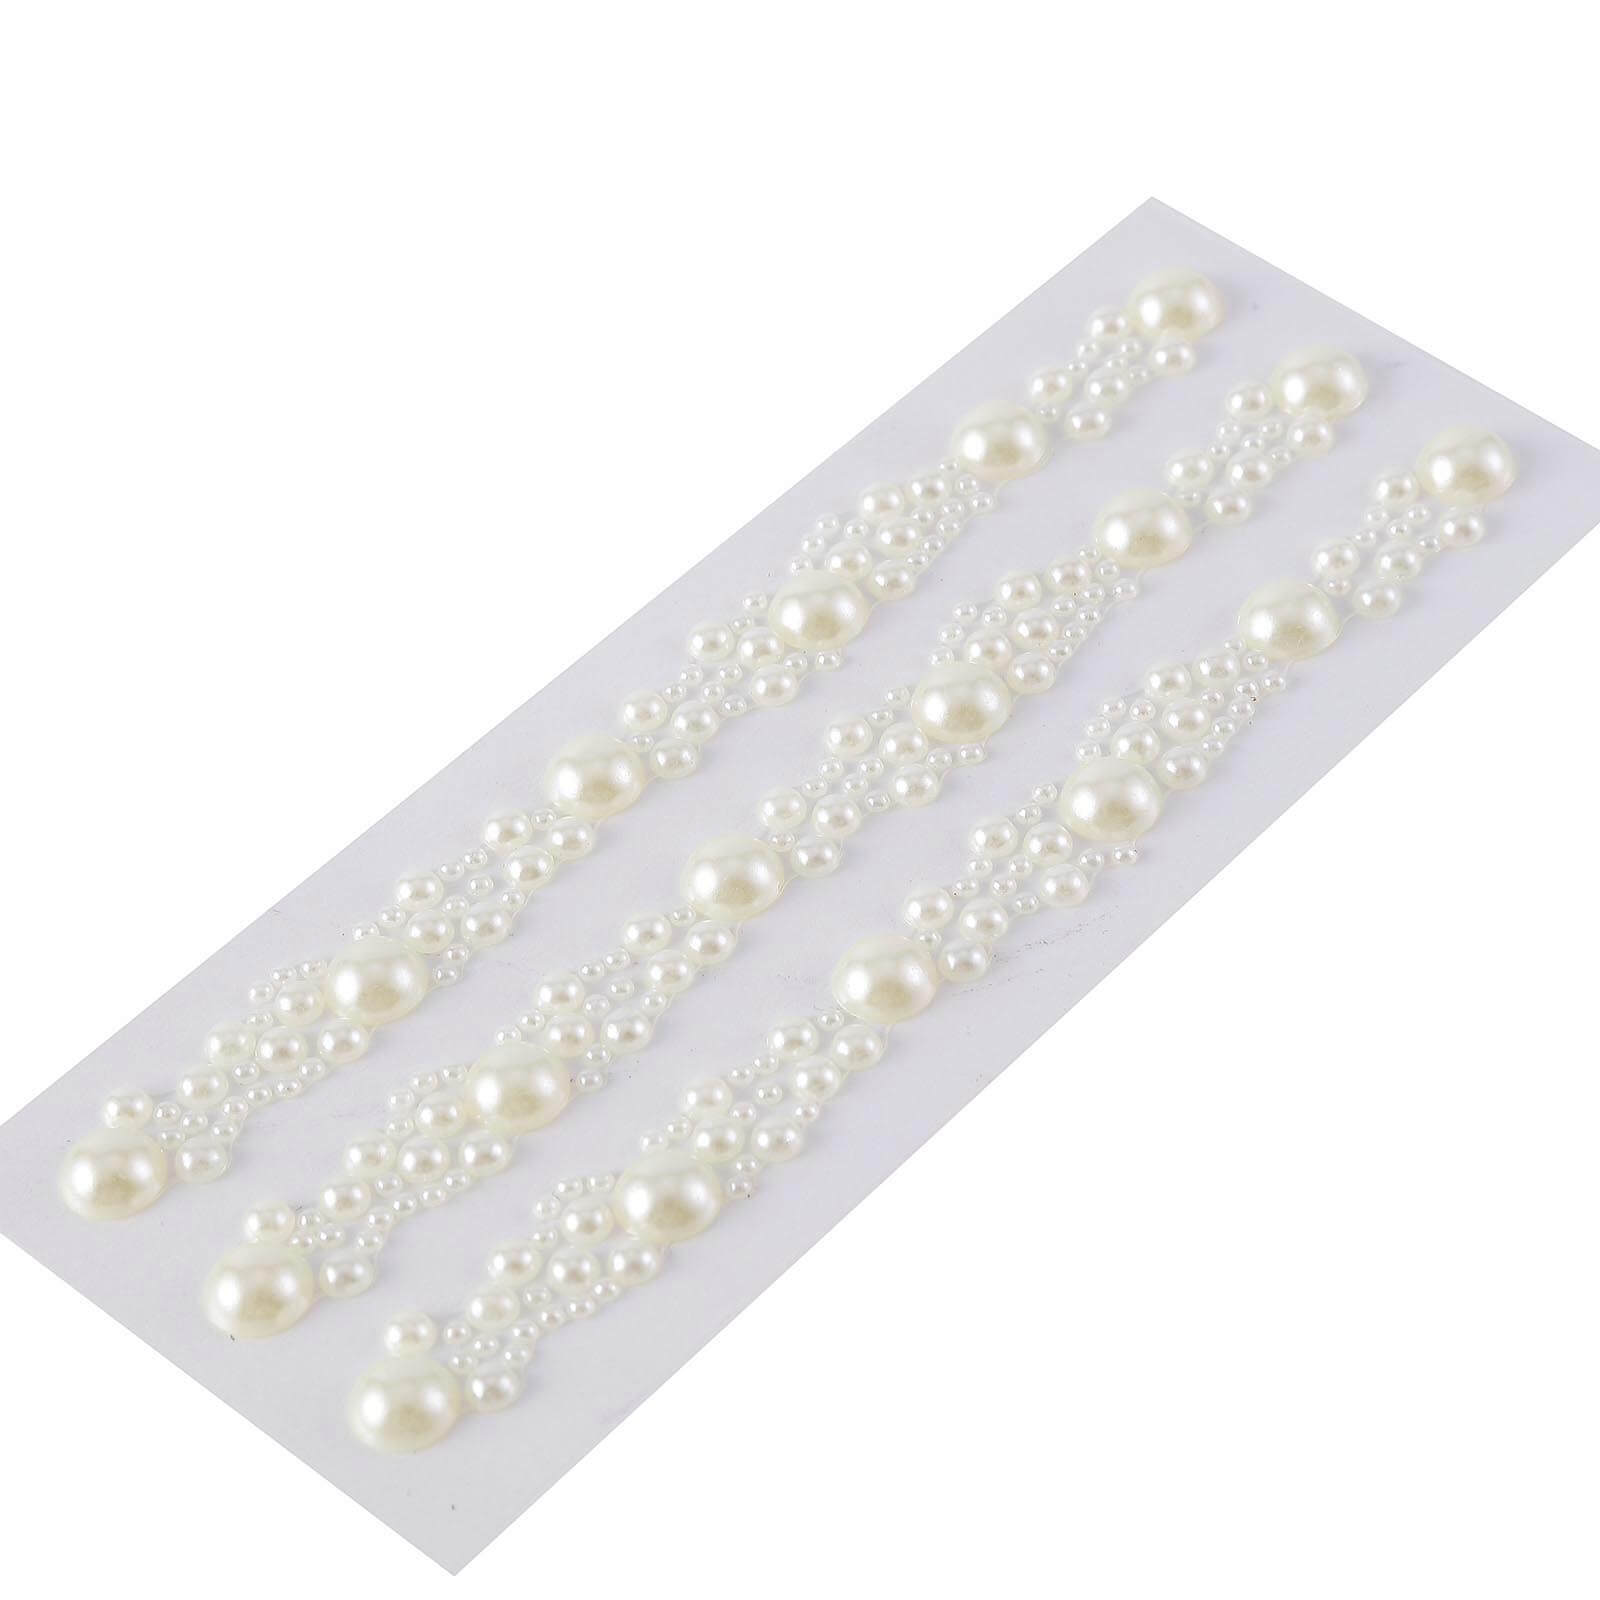 Ivory Self Adhesive Rhinestone Sticker | Peel & Stick DIY Craft Stickers15 May 2024
 -
 United Scientific Hand Tally Counter Hand Tally Counter; Grid Type: Simple: Counting15 May 2024
 -
 USPS Celebra el Mes de la Herencia Hispana con Piñatas! Estampillas - The San Fernando Valley Sun15 May 2024
 -
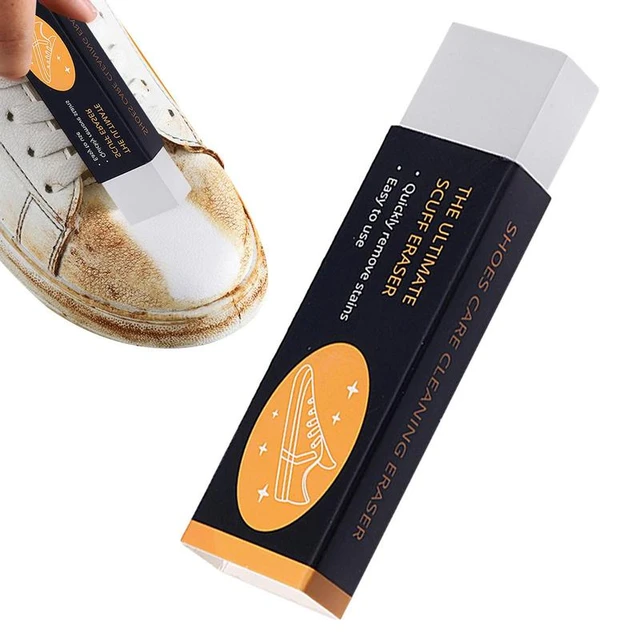 Shoe Cleaning Eraser Super Clean Sneaker Shoe Brush Rubber For15 May 2024
 -
 Pro-Fix Down Jacket Repair Patches Easy to Use, Pre15 May 2024
 -
 Gamblin Galkyd Painting Medium 8oz - Wet Paint Artists' Materials15 May 2024
 -
 Bike Chain Cleaner Bicycle Motorcycle Chain Cleaning Brush Dual15 May 2024
 -
 Diode Laser Hair Removal For Men: What You Need To Know15 May 2024
 -
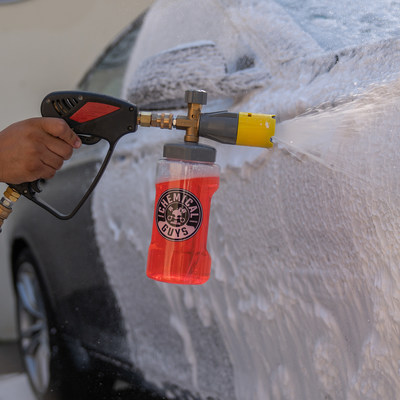 Chemical Guys Launches TORQ Big Mouth Max Release Foam Cannon For Super-Sized Suds on Any Vehicle15 May 2024
