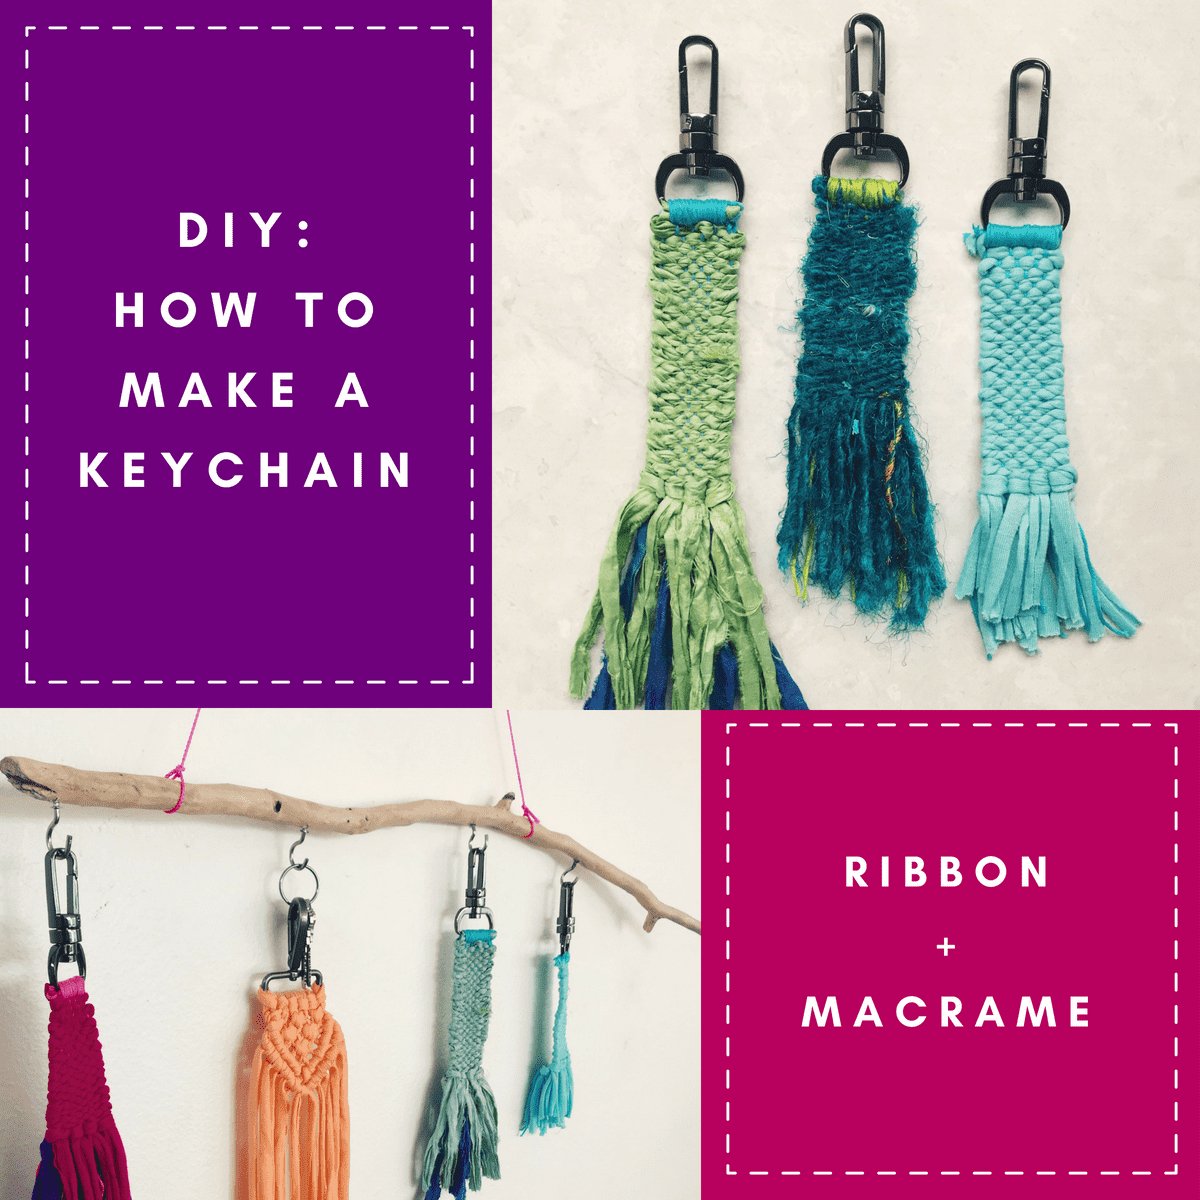
DIY: How To Make A Keychain Woven + Macrame – Darn Good Yarn
By A Mystery Man Writer
Last updated 23 May 2024
These keychains are such an easy craft to do yourself. No need to buy one, make your own! If you don't have a loom, be sure to check out our previous keychain tutorial to make your own out of cardboard to use. Woven Keychain with Ribbon Featured Products Darn Good Yarn Ribbon 5 Color Sample Cards Step By Step Step 1 Ga
Unique organic women's clothing and quality yarn, craft supplies, and home goods. Ethically sourced and made with recycled
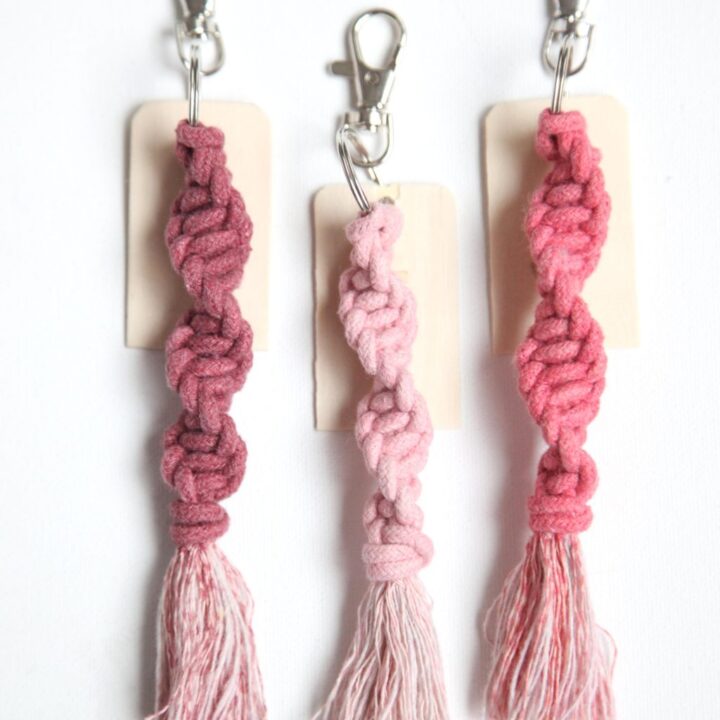
These keychains are such an easy craft to do yourself. No need to buy one, make your own! If you don't have a loom, be sure to check out our previous keychain tutorial to make your own out of cardboard to use. Woven Keychain with Ribbon Featured Products Darn Good Yarn Ribbon 5 Color Sample Cards Step By Step Step 1 Gather Materials Darn Good Yarn Ribbon 5 Color Sample Cards Embroidery floss that matches or contrasts your colors Tapestry needle Scissors Frame Loom or Cardboard Loom (see instructions here) Key Chain Hook with 1” bar to Attach Weaving Step 2 Tie a slip knot with the embroidery floss and loop over bottom notch of loom (bottom left corner). Pull embroidery floss up to the top of the loom, wrap embroidery floss around the back of the first notch, then bring it down the front of the loom and around the next bottom notch and repeat, ending at the bottom right corner. Tie a knot at the end of the floss and trim. Step 3 Measure 4 feet of yarn. To thread needle, fold one end of the yarn over needle and pinch the fold between thumb and index finger. Push the fold through the eye of the needle. Pull through leaving a short tail on one side and the majority of the yarn on the other side. Start at the top right corner of your loom, leaving a 3” tail. Weave the needle under and over until you reach the last warp strand on the left. Then switch directions and repeat. (You could even integrate another color or fiber into the weaving at this point!) Continue until you have woven about 2” or until you have about 6” of yarn left. Warp threads are held under tension. They are the strings that run vertically up and down the loom. Step 4 Cut 4-8 equal lengths of yarn. You can do this easily by wrapping the yarn around the loom or your fingers 4-8 times. Cut the yarn along one end of the loom. If you want to make a contrasting color for your tassels you can use a different yarn for all or some of the tassels. Step 5 Make rya knots: Place one strand of yarn over two warp strands. Wrap each end under the warp strands towards the middle. So the left side strand goes over and under the left warp strand and up the middle and the right goes over the right warp strand, under it and up through the middle. Gently pull the yarn ends up and tighten the loop that forms. Repeat across the warp strands. Weave 2 rows of plain weave stitches under the tassels. Then repeat a second row of tassels. Weave 2 and a half more rows of plain weave, ending in the middle of the warp strands with the yarn ends in the back of the weaving. Step 6 Lift tassels up so they are out of the way. Cut 1st two warp strands on left side and tie in a double knot repeat with remaining strands Slip loops off top of loom taking care to leave loops in tact. Step 7 Thread about 18 inches of embroidery floss onto needle. Whip stitch the warp loops onto the keychain. the tail ends. Step 7A Sew over the tail from the start of the weaving. Continue to sew into 1 layer of the weft. Weft threads are woven around the warp threads. They run horizontally. Step 7B Then push needle through the stitches to the other end and trim all the tail ends. Step 9 You're all done! Macrame Keychain Featured Products Darn Good Yarn Ribbon 5 Color Sample Cards Step By Step Step 1 Gather Materials Darn Good Yarn Ribbon 5 Color Sample Cards - Cotton Yarn 1.5 “ Keychain Hook Scissors Abbreviations (Instructions at the End) LH: lark’s head SK: square knot DHH: double half hitch Step 2 You will need 6 lengths of jersey yarn measuring 2’ long. To easily create this, hold one end of the yarn between your thumb and index finger, wrap the yarn down around your elbow and back up to your finger and thumb, repeat 6 times then cut the yarn that is gathered between your finger and thumb, and you will have 6 equal lengths of yarn approximately 2 feet long each. Step 3 Tie 6 LH knots to attach the yarn to key chain bar. Step 4 Tie 3 SKs under the LH knots Step 5 Next, skip the first two strands on the left and tie 2 SKs centered under the first row. There will be two free strands on the right and left. Finally, tie one SK in the center using the 4 middle strands. You now have a triangular shaped macrame. Step 6 Continue chevron pattern with diagonal double half hitch (DHH) Step 7 Starting on the left work a row of 5 DHH ending in the middle. Repeat on right side. You will do the knot in reverse and it might feel tricky at first, but you’ll get the hang of it. Step 8 Join the center strands by tying them together. Step 9 Repeat if you want two rows of DHH (as shown to the left). Step 10 Trim the fringe ends and you are done! That’s it! Share your creations on Instagram and Facebook using the hashtag #darngoodyarn! Knot Photo Instructions
Unique organic women's clothing and quality yarn, craft supplies, and home goods. Ethically sourced and made with recycled
These keychains are such an easy craft to do yourself. No need to buy one, make your own! If you don't have a loom, be sure to check out our previous keychain tutorial to make your own out of cardboard to use. Woven Keychain with Ribbon Featured Products Darn Good Yarn Ribbon 5 Color Sample Cards Step By Step Step 1 Gather Materials Darn Good Yarn Ribbon 5 Color Sample Cards Embroidery floss that matches or contrasts your colors Tapestry needle Scissors Frame Loom or Cardboard Loom (see instructions here) Key Chain Hook with 1” bar to Attach Weaving Step 2 Tie a slip knot with the embroidery floss and loop over bottom notch of loom (bottom left corner). Pull embroidery floss up to the top of the loom, wrap embroidery floss around the back of the first notch, then bring it down the front of the loom and around the next bottom notch and repeat, ending at the bottom right corner. Tie a knot at the end of the floss and trim. Step 3 Measure 4 feet of yarn. To thread needle, fold one end of the yarn over needle and pinch the fold between thumb and index finger. Push the fold through the eye of the needle. Pull through leaving a short tail on one side and the majority of the yarn on the other side. Start at the top right corner of your loom, leaving a 3” tail. Weave the needle under and over until you reach the last warp strand on the left. Then switch directions and repeat. (You could even integrate another color or fiber into the weaving at this point!) Continue until you have woven about 2” or until you have about 6” of yarn left. Warp threads are held under tension. They are the strings that run vertically up and down the loom. Step 4 Cut 4-8 equal lengths of yarn. You can do this easily by wrapping the yarn around the loom or your fingers 4-8 times. Cut the yarn along one end of the loom. If you want to make a contrasting color for your tassels you can use a different yarn for all or some of the tassels. Step 5 Make rya knots: Place one strand of yarn over two warp strands. Wrap each end under the warp strands towards the middle. So the left side strand goes over and under the left warp strand and up the middle and the right goes over the right warp strand, under it and up through the middle. Gently pull the yarn ends up and tighten the loop that forms. Repeat across the warp strands. Weave 2 rows of plain weave stitches under the tassels. Then repeat a second row of tassels. Weave 2 and a half more rows of plain weave, ending in the middle of the warp strands with the yarn ends in the back of the weaving. Step 6 Lift tassels up so they are out of the way. Cut 1st two warp strands on left side and tie in a double knot repeat with remaining strands Slip loops off top of loom taking care to leave loops in tact. Step 7 Thread about 18 inches of embroidery floss onto needle. Whip stitch the warp loops onto the keychain. the tail ends. Step 7A Sew over the tail from the start of the weaving. Continue to sew into 1 layer of the weft. Weft threads are woven around the warp threads. They run horizontally. Step 7B Then push needle through the stitches to the other end and trim all the tail ends. Step 9 You're all done! Macrame Keychain Featured Products Darn Good Yarn Ribbon 5 Color Sample Cards Step By Step Step 1 Gather Materials Darn Good Yarn Ribbon 5 Color Sample Cards - Cotton Yarn 1.5 “ Keychain Hook Scissors Abbreviations (Instructions at the End) LH: lark’s head SK: square knot DHH: double half hitch Step 2 You will need 6 lengths of jersey yarn measuring 2’ long. To easily create this, hold one end of the yarn between your thumb and index finger, wrap the yarn down around your elbow and back up to your finger and thumb, repeat 6 times then cut the yarn that is gathered between your finger and thumb, and you will have 6 equal lengths of yarn approximately 2 feet long each. Step 3 Tie 6 LH knots to attach the yarn to key chain bar. Step 4 Tie 3 SKs under the LH knots Step 5 Next, skip the first two strands on the left and tie 2 SKs centered under the first row. There will be two free strands on the right and left. Finally, tie one SK in the center using the 4 middle strands. You now have a triangular shaped macrame. Step 6 Continue chevron pattern with diagonal double half hitch (DHH) Step 7 Starting on the left work a row of 5 DHH ending in the middle. Repeat on right side. You will do the knot in reverse and it might feel tricky at first, but you’ll get the hang of it. Step 8 Join the center strands by tying them together. Step 9 Repeat if you want two rows of DHH (as shown to the left). Step 10 Trim the fringe ends and you are done! That’s it! Share your creations on Instagram and Facebook using the hashtag #darngoodyarn! Knot Photo Instructions
A Step by Step DIY Macrame Keychain Tutorial
Macrame Keychains
Macrame Keychain Personalized Trailer Available in Various Colors Keychain Bag Charm Perfect Gift

DIY Woven Tassel Keychain – Darn Good Yarn

DIY Macrame Keychain Easy Tutorial Using 3 Strands (Video #3)

DIY chunky macrame keychain, beginner macrame knot basics, learn macrame, free pattern

How to Make a Macrame Keychain Beginner Friendly Pattern Tutorial

Cute yarn rainbow key chain! Gorgeous fiber arts inspiration.

DIY: How To Make A Keychain Woven + Macrame – Darn Good Yarn

Easy Macrame Keychain with T-Shirt Yarn

DIY: How To Make A Keychain Woven + Macrame – Darn Good Yarn
Recommended for you
-
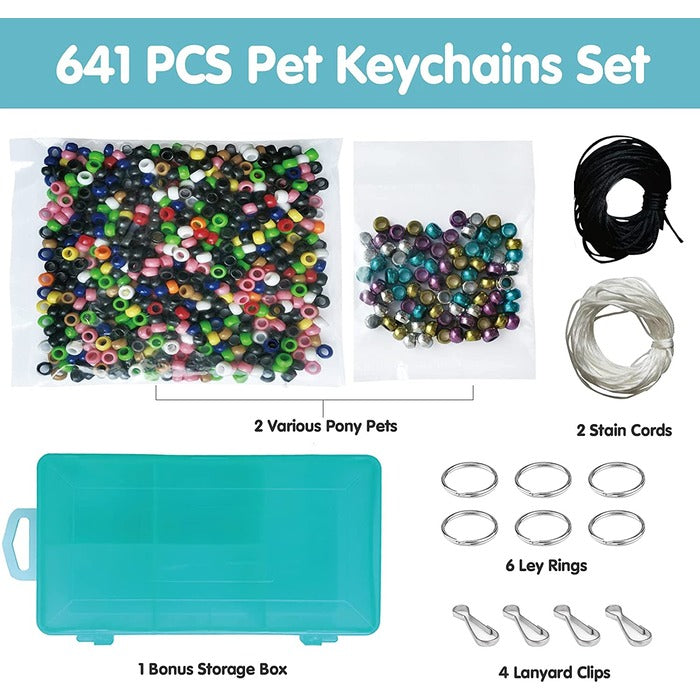 TBC The Best Crafts 641 Pcs Bead Pets Crafts for Kids Pony Beads Pet Keychain Craft Kit DIY Keychain Kit Create Your Own Backpack Hook Keyring23 May 2024
 -
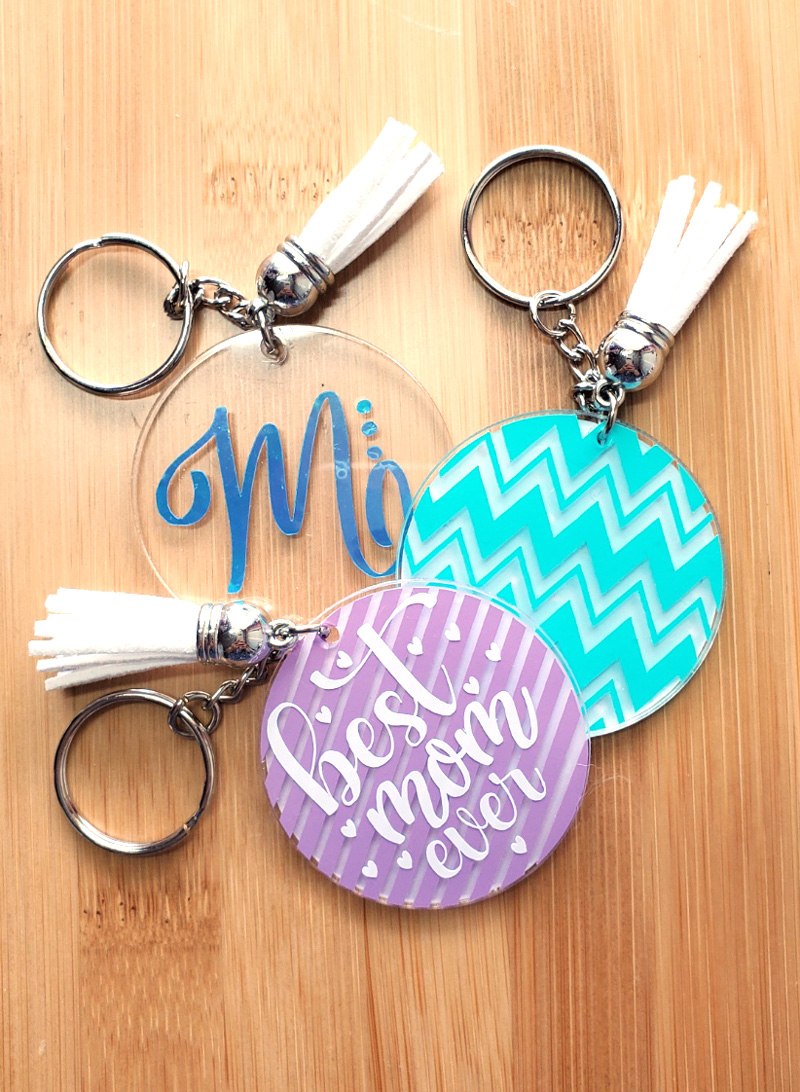 How to Make Acrylic keychains with Cricut * Moms and Crafters23 May 2024
 -
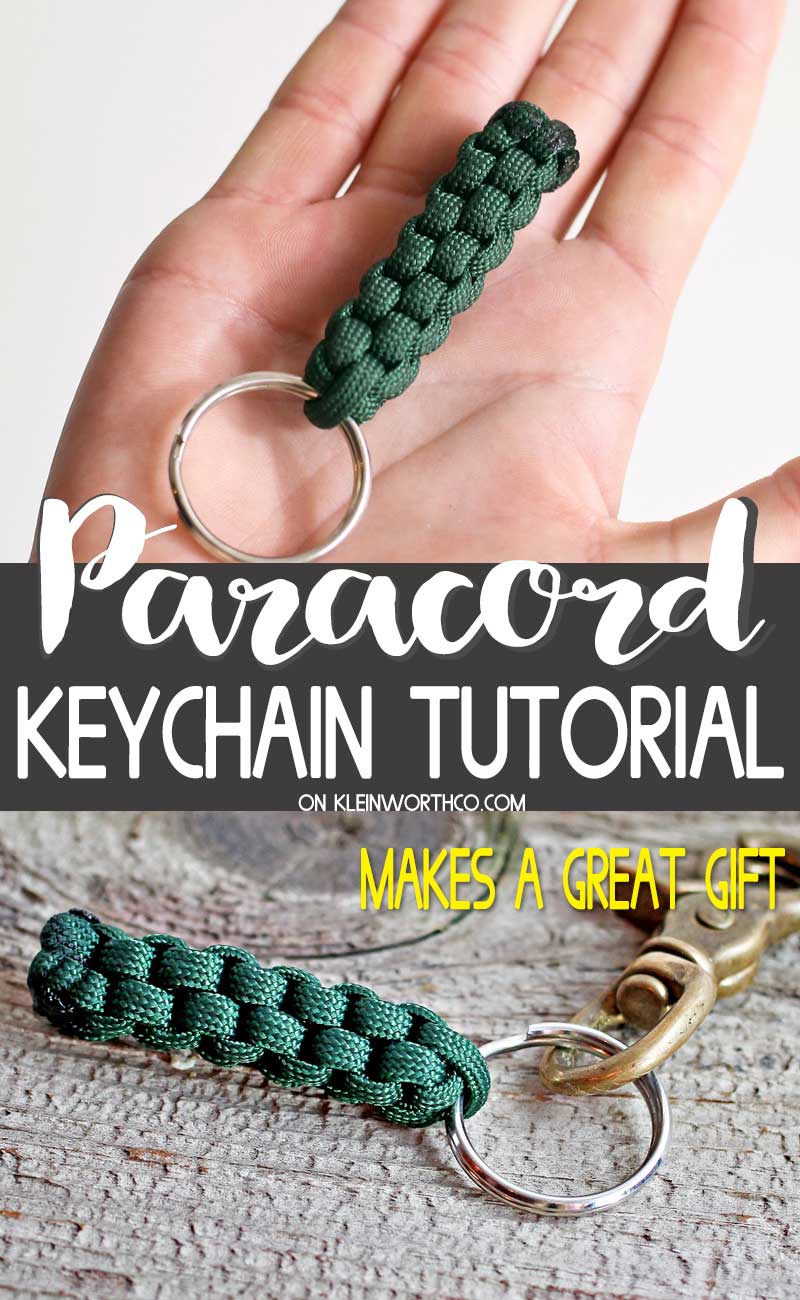 Paracord Survival Keychain - Taste of the Frontier23 May 2024
 -
 DIY Tassel Keychains: An Easy Tutorial and Gift Idea23 May 2024
 -
 DIY Tassel Keychain - That's so Gemma23 May 2024
 -
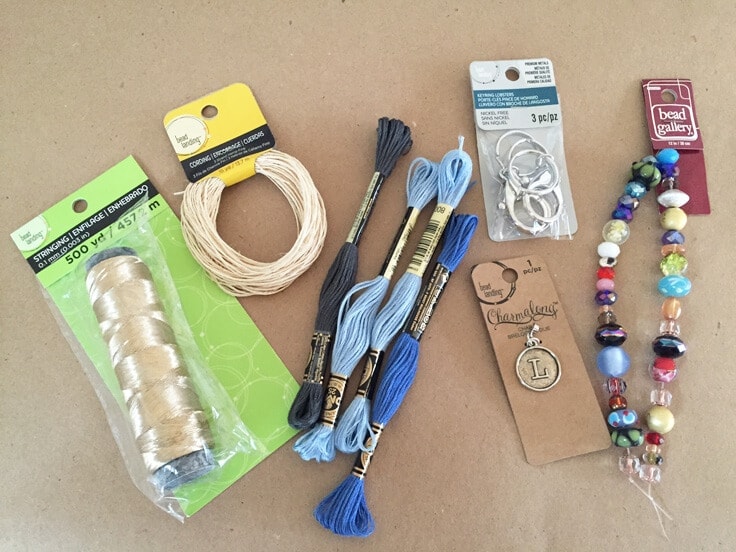
 How To Make Keychains (Using Beads & Charms) - Savvy Homemade23 May 2024
 -
 25+ DIY Keychain Ideas For Kids To Make - Emma Owl Diy crafts keychain, Kids crafts keychain, Keychain craft23 May 2024
 -
 DIY Keychain Accessories 5pcs/Lots 44mm Iron Material DIY Jewelry Keychains for Jewelry Making Bag Match23 May 2024
 -
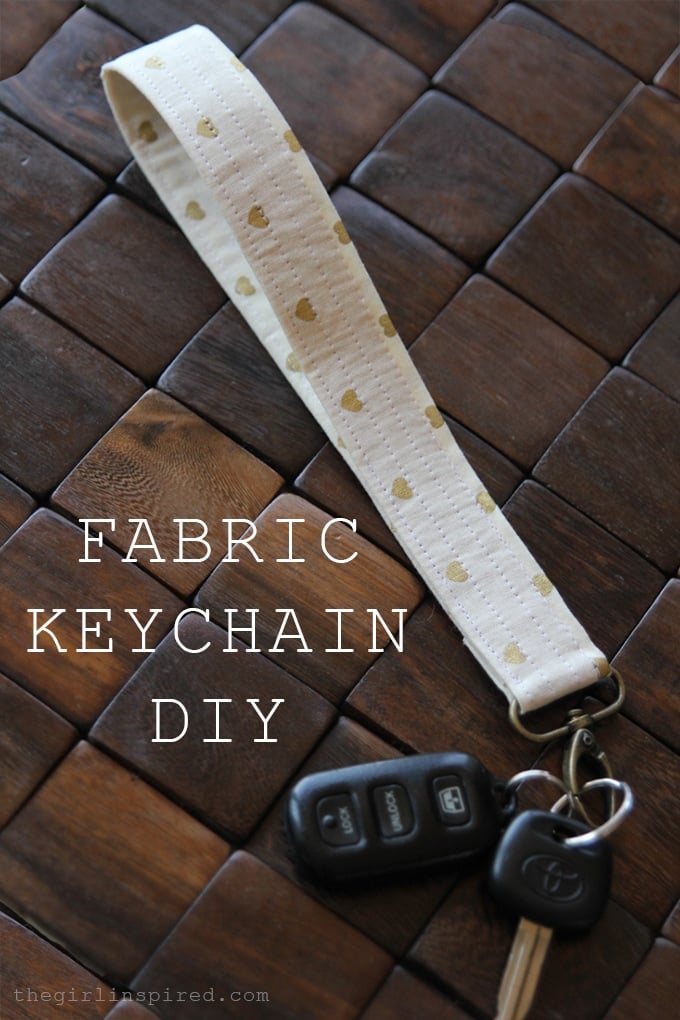 Fabric Keychain DIY - girl. Inspired.23 May 2024
 -
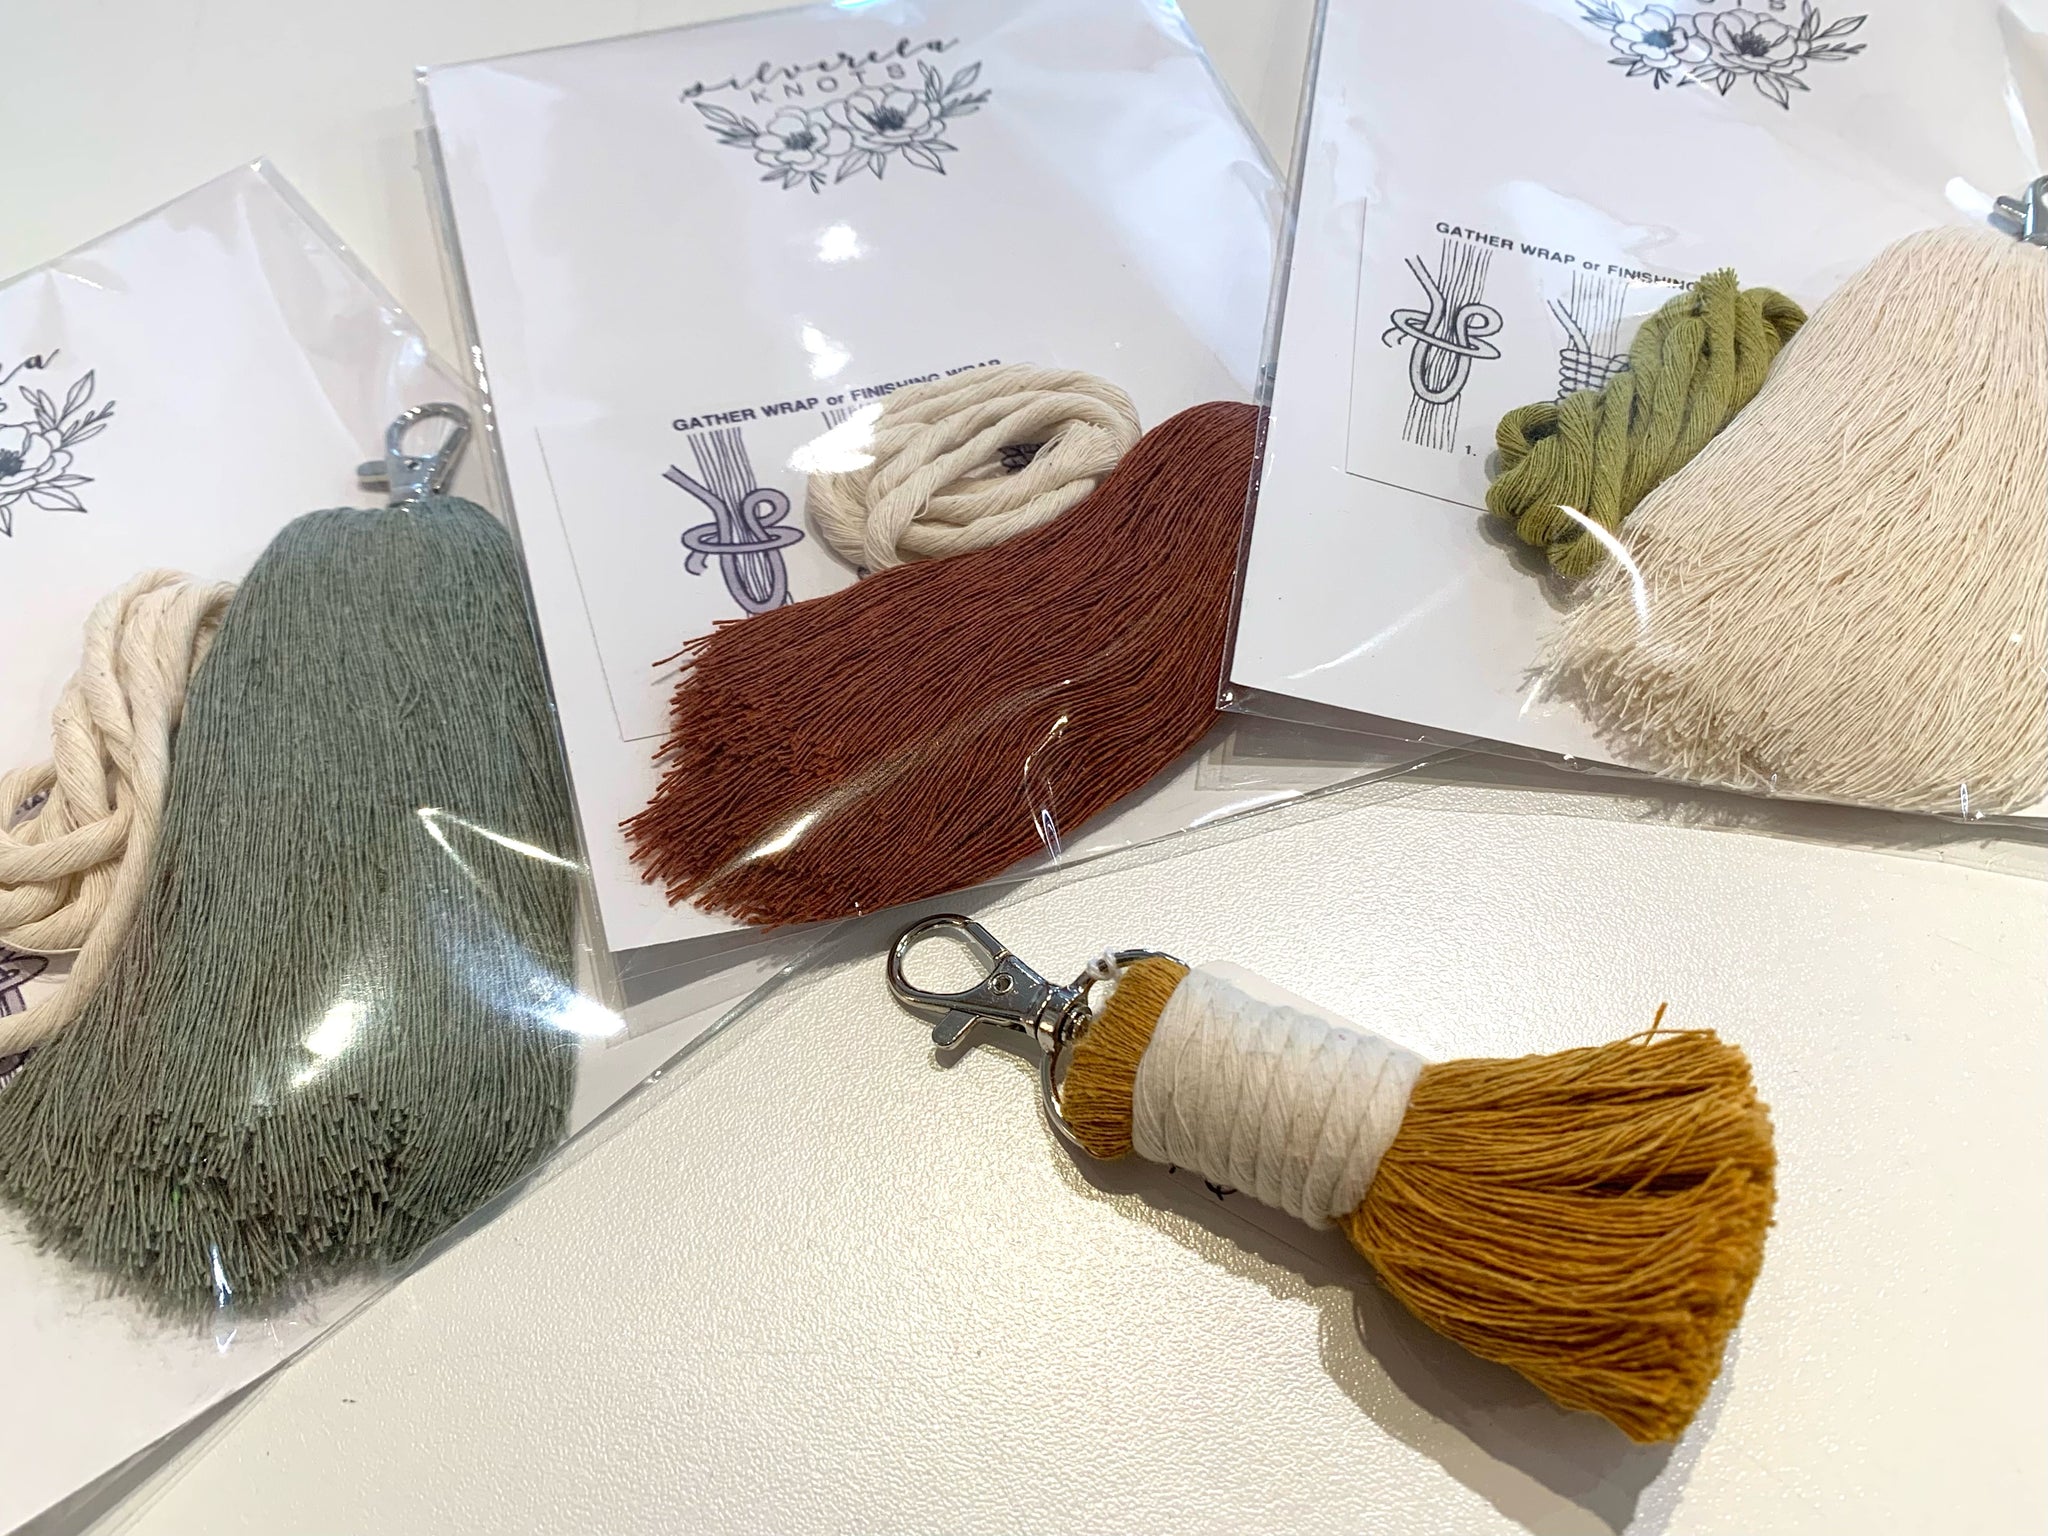 Keychain DIY Take and Make Kit – Studio 223 AZ23 May 2024
You may also like
-
 Set of FC Rollers for Stone Floors23 May 2024
 -
 Aria Suite - Save The Date & Invitation - Bluebird Invitations23 May 2024
 -
 Paint Metallic Midnight Green23 May 2024
 -
 GLR10TWEF by Galanz - Galanz 10.0 Cu Ft Top Mount Refrigerator in White23 May 2024
 -
 Bob Ross by the Numbers by Bob Ross, Robb Pearlman23 May 2024
 -
 Hourglass Wooden Spools 2 x 1-3/8 Inch, Pack of 25 Large Wood Spools, Unfinished Birch, Splinter-Free for Crafts by Woodpeckers23 May 2024
 -
Guide: Chinese Brush Painting23 May 2024
-
 8 Gauge Copper Bare Wire, Solid at Rs 730/kg in Talasari23 May 2024
 -
 Custom Coffee Mug - Blank - 11 ounce23 May 2024
 -
 Large Raw Edge Wood Paddle Serving Board by World Market23 May 2024
