How to Press Flowers - Grow and Make
By A Mystery Man Writer
Last updated 14 May 2024

How to Press Flowers It is spring and it is beautiful out, and if you are anything like us you might be wishing there were always this many flowers year round. Right now there are so many varieties blooming at once, in both our planted gardens as well as in the wild. If you wish you could put the garden on pause to enjoy the flowers for a longer period of time, then we think this craft is for you. Pressed flowers are easy and fun to make, and there are so many ways to use them! Ranging from educational and scientific to artistic and crafty, we encourage you to try this out regardless of your background. This is the perfect time to get some flowers drying, so they will be ready for a delightful Mother’s Day card. For a
Grow and Make offers a wide range of DIY kits perfect for crafting and gifting. From hot sauce making kits and kombucha starters to soap making supplies and tea garden kits, there's something for everyone!
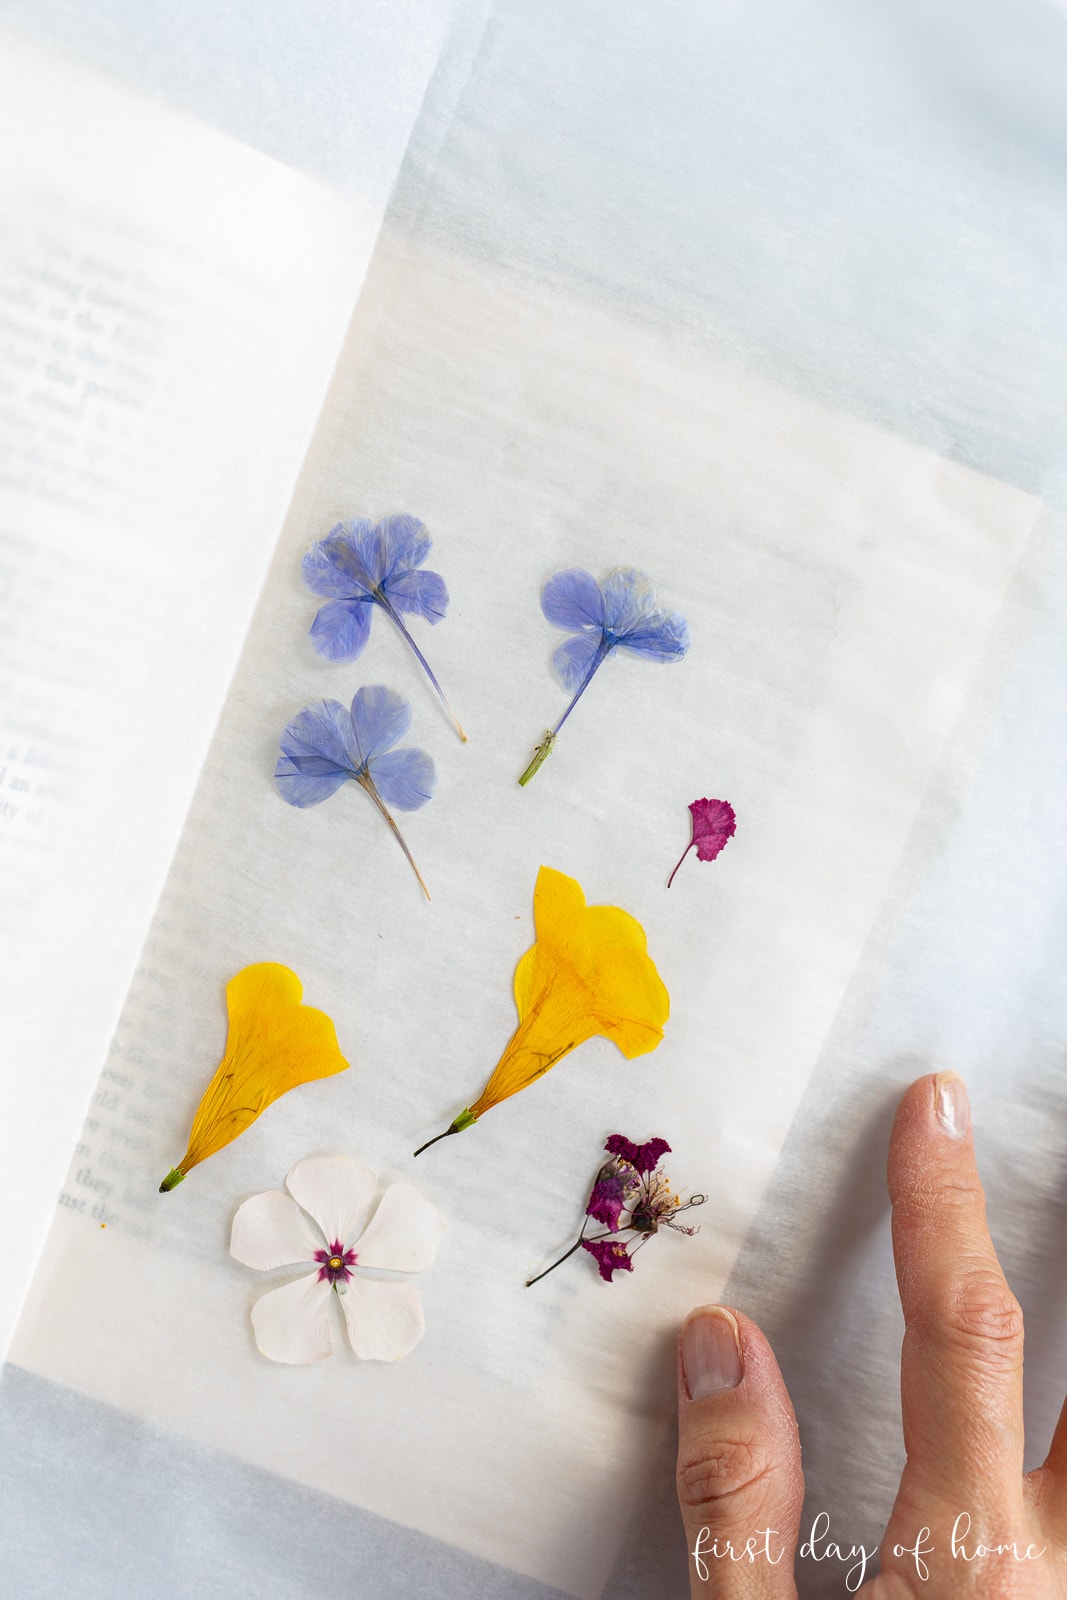
How to Press Flowers It is spring and it is beautiful out, and if you are anything like us you might be wishing there were always this many flowers year round. Right now there are so many varieties blooming at once, in both our planted gardens as well as in the wild. If you wish you could put the garden on pause to enjoy the flowers for a longer period of time, then we think this craft is for you. Pressed flowers are easy and fun to make, and there are so many ways to use them! Ranging from educational and scientific to artistic and crafty, we encourage you to try this out regardless of your background. This is the perfect time to get some flowers drying, so they will be ready for a delightful Mother’s Day card. For a DIY pressed Mother’s Day card, follow our tutorial below. This is also a great activity to do with children. If you are stuck at home with your kids and need to give them a project, it is easy to make this activity into something both educational and fun, that involves exercise. See our “Educational Nature Walk” activity and printable below. How to Press Flowers in a Book You will need: Thick, heavy books Fresh flowers Plain paper (can use scrap paper) This craft, popular in the Victorian era, and dating back to 16th century Japan, where it is known as oshibana, is a wonderful, approachable craft, and requires almost no tools or supplies. Just find yourself a book that you don’t care terribly about, (we suggest not using any collectible or expensive books as slight damage can occur to the pages) and some fresh flowers or leaves. Heavier books work best, such as dictionaries, phone books, and textbooks. First, you will need to gather some flowers. When choosing flowers, make sure they are clean, free of bugs, and dry. The easiest flowers to press are those that are delicate and have somewhat of a flat structure. If you want to dry a larger flower, like a rose, you are better off picking the petals and drying them separately. The bulky center will not press well. You don’t need to collect fancy flowers, sometimes flowers that are considered weeds and have been overlooked for their commonality, can be very appealing to the eye when made into botanical art. This is a place where even the humble dandelion can shine. Pick some greenery too, because later it will be fun to contrast the flowers with pretty leaves. Cut flowers from a bouquet can also work well. We encourage you to experiment and get creative, we only suggest avoiding woody stems, as they do not press well. Take care not to bruise the petals and leaves when picking the flowers and leaves. Lay them gently in a basket or on a tray. If this is your first time pressing flowers, we suggest picking several types, as each will dry in their own unique way and might surprise you. Sometimes the colors will change too, but that is part of the fun! Once you have your flowers gathered, you are all set to start pressing. You will need some loose paper to protect the pages of your book. This can be scrap paper, or nice white pages. Open the book to about the middle. Lay down a single sheet of paper. Arrange the flowers on the page, leaving plenty of room around each flower or leaf. Once you close the book, the flower will be flattened and will take up more space than it does when it is three dimensional. When your flowers are arranged, place another piece of paper on top, and take care to close the book so as not to disturb the arrangement, close the book on the flowers. Repeat until all of your flowers are pressed into a book. If pressing more than a page worth at a time, be sure to leave a section of pages without flowers between each round for the best effect. Now, place some weight on top of the book. Other books, or a heavy box work well. Leave your flowers for 1-2 weeks. Now is the moment you have been waiting for! Gently page through your book to find your pressed flowers. Check to make sure they are dry. If they seem damp, close the book, return the weight, and check on them in a few more days. You may want to use tweezers to lift them from the pages to avoid damaging them. As we mentioned in the beginning, there are so many things you can do with these. Decoupage, cards, laminated bookmarks, resin jewelry, DIY botanical body care, and so much more! Below are a few flower crafts we made, but we would love to see what you come up with on your own! Mothers Day DIY Pressed Flower Card You will need: Paper Glue Additional art supplies Fold a rectangular paper in half, matching up the corners, and run your finger along the edge to make a nice crease. While even copy paper will work, you can have fun with this. Look around your house for scraps of wrapping paper, cut up kraft colored grocery bags, or scrapbook paper, old book pages. Using tweezers, play around with the arrangement of the pressed flowers until you find a composition that you like. Then, taking note of where you want to place them, lay down a thin layer of glue, and place the pressed flowers on the paper. Gently press the flowers down, so the entire surface adheres to the paper. Add decorations with colored pencils, pens, or stickers. Write a thoughtful note to your Mother and thank her for helping you grow! Melt and Pour Glycerin Soap Bars Pressed flowers are super pretty in soap, especially in clear and lightly colored soap. If you have a silicone ice cube or baking mold around, they work great for making mini soap bars, which double as test samples. Play around with your arrangements, and the way different flowers and leaves react with the liquid soap. Once you find a combination that you like, you can make larger bars, or continue making cute little guest soap bars to give to friends, family or impress your guests when you host. They also make great mothers day gifts! Melt the soap, and pour a thin layer into the bottom of the mold. Let dry until tacky. Place dried flowers. Pour another thin layer and let harden, then pour your final layer. The purpose of this layering is to help prevent the flowers from floating to the in the liquid soap ( which will ultimately be the bottom of the soap bar). Once the soap has cooled, using a sharp knife (and taking care not to cut yourself) trim the soap so it has a smooth shiny surface and you can more easily see the flowers. Nothing says Mothers Day like handmade soap with flowers you collected yourself! We are quite sure this gift will go over well with anyone you want to share it with. Plus, when in your life have you ever washed your hands this much? Educational Nature Walk – All ages Go on a nature walk. This term can be used loosely. The point of the walk is to pay attention to the natural habitat around you. This could be a walk through your own garden, where you look at your plants in a new way, paying close attention to leaf size, flower structure, and appeal. If you don’t have a garden, you can take a walk in your neighborhood. Have a park close by? Take a look at the native plants in your area. Even wild mustard, chicory, malva, lawn daisies, sour grass, and other plants normally considered “weeds” can make beautiful pressed flowers. Pay particularly close attention to the plants around you. Have your children pick a few varieties that appeal to them, and that are growing in abundance. Never pick the only flower of its kind in the wild (or your neighbors yard) as you don’t want to over harvest and harm the possibilities of that plant making seeds from the flower and growing back. Think about what you would need to identify this plant. Pick a flower, and a leaf or two, and a seed pod if available. Many times young leaves vary in shape from adult leaves. Consider picking one of each for illustration purposes. When you get home, lay the samples out that you collected from each plant. Do some research to see if you can identify what the flower is called, and its botanical name if possible. Adjust the complexity of this step depending on the age of your child. You can print our Plant Identity Page from the link at the end of this post to use as a guide for collecting samples and gluing them to once they are dried. If you have access to a laminator, it might be fun to laminate the pages and make them into a book. Even if you don’t have a laminator, you can take the old fashioned route and delicately stack the pages and bind them with twine. It will be a fragile book, but we think you will enjoy looking through it. To enrich your awareness of when plant varieties bloom throughout the year, try printing one of these pages each month and following these steps. At the end of the year, you will have twelve pages of plants to reference, along with hands-on experience of what is blooming throughout the seasons! Click the link below to download our free printable! PressedPrintableDownload We love to see what you’re making! If you use this article (or any of our other DIY articles) make sure to tag us on Instagram @GrowAndMake, Facebook @GrowAndMakeDIY or Twitter @GrowAndMake to be featured on our DIY Community page!
Grow and Make offers a wide range of DIY kits perfect for crafting and gifting. From hot sauce making kits and kombucha starters to soap making supplies and tea garden kits, there's something for everyone!
How to Press Flowers It is spring and it is beautiful out, and if you are anything like us you might be wishing there were always this many flowers year round. Right now there are so many varieties blooming at once, in both our planted gardens as well as in the wild. If you wish you could put the garden on pause to enjoy the flowers for a longer period of time, then we think this craft is for you. Pressed flowers are easy and fun to make, and there are so many ways to use them! Ranging from educational and scientific to artistic and crafty, we encourage you to try this out regardless of your background. This is the perfect time to get some flowers drying, so they will be ready for a delightful Mother’s Day card. For a DIY pressed Mother’s Day card, follow our tutorial below. This is also a great activity to do with children. If you are stuck at home with your kids and need to give them a project, it is easy to make this activity into something both educational and fun, that involves exercise. See our “Educational Nature Walk” activity and printable below. How to Press Flowers in a Book You will need: Thick, heavy books Fresh flowers Plain paper (can use scrap paper) This craft, popular in the Victorian era, and dating back to 16th century Japan, where it is known as oshibana, is a wonderful, approachable craft, and requires almost no tools or supplies. Just find yourself a book that you don’t care terribly about, (we suggest not using any collectible or expensive books as slight damage can occur to the pages) and some fresh flowers or leaves. Heavier books work best, such as dictionaries, phone books, and textbooks. First, you will need to gather some flowers. When choosing flowers, make sure they are clean, free of bugs, and dry. The easiest flowers to press are those that are delicate and have somewhat of a flat structure. If you want to dry a larger flower, like a rose, you are better off picking the petals and drying them separately. The bulky center will not press well. You don’t need to collect fancy flowers, sometimes flowers that are considered weeds and have been overlooked for their commonality, can be very appealing to the eye when made into botanical art. This is a place where even the humble dandelion can shine. Pick some greenery too, because later it will be fun to contrast the flowers with pretty leaves. Cut flowers from a bouquet can also work well. We encourage you to experiment and get creative, we only suggest avoiding woody stems, as they do not press well. Take care not to bruise the petals and leaves when picking the flowers and leaves. Lay them gently in a basket or on a tray. If this is your first time pressing flowers, we suggest picking several types, as each will dry in their own unique way and might surprise you. Sometimes the colors will change too, but that is part of the fun! Once you have your flowers gathered, you are all set to start pressing. You will need some loose paper to protect the pages of your book. This can be scrap paper, or nice white pages. Open the book to about the middle. Lay down a single sheet of paper. Arrange the flowers on the page, leaving plenty of room around each flower or leaf. Once you close the book, the flower will be flattened and will take up more space than it does when it is three dimensional. When your flowers are arranged, place another piece of paper on top, and take care to close the book so as not to disturb the arrangement, close the book on the flowers. Repeat until all of your flowers are pressed into a book. If pressing more than a page worth at a time, be sure to leave a section of pages without flowers between each round for the best effect. Now, place some weight on top of the book. Other books, or a heavy box work well. Leave your flowers for 1-2 weeks. Now is the moment you have been waiting for! Gently page through your book to find your pressed flowers. Check to make sure they are dry. If they seem damp, close the book, return the weight, and check on them in a few more days. You may want to use tweezers to lift them from the pages to avoid damaging them. As we mentioned in the beginning, there are so many things you can do with these. Decoupage, cards, laminated bookmarks, resin jewelry, DIY botanical body care, and so much more! Below are a few flower crafts we made, but we would love to see what you come up with on your own! Mothers Day DIY Pressed Flower Card You will need: Paper Glue Additional art supplies Fold a rectangular paper in half, matching up the corners, and run your finger along the edge to make a nice crease. While even copy paper will work, you can have fun with this. Look around your house for scraps of wrapping paper, cut up kraft colored grocery bags, or scrapbook paper, old book pages. Using tweezers, play around with the arrangement of the pressed flowers until you find a composition that you like. Then, taking note of where you want to place them, lay down a thin layer of glue, and place the pressed flowers on the paper. Gently press the flowers down, so the entire surface adheres to the paper. Add decorations with colored pencils, pens, or stickers. Write a thoughtful note to your Mother and thank her for helping you grow! Melt and Pour Glycerin Soap Bars Pressed flowers are super pretty in soap, especially in clear and lightly colored soap. If you have a silicone ice cube or baking mold around, they work great for making mini soap bars, which double as test samples. Play around with your arrangements, and the way different flowers and leaves react with the liquid soap. Once you find a combination that you like, you can make larger bars, or continue making cute little guest soap bars to give to friends, family or impress your guests when you host. They also make great mothers day gifts! Melt the soap, and pour a thin layer into the bottom of the mold. Let dry until tacky. Place dried flowers. Pour another thin layer and let harden, then pour your final layer. The purpose of this layering is to help prevent the flowers from floating to the in the liquid soap ( which will ultimately be the bottom of the soap bar). Once the soap has cooled, using a sharp knife (and taking care not to cut yourself) trim the soap so it has a smooth shiny surface and you can more easily see the flowers. Nothing says Mothers Day like handmade soap with flowers you collected yourself! We are quite sure this gift will go over well with anyone you want to share it with. Plus, when in your life have you ever washed your hands this much? Educational Nature Walk – All ages Go on a nature walk. This term can be used loosely. The point of the walk is to pay attention to the natural habitat around you. This could be a walk through your own garden, where you look at your plants in a new way, paying close attention to leaf size, flower structure, and appeal. If you don’t have a garden, you can take a walk in your neighborhood. Have a park close by? Take a look at the native plants in your area. Even wild mustard, chicory, malva, lawn daisies, sour grass, and other plants normally considered “weeds” can make beautiful pressed flowers. Pay particularly close attention to the plants around you. Have your children pick a few varieties that appeal to them, and that are growing in abundance. Never pick the only flower of its kind in the wild (or your neighbors yard) as you don’t want to over harvest and harm the possibilities of that plant making seeds from the flower and growing back. Think about what you would need to identify this plant. Pick a flower, and a leaf or two, and a seed pod if available. Many times young leaves vary in shape from adult leaves. Consider picking one of each for illustration purposes. When you get home, lay the samples out that you collected from each plant. Do some research to see if you can identify what the flower is called, and its botanical name if possible. Adjust the complexity of this step depending on the age of your child. You can print our Plant Identity Page from the link at the end of this post to use as a guide for collecting samples and gluing them to once they are dried. If you have access to a laminator, it might be fun to laminate the pages and make them into a book. Even if you don’t have a laminator, you can take the old fashioned route and delicately stack the pages and bind them with twine. It will be a fragile book, but we think you will enjoy looking through it. To enrich your awareness of when plant varieties bloom throughout the year, try printing one of these pages each month and following these steps. At the end of the year, you will have twelve pages of plants to reference, along with hands-on experience of what is blooming throughout the seasons! Click the link below to download our free printable! PressedPrintableDownload We love to see what you’re making! If you use this article (or any of our other DIY articles) make sure to tag us on Instagram @GrowAndMake, Facebook @GrowAndMakeDIY or Twitter @GrowAndMake to be featured on our DIY Community page!

How to Press Flowers (Easiest way for beginners) - Chalking Up
How to Press Flowers, According to Floral Pros

15 Pressed Flower Crafts And Activities For Kids - Sow ʼn Sow
Top 10 Plants for Beautiful Pressed Flowers and Leaves: A
How to Press Flowers: A Complete Guide for Beginners
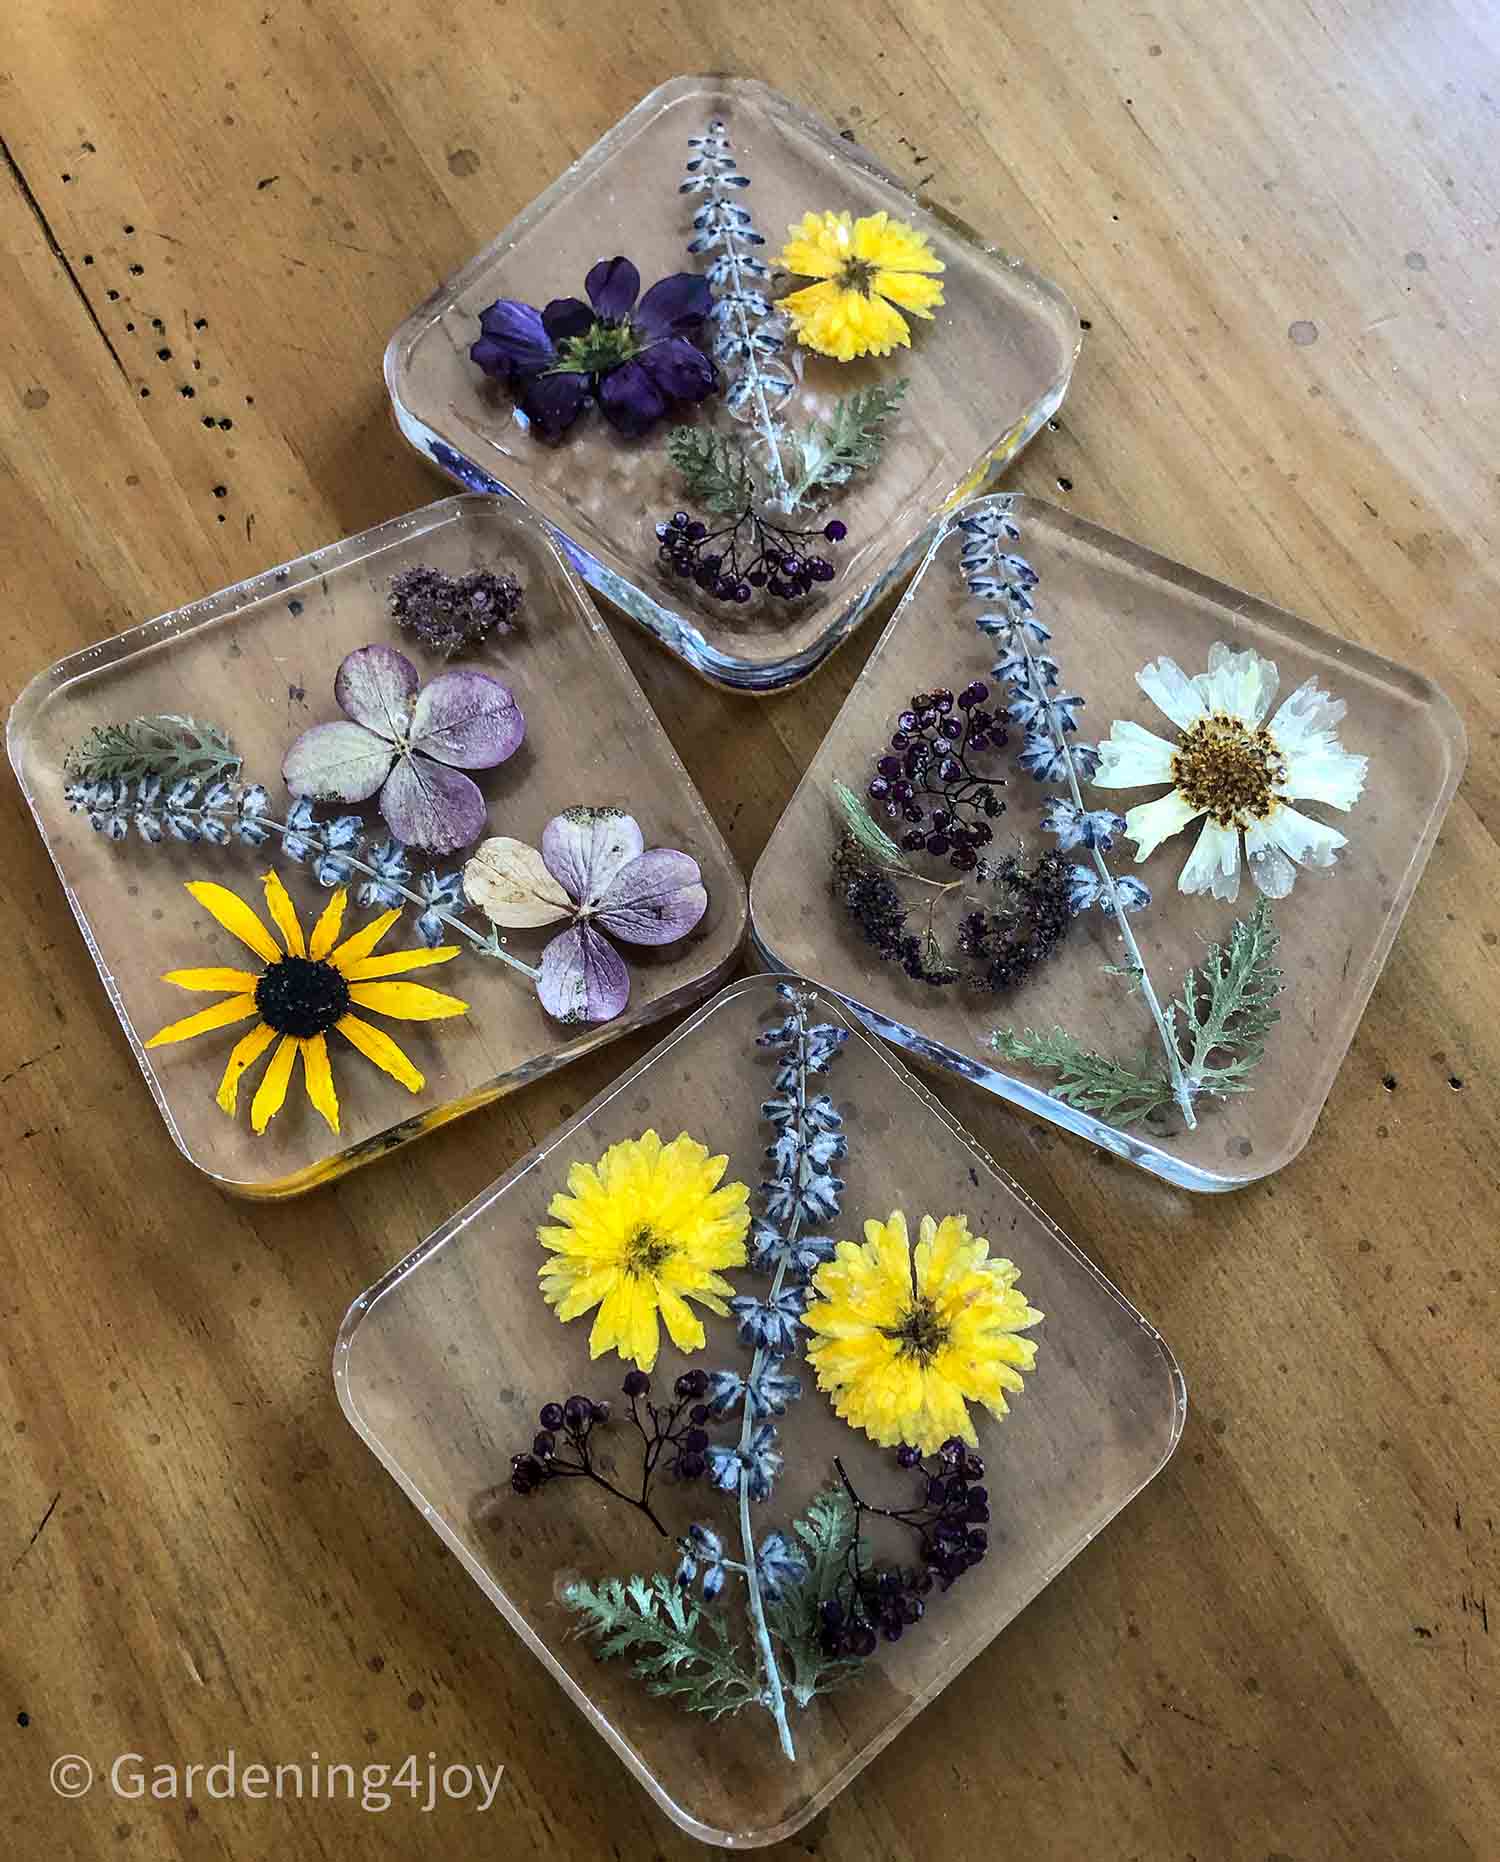
DIY resin coasters with dried pressed flowers - Gardening4Joy

Suziko Large Flower Press with Photo Frame,Plant
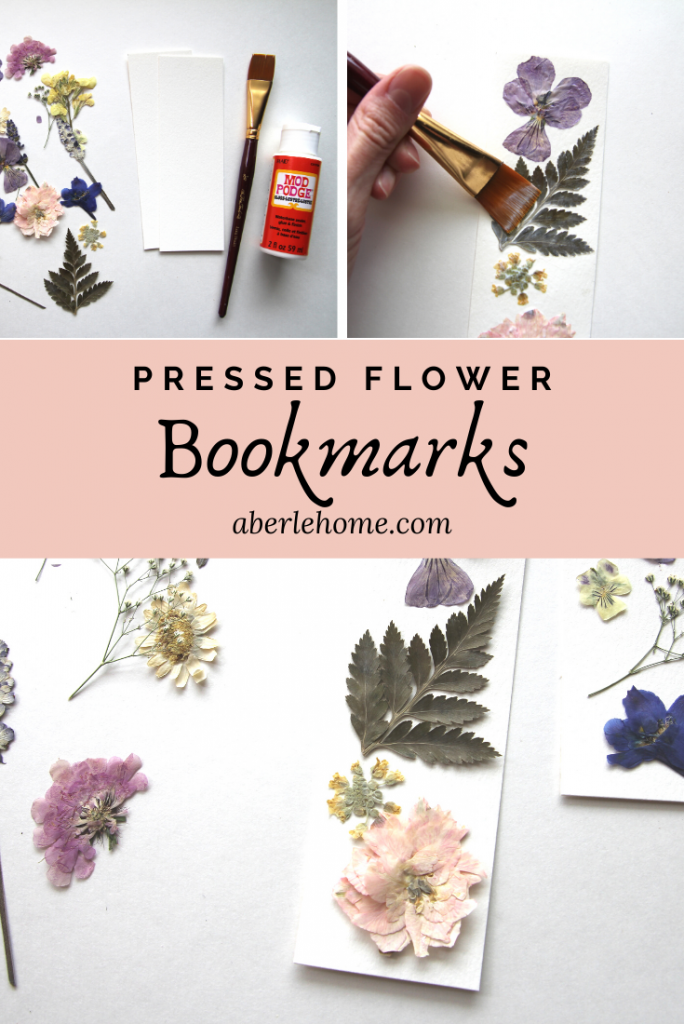
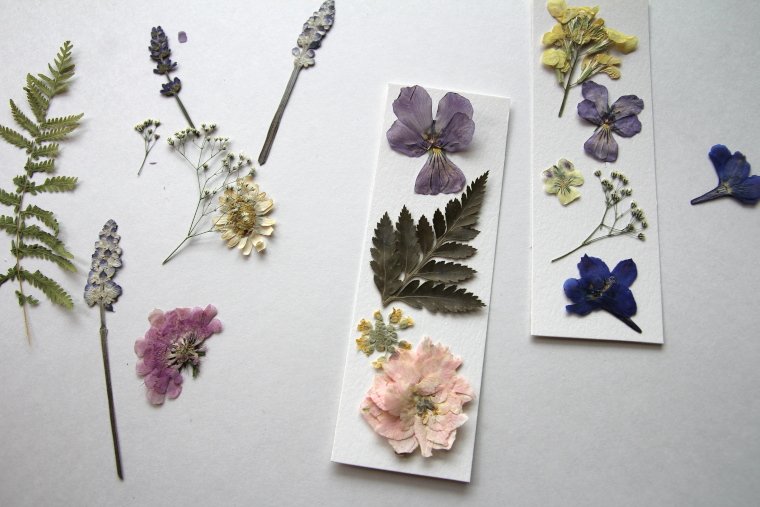
Pressed Flower Bookmarks - Aberle Home
How to Press Flowers - Grow and Make

How to Press Flowers - Grow and Make
Pressed Flower Bookmarks - Aberle Home
Preserving Your Bouquet: How to Dry & Press Flowers - Appleyard London
Recommended for you
-
 140 Pcs Dried Pressed Flowers for Resin, Real Pressed Flowers Dry Leaves Bulk Natural Herbs Kit for Scrapbooking DIY Art Crafts, Epoxy Resin Jewelry14 May 2024
 -
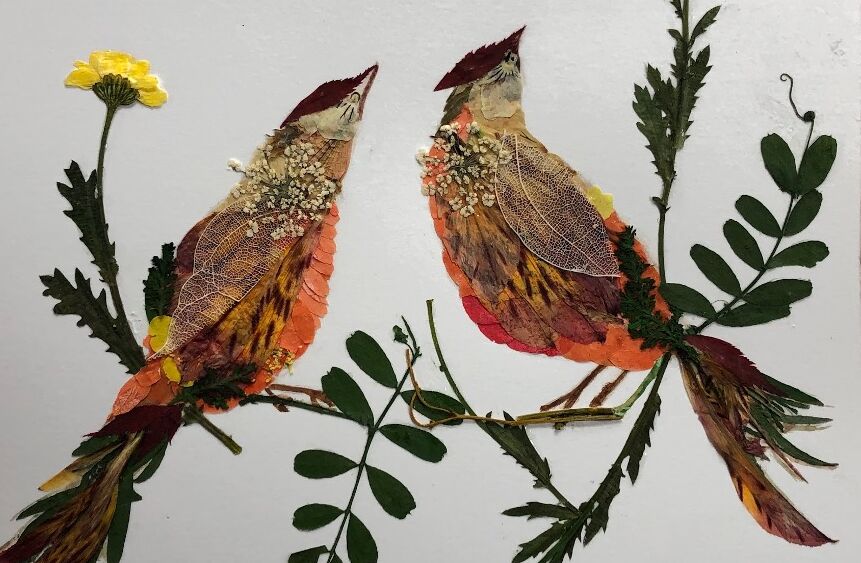
 Pressed Flower Art - Asheville Art Museum14 May 2024
 -
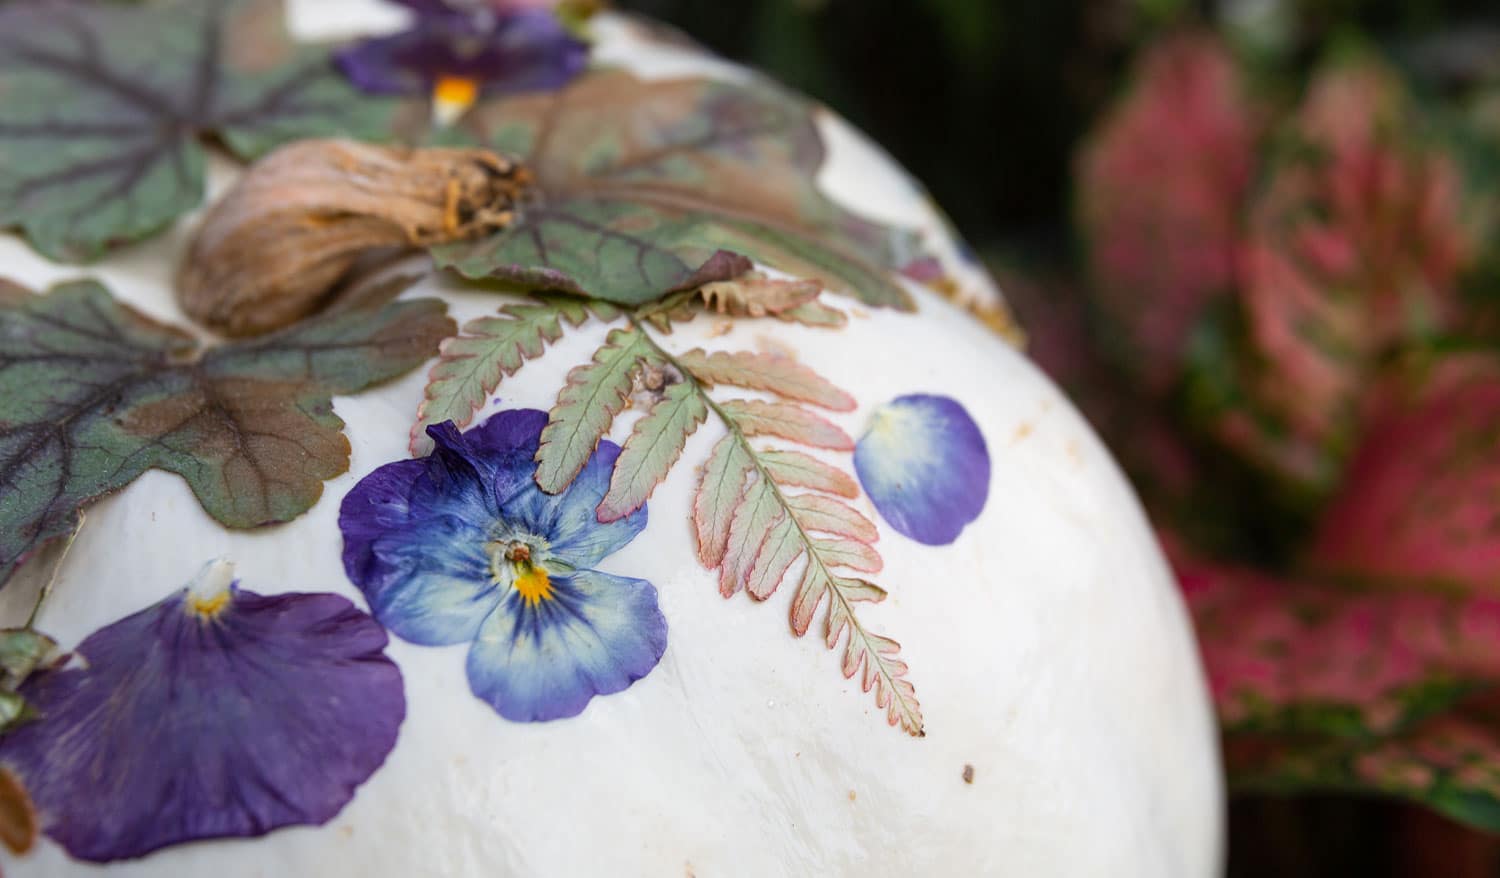 DIY Pressed Flower Pumpkin, Franz Witte Garden Center14 May 2024
 -
 Planting Fields Foundation14 May 2024
 -
 Pressed Flower Pumpkin Workshop 9/9/23 1pm - Ted Lare - Design & Build14 May 2024
 -
 How To Make a Pressed Flower Art Business14 May 2024
 -
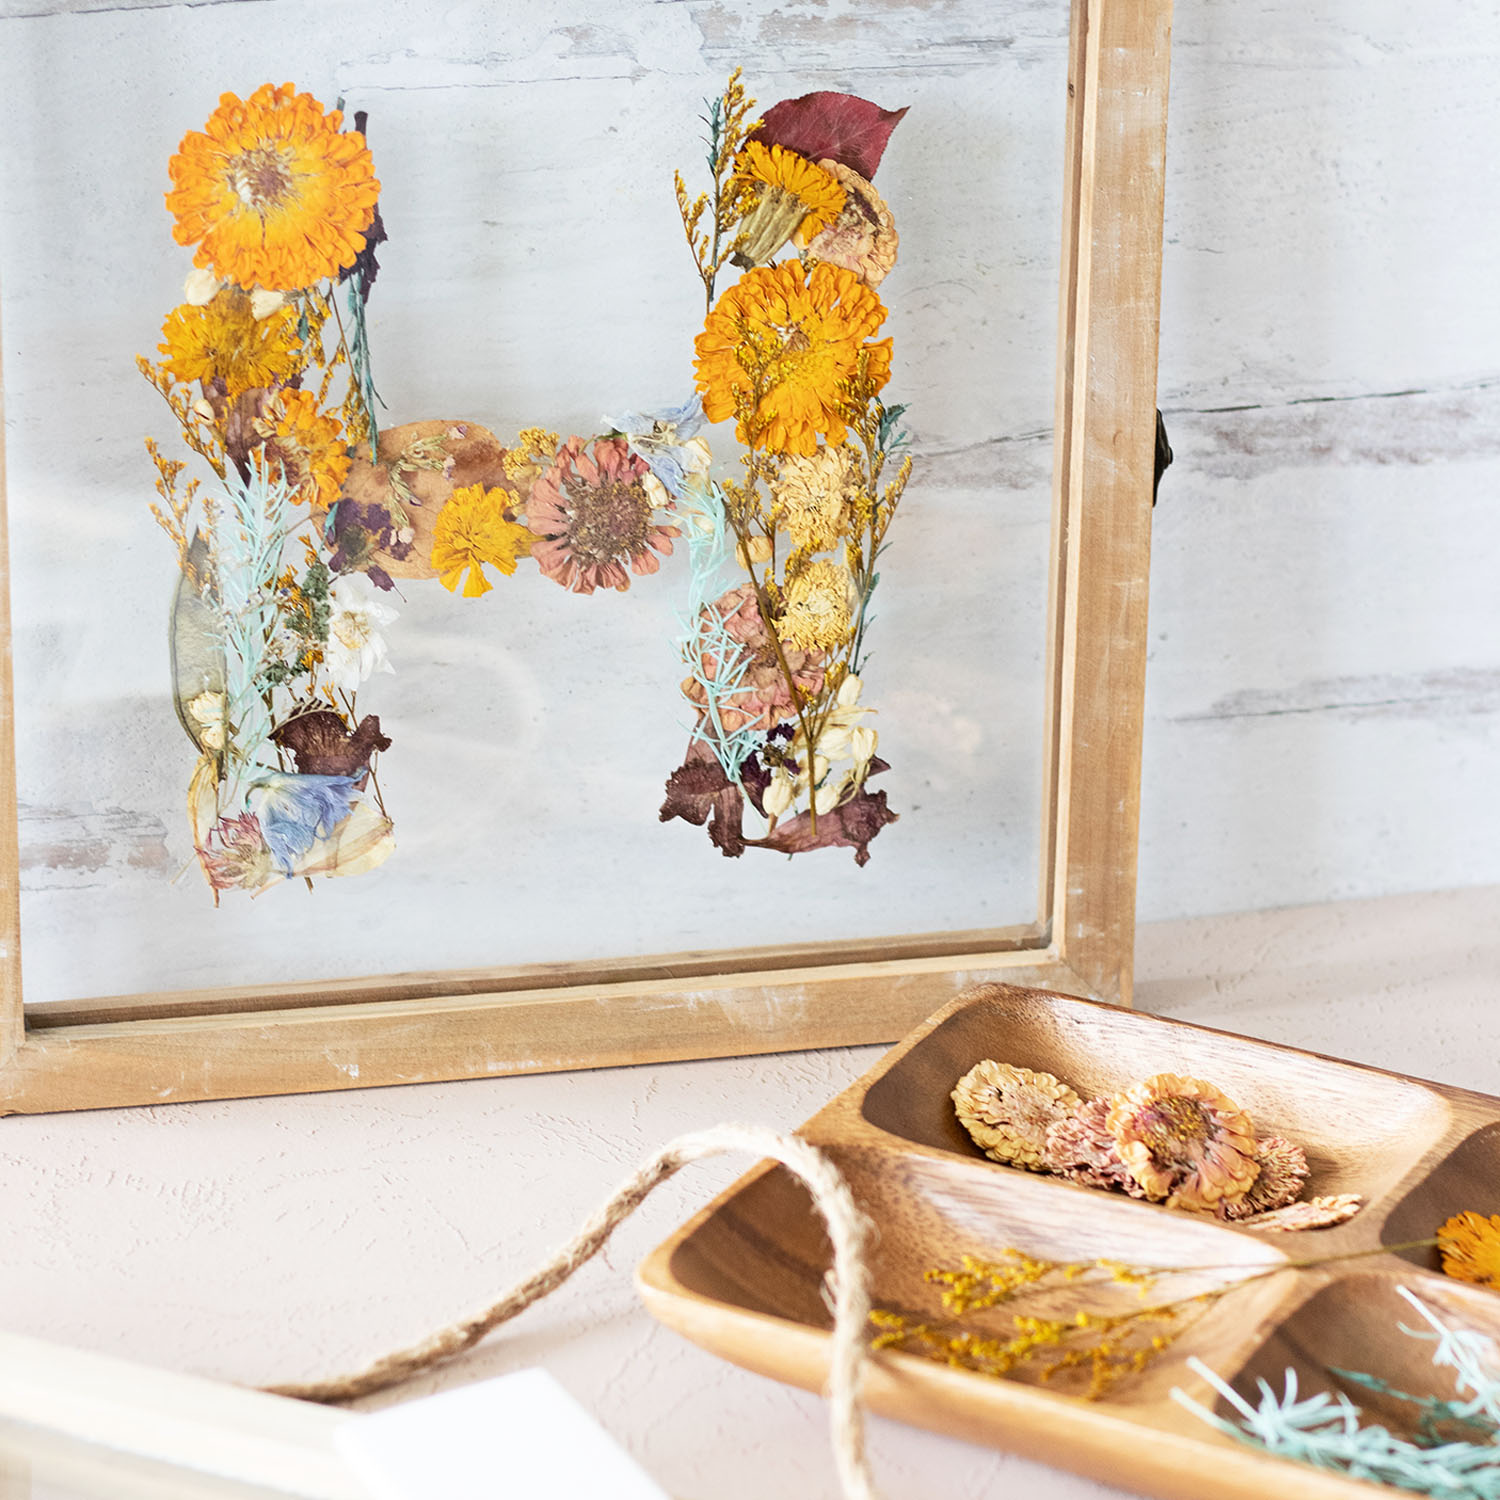 DIY Monogram Pressed Flower Art - Farmhouse Chic Living14 May 2024
 -
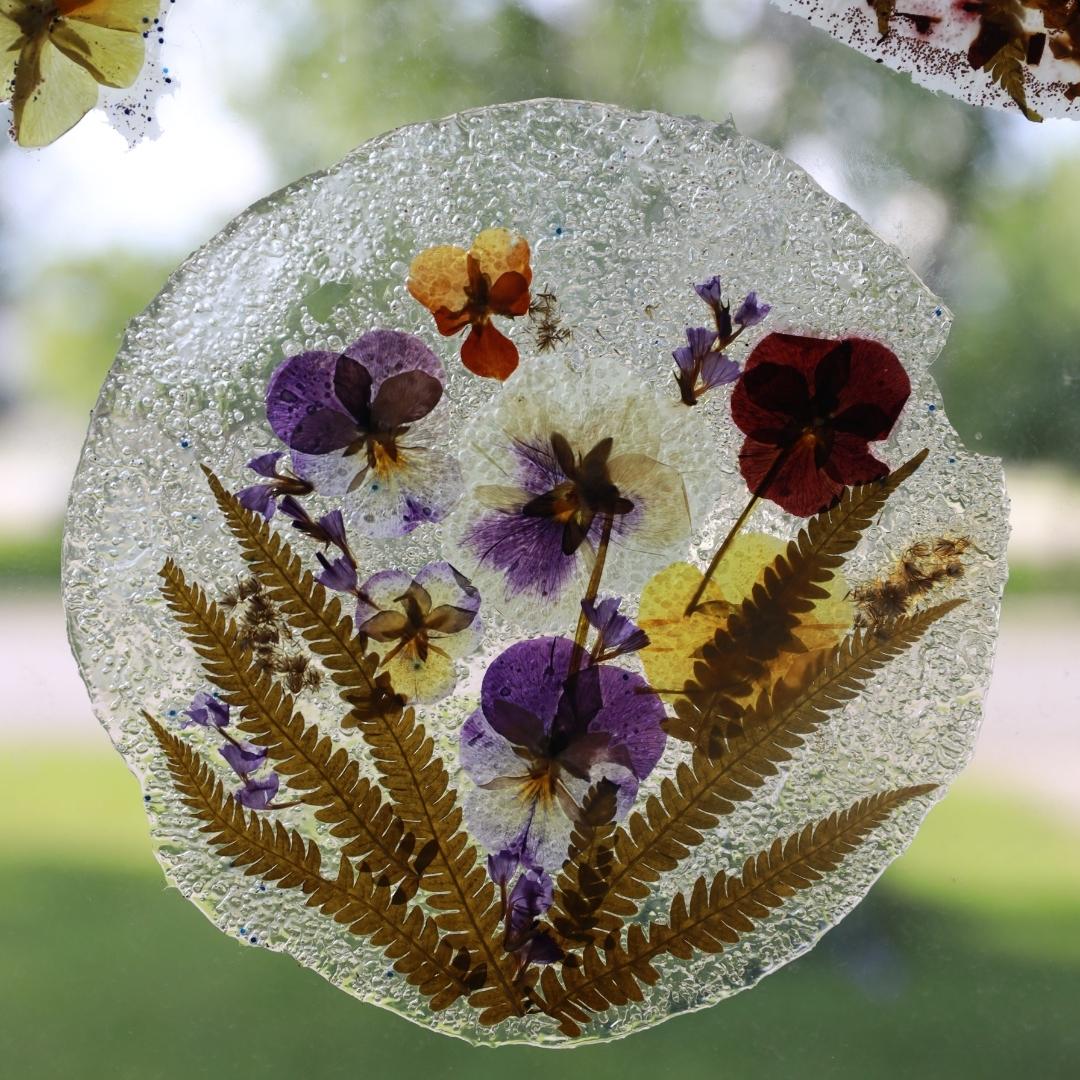 Decorate With DIY Flower Suncatchers14 May 2024
 -
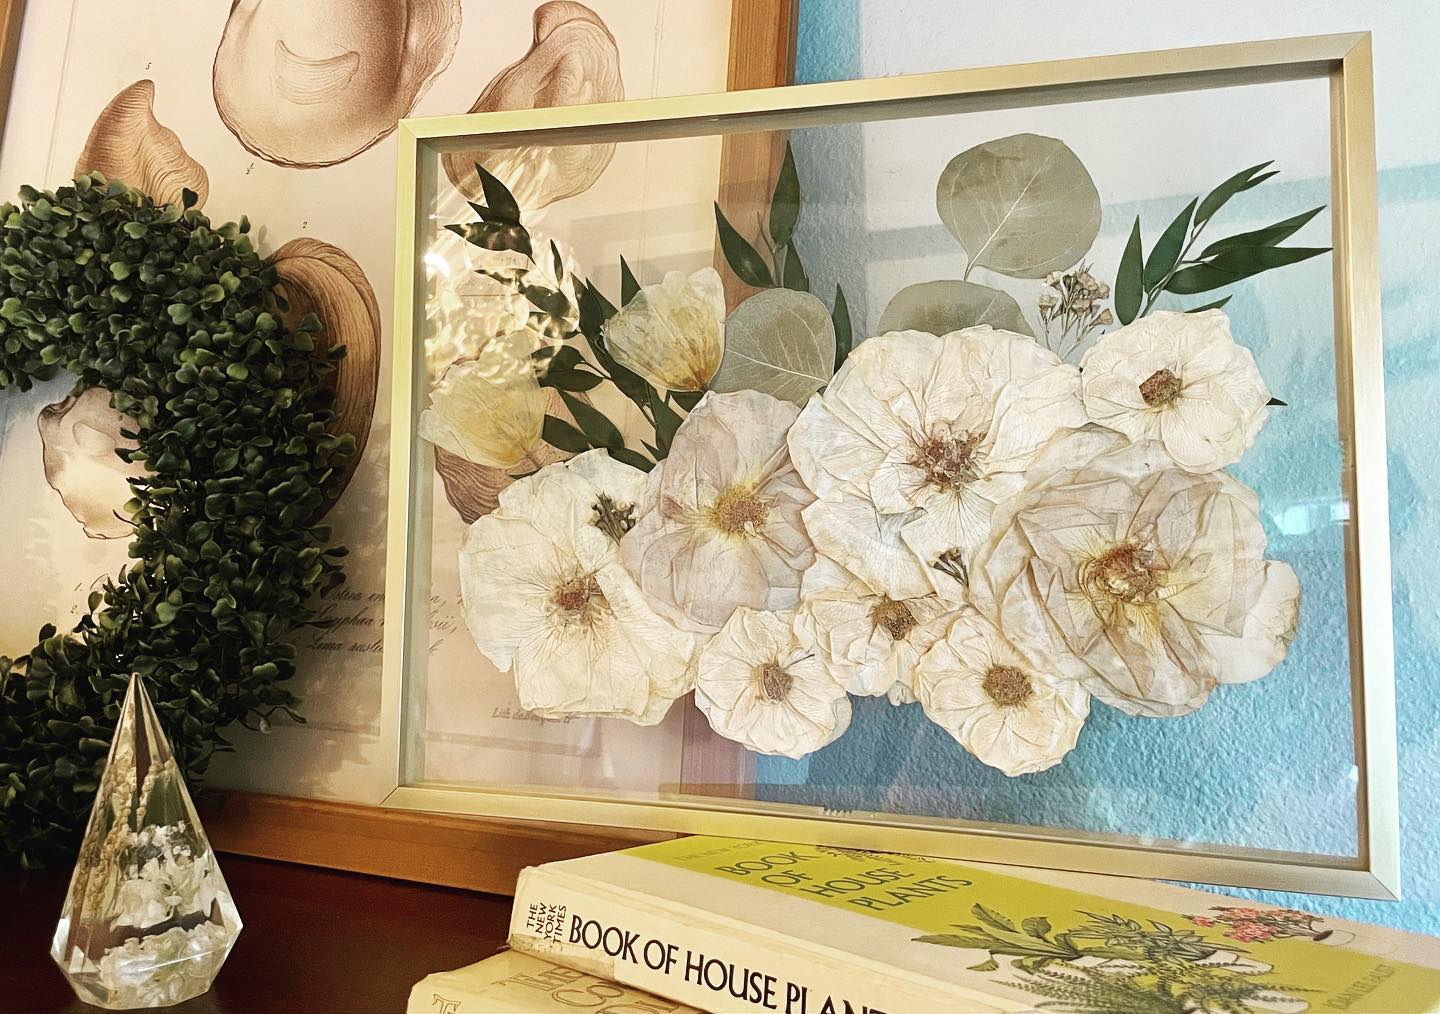
 Beautiful and Simple Framed Pressed Flowers » The Tattered Pew14 May 2024
 -
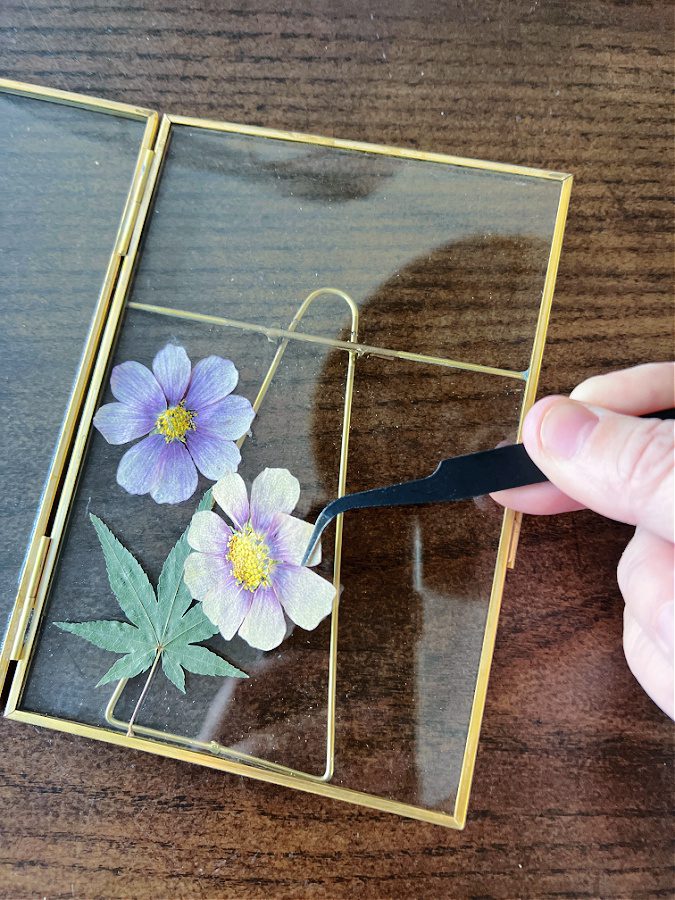
 Framed Pressed Flowers, 11x14 Gold14 May 2024
You may also like
-
 Lighthouse, World Map and Bow - Scrapbook Set14 May 2024
 -
 5M/Roll Realistic Wood Grain Repair Adhensive Duct Tape For Furniture Home Decor14 May 2024
 -
 (50PCS) Stainless Steel Laundry Clothes Pins Heavy Duty Outdoor, Clothespins for Hanging Clothes, Metal Clips, Metal Clothes pins, Metal Snack Bag14 May 2024
 -
 Nail Polish Storage Box Nail Polish Glue Display Rack Multi - Temu14 May 2024
 -
KitchenAid Professional Series Kitchen Shears - Macy's14 May 2024
-
 SMS SND06 Sanding Sticks 3pc Medium Grit – Lazy Modeller14 May 2024
 -
 Chalkola 5 White Chalk Markers for Chalkboard Signs, Blackboard, Car Window, Bistro, Glass | 5 Variety Pack - Thin, Fine Tip, Bold & Jumbo Size14 May 2024
 -
 ZONEGRACE Kids Sublimation Tumbler Cups with Handle, Straight Double Wall Kids S14 May 2024
 -
 Clip Art Paint Brushes Stock Illustrations – 461 Clip Art Paint Brushes Stock Illustrations, Vectors & Clipart - Dreamstime14 May 2024
 -
 Prime Day 2021: the Best Deals for Home, Kitchen, Baby14 May 2024