DIY: How to Tie a Loopy Bow - Save-On-Crafts
By A Mystery Man Writer
Last updated 17 Jul 2024
Materials Ribbon (approx. 3 yards) Ribbon wire (or floral wire) Scissors Wire cutters Instructions Curl ribbon over to create the center loop and pinch it at the base. Twist the tail of ribbon where your fingers are pinched so that the front side of the fabric is facing up. Fold the ribbon under to make the first loop. Twist the ribbon to make the front side face out and pinch it in the center. (Note: You will need to twist the ribbon after each consecutive loop in order to make sure that the front side of the fabric will always be facing out.) Fold the ribbon on the opposite side of the first loop to create the second loop. Hold up both loops to make sure they are the same length. Twist and pinch the ribbon. Begin the second set
How to Tie a Fancy Bow the Easy Way

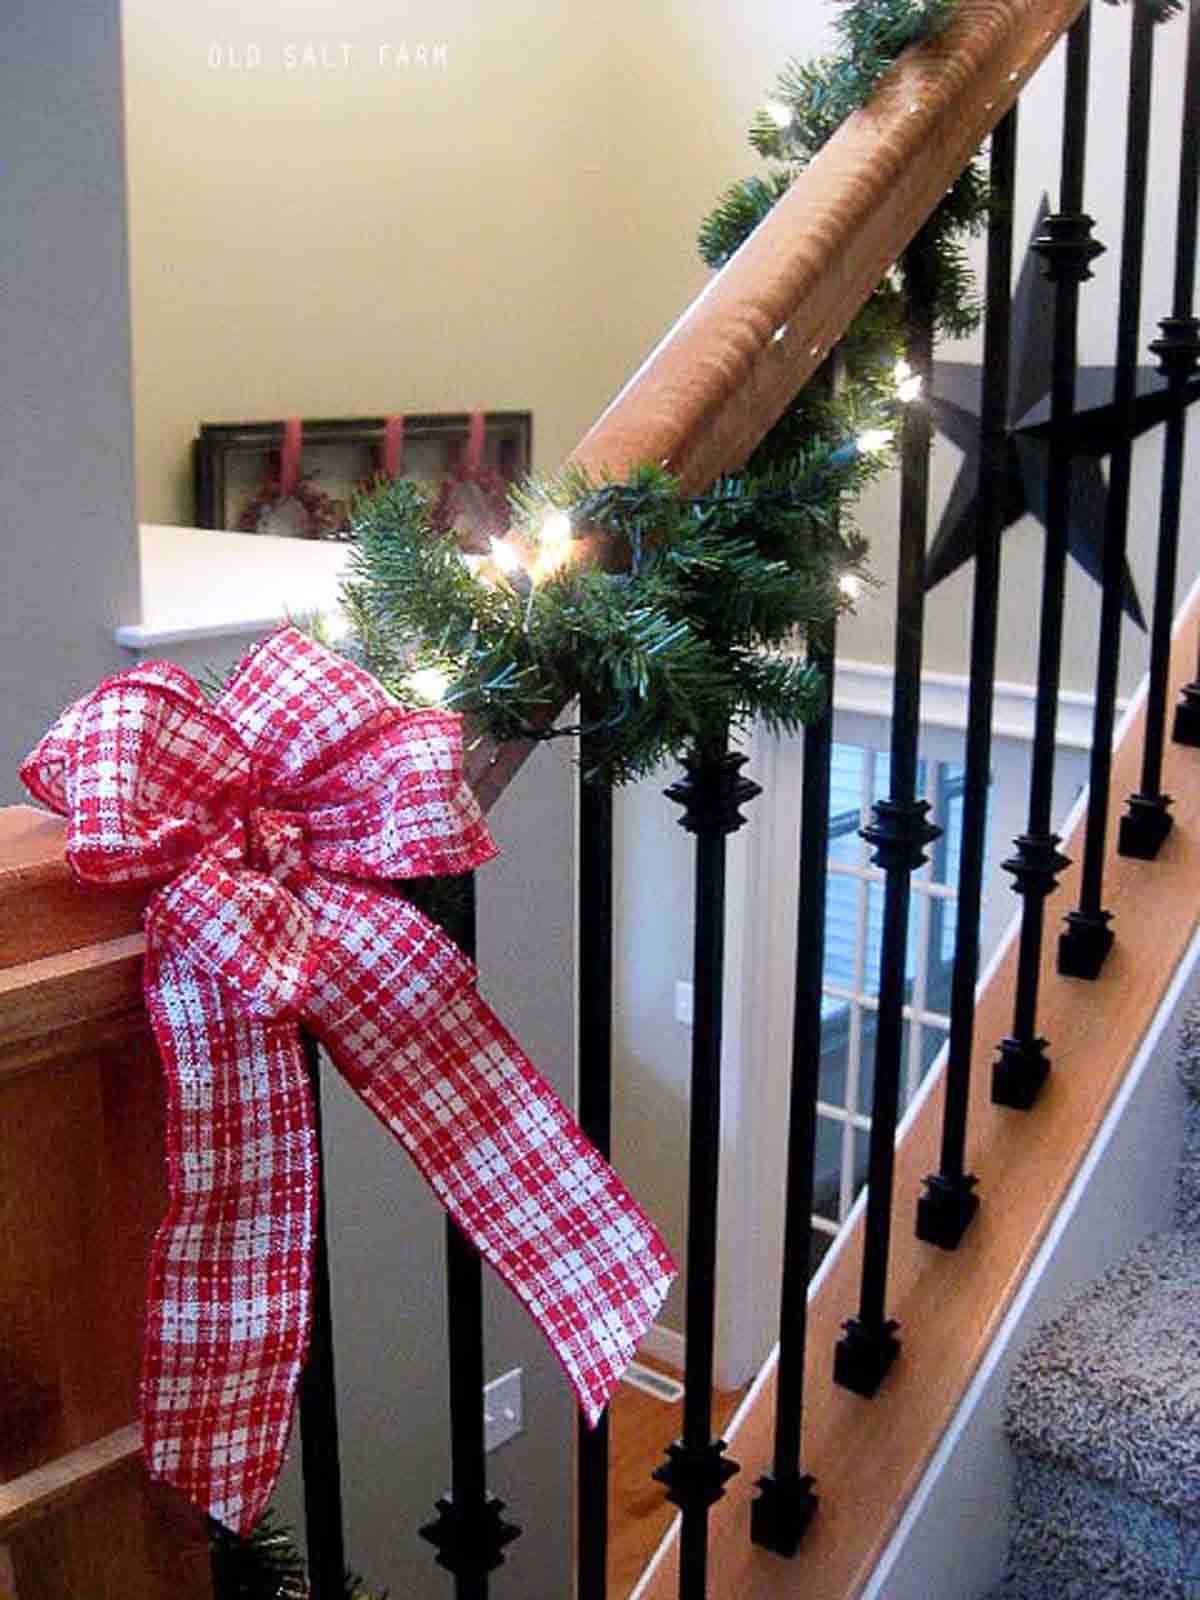
Easy Valentine's Day Ribbon Wreath - Canary Street Crafts

How to Wrap a Gift - Wrapping a Present Step by Step Instructions

Как сшить бант: 5 простых способов — BurdaStyle.ru

DIY Tutorial: Handmade Bow Tie Boho Wedding Blog, 47% OFF

LOOP LINE CHECK WIDE RIBBON ONE PIECE
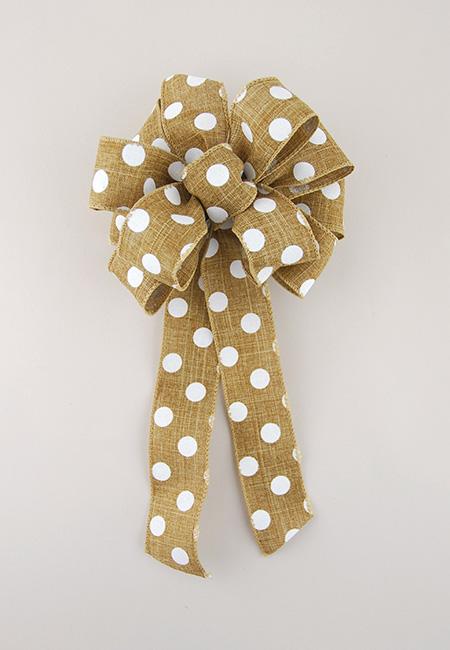
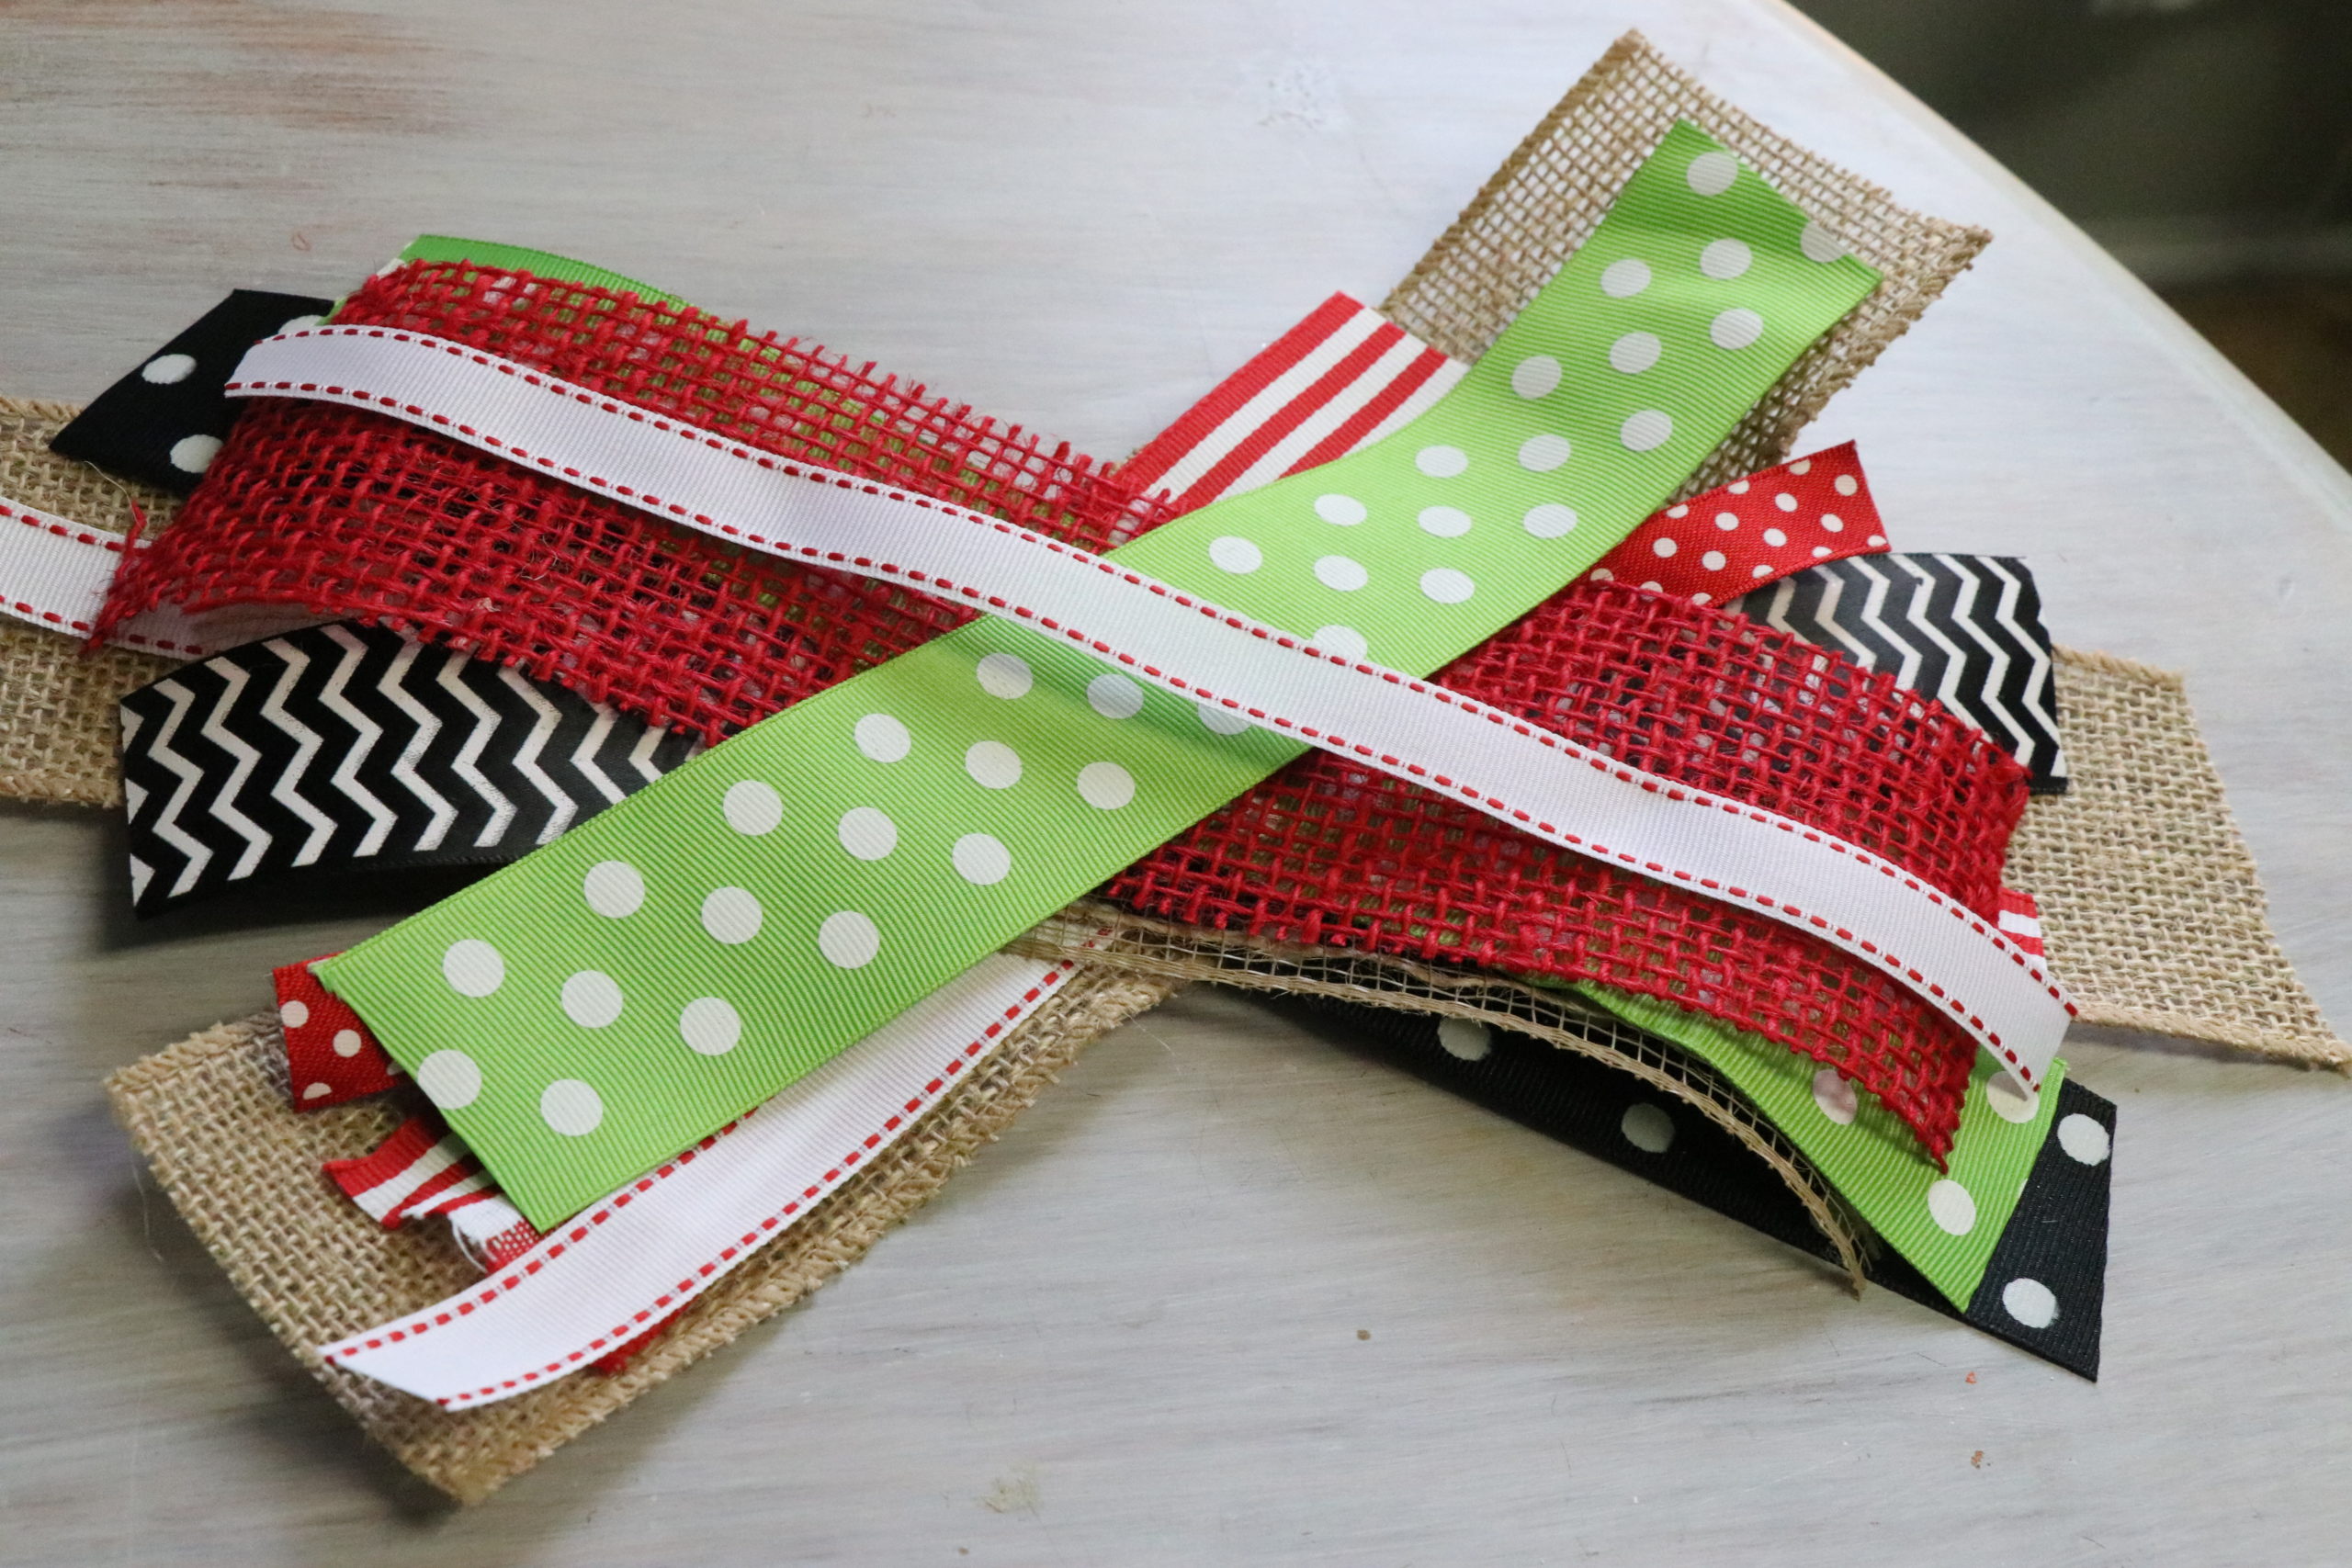
How to Make a Bow - 3 Ways to Make a Bow for a Wreath or Gift

How to Make a Bow - 3 Ways to Make a Bow for a Wreath or Gift

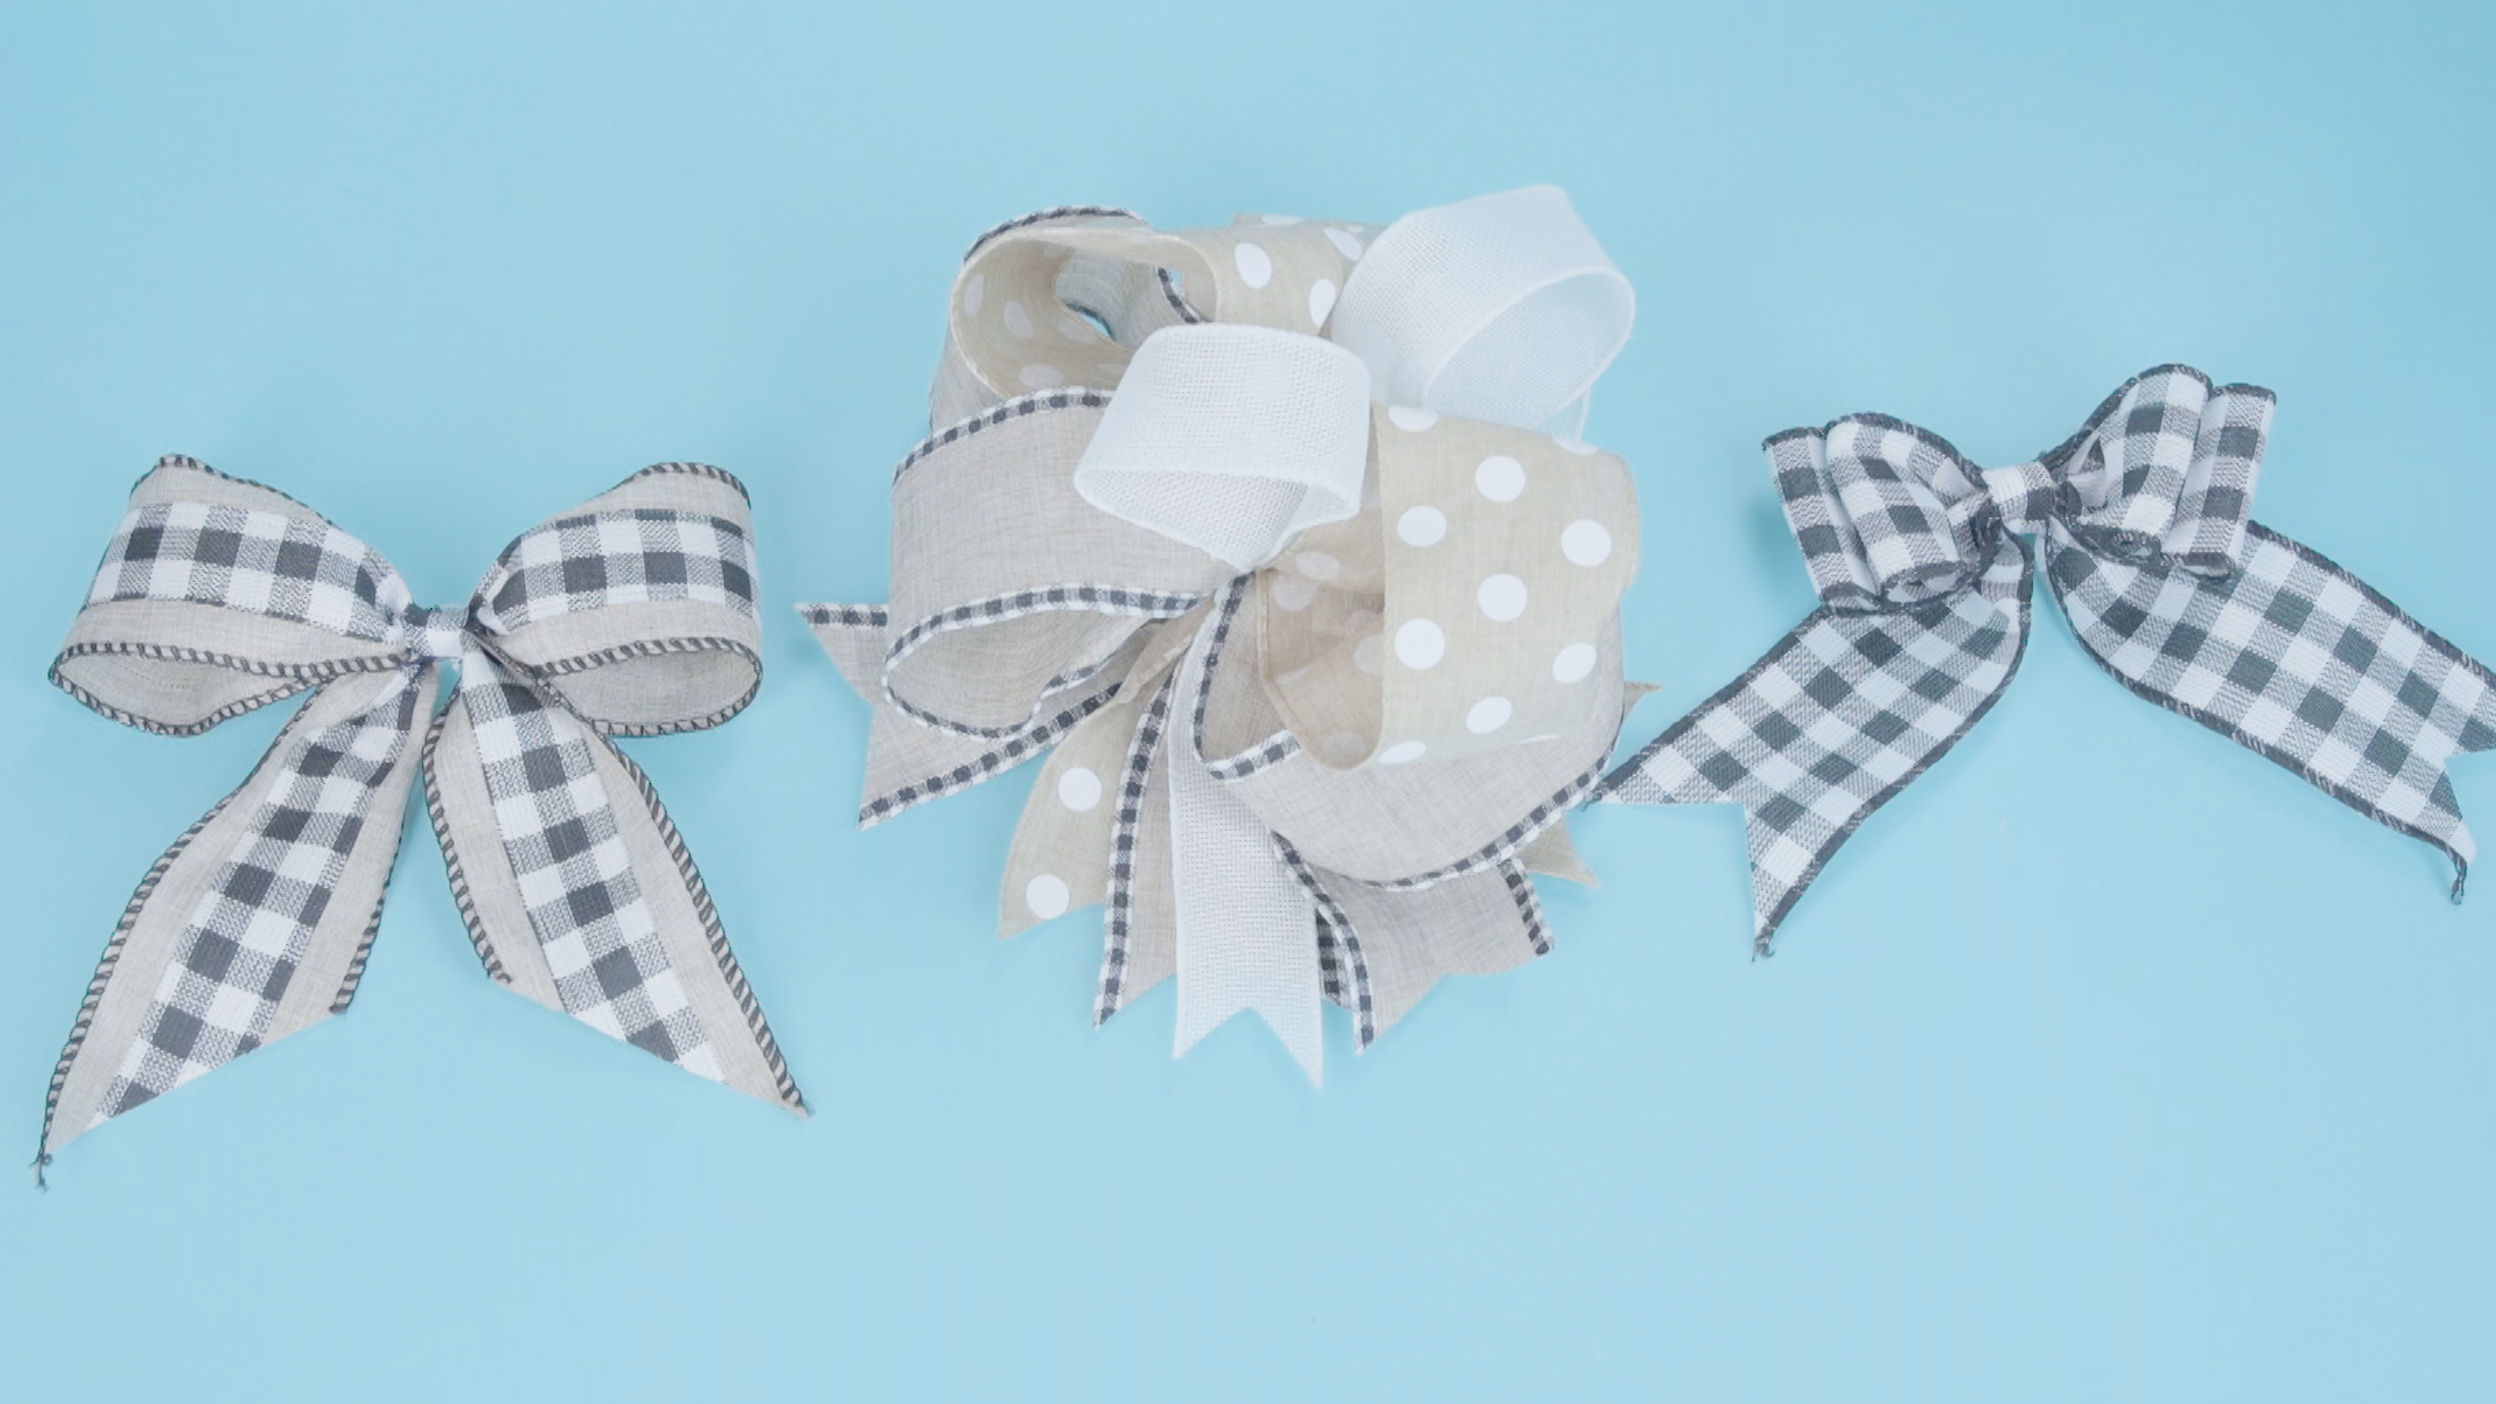
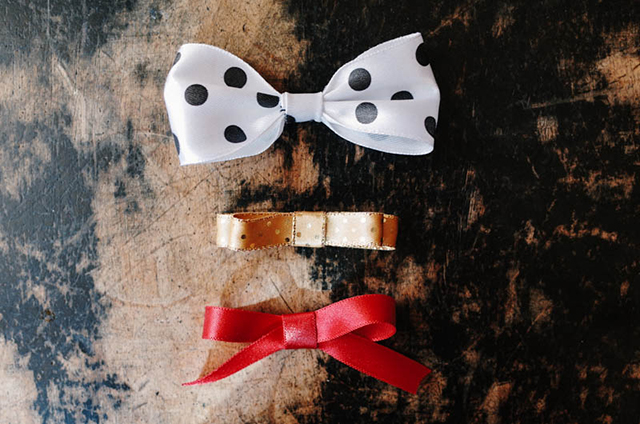
How to Make a Loopy Puff Bow - TheRibbonRetreat.com
Recommended for you
-
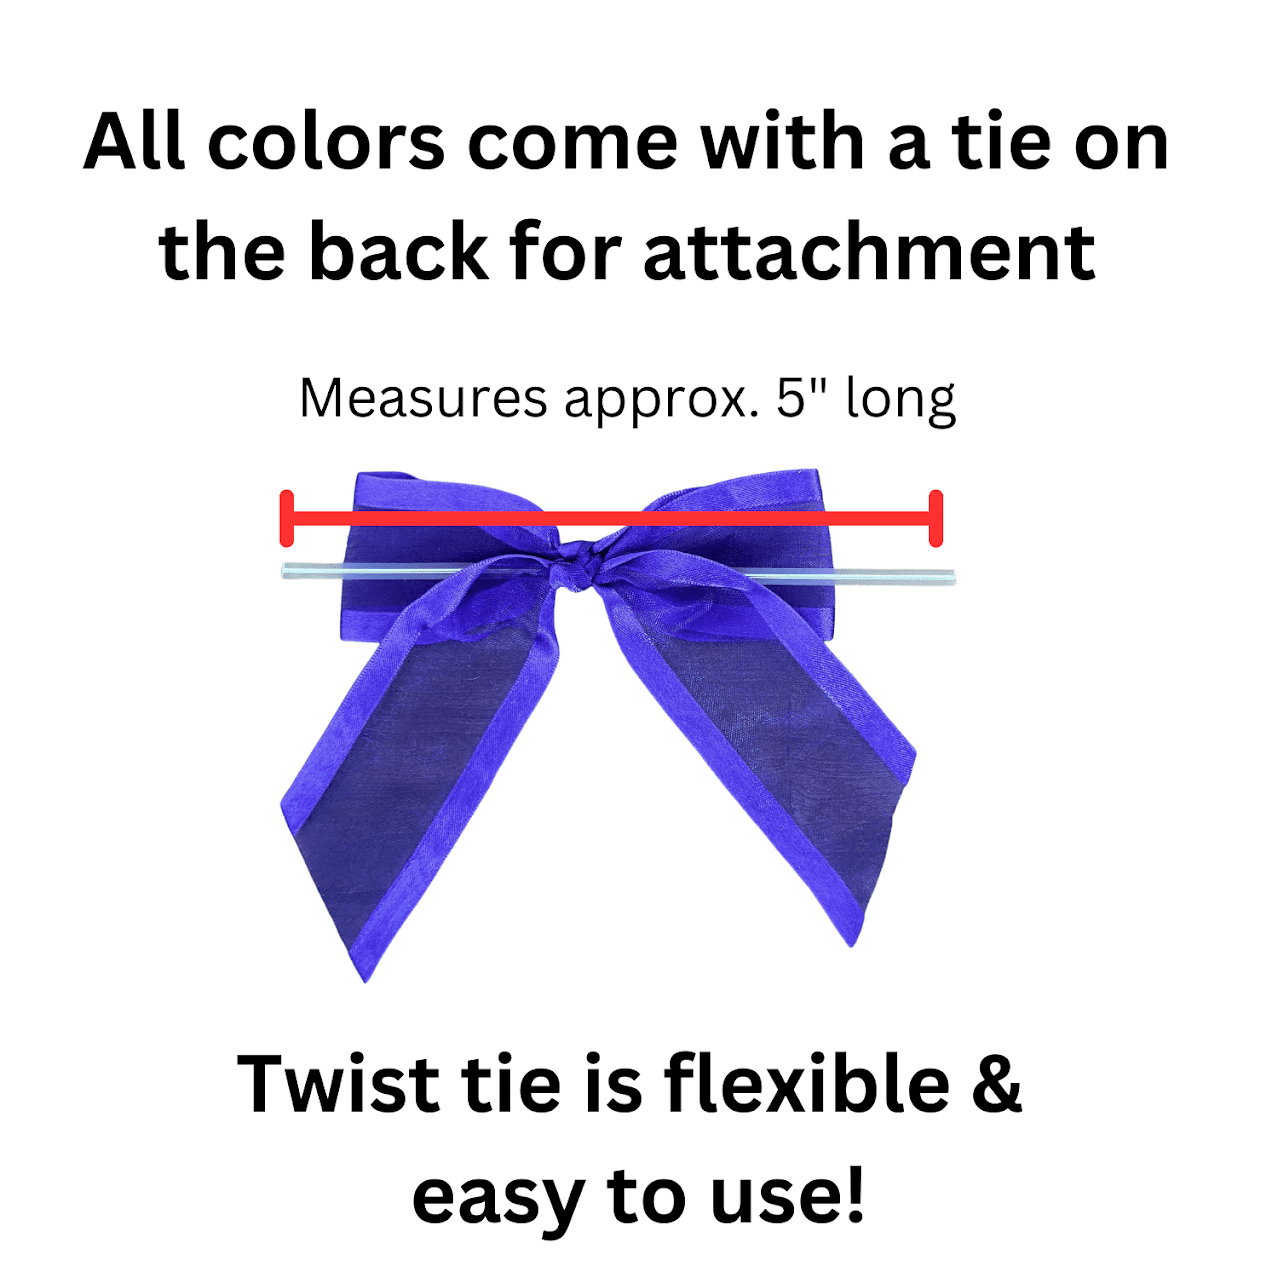 Pre-Tied Red Satin Bows - 4 1/2 Wide, Set of 12, Wired Craft Ribbon, Christmas, Valentine's Day, Wedding Embellishments, Gift Basket, Birthday17 Jul 2024
 -
 Large Red Ribbon Pull Bows - 9 inch Wide, Set of 6, 4th of July, Christmas, Gift Bows17 Jul 2024
 -
 In Stock Solid Ribbon Bow17 Jul 2024
 -
:strip_icc()/paper-bow-gift-boxes-e5950b1e-053bc70da6104b0fa44385e7c79918c8.jpg) 11 Easy Homemade Bows to Top Your Christmas Gifts with Style17 Jul 2024
11 Easy Homemade Bows to Top Your Christmas Gifts with Style17 Jul 2024 -
 Customized Handmade Types of Ribbon Bows for Gift Package Box Girl Dress Cosmetics Package Chocolate Skin Care Promotion - China Ribbon Bow and Ribbons and Bows price17 Jul 2024
 -
 How to Make a Bow the SUPER EASY Way - Re-Fabbed17 Jul 2024
 -
 How To Make A Ribbon Bow -- 3 Ways Idle Hands Awake17 Jul 2024
 -
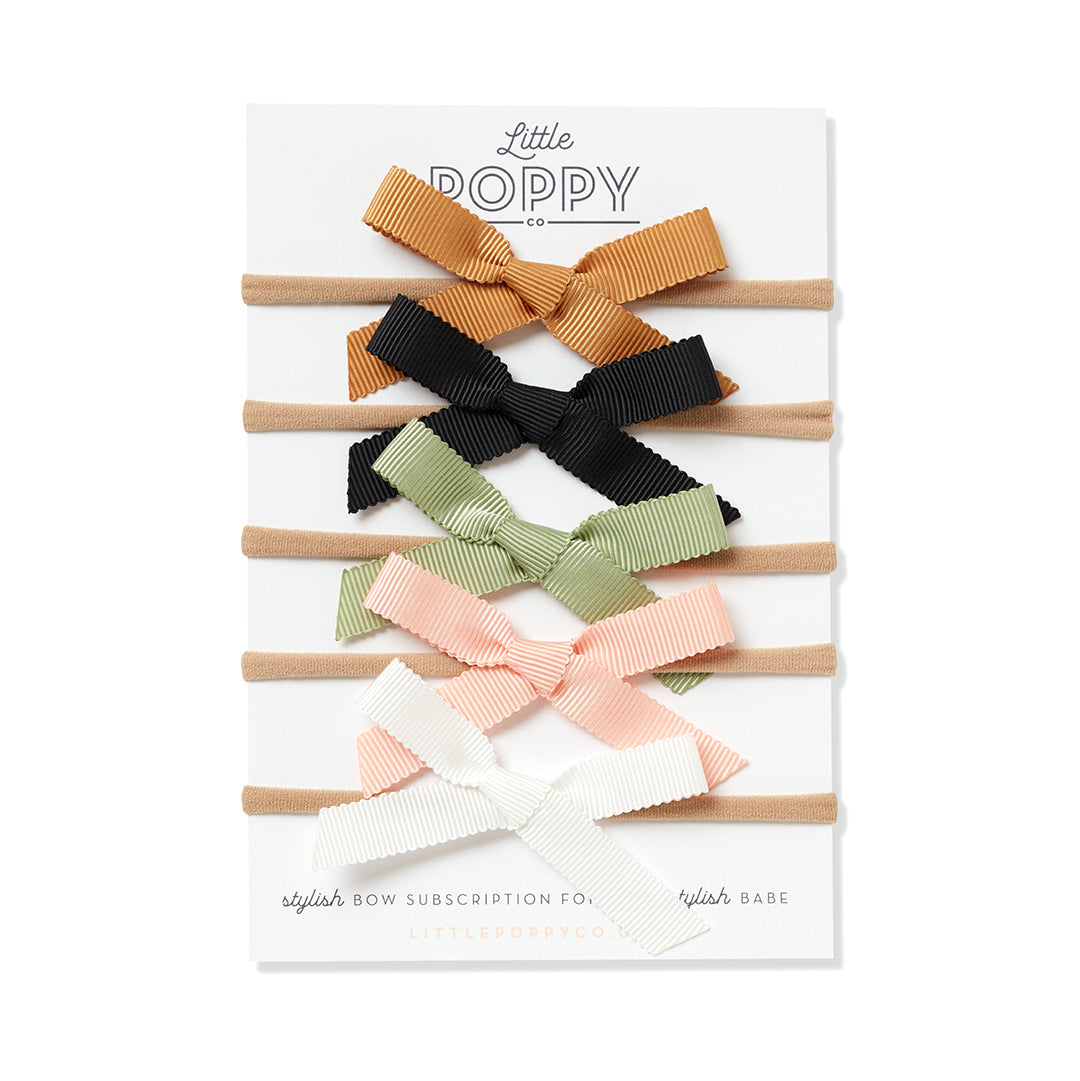 Newborn Set - Ribbon Bows — Default Title17 Jul 2024
 -
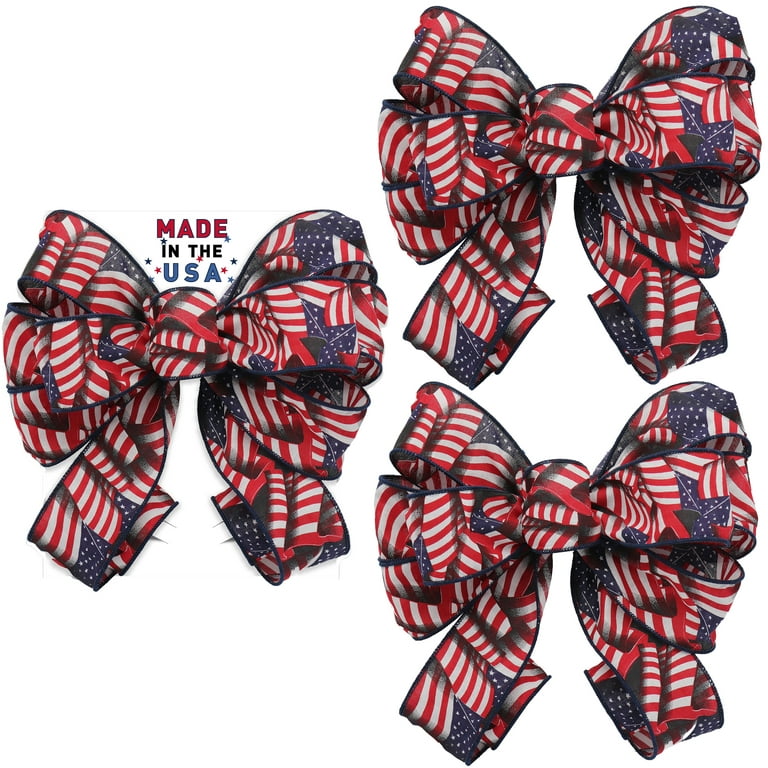 11.5 American Flag Ribbon Bows, Patriotic Red White & Blue, 3Pk by Gwen Studios17 Jul 2024
 -
 Bling Pink Patchwork Ribbon Cheer Bows Cheer Bows for Girls – cnhairaccessories17 Jul 2024
You may also like
-
 Just Magic: Hair Care 10117 Jul 2024
 -
 Fetco - QK1 - Quik . HCL - Rust, Lime, Concrete and Scale Remover17 Jul 2024
 -
 Mini Monster Scented Highlighters (6-pack) – Sugar Moon Bloom17 Jul 2024
 -
 Roasted Dandy Tea Blend – Gathering Thyme17 Jul 2024
 -
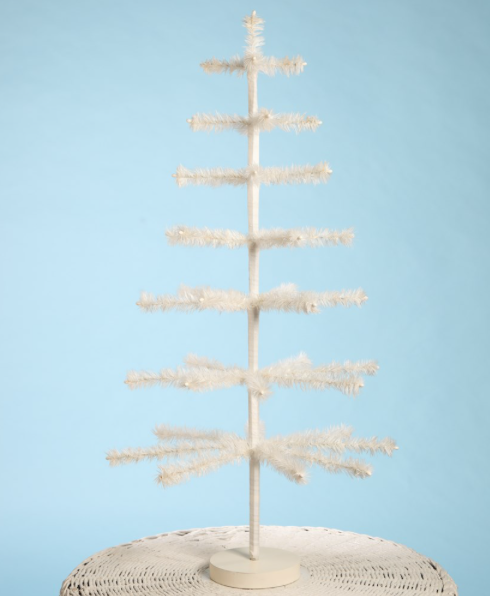 Seasonal Feather Tree Ivory 36 – LouandCompany17 Jul 2024
 -
 Beige Blue flowers Knitting Tote Bag Purse Lined Inner Pocket17 Jul 2024
 -
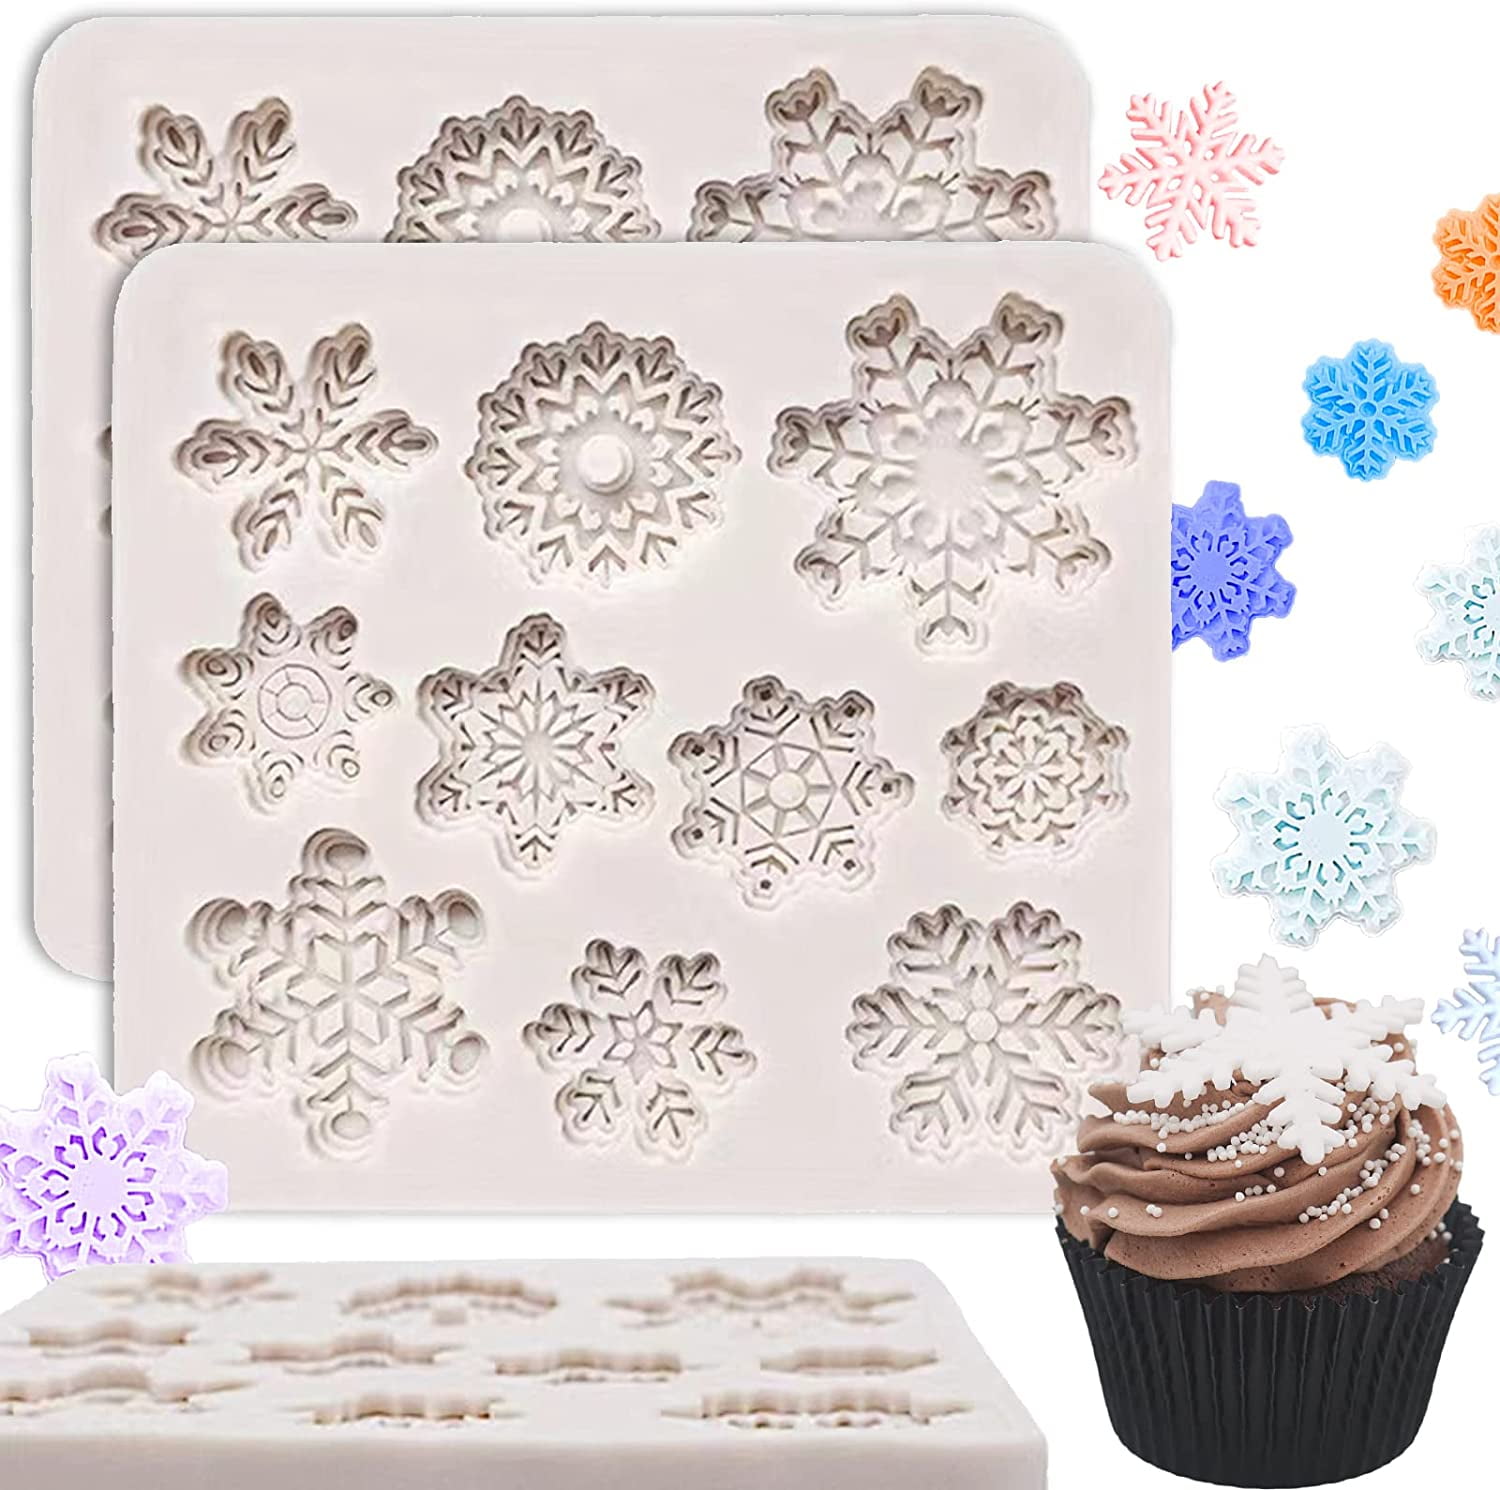 2 Pcs Snowflake Chocolate Molds Silicone Large for Winter Cake Decoration Candy Making Supplies Christmas Snowflake Decoration Party Cake Decoration Baking Mold17 Jul 2024
 -
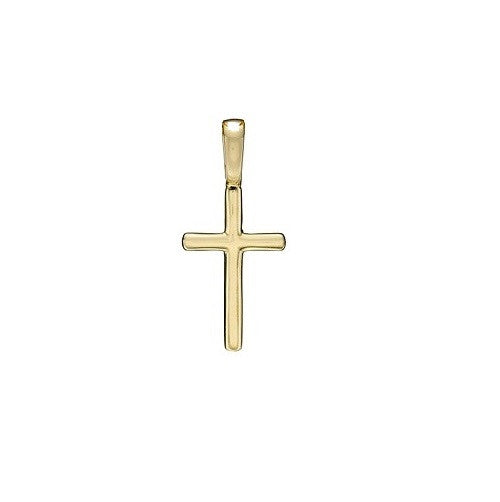 Cross Charm for Bracelet17 Jul 2024
 -
) WallWear Wallpapers & Wall Stickers Model (OutLineDesign) Pack Of 1 Roll (40x300) cm Wallpaper For Walls Self Adhesive Peel and Stick For Home17 Jul 2024
WallWear Wallpapers & Wall Stickers Model (OutLineDesign) Pack Of 1 Roll (40x300) cm Wallpaper For Walls Self Adhesive Peel and Stick For Home17 Jul 2024 -
 Scorch Marker Woodburning Pen Tool with Foam Tip and17 Jul 2024